

How to Clean Popcorn Ceilings Quickly and Easily

Updated: Mar. 11, 2024
Warning: The wrong cleaning supply or technique could irreparably damage these textured ceilings! Here’s how to clean a popcorn ceiling the right way.
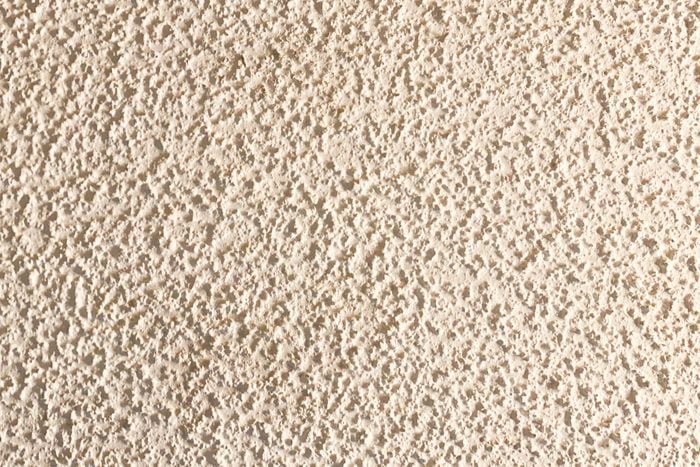
Love ’em or hate ’em, popcorn ceilings are a staple in many homes. And, unfortunately, they can be incredibly challenging to clean. That’s because their unique texture makes them dust magnets—and also very delicate. In fact, the wrong cleaning supply or technique could cause them to crumble before your eyes. Like we said, challenging! But don’t worry: If you’re wondering how to clean a popcorn ceiling the right way, you’re in the right place.
Before we give you that information, though, we have to let you know about one more potential problem. “Asbestos was used to make popcorn ceilings in older buildings and wasn’t really replaced with alternatives until the mid-1980s,” says Raquel Kehler, an interior designer and house flipper at RoomCrush. “With older homes [built before 1990], get a professional to come check before you disturb the ceiling.”
Once you’re cleared for cleaning, it’s time to learn how to dust and deep-clean your popcorn ceiling. We have all the details so you can do this safely and make it part of your regular cleaning schedule. When you’re up to speed, learn how to clean a ceiling fan, so you can tackle both tasks at the same time.
Get Reader’s Digest’s Read Up newsletter for more cleaning, travel, tech, humor and fun facts all week long.
How often should you clean a popcorn ceiling?
Popcorn ceilings should be deep-cleaned no more than once a year—and, ideally, much less than that.”I would deep-clean only once every few years if there’s no visible dirt or dust on your ceiling,” Kehler says. “You want to clean these as little as possible to avoid damaging your ceiling.” And yes, popcorn ceilings can be easily damaged. If you apply too much pressure or scrub too hard, you can chip off the “popcorn,” disrupt the texture of the ceiling and even create holes, according to Angela Lee, a cleaning expert from Hellamaid.
However, you should be lightly dusting your popcorn ceilings more frequently—around every three months. Also, remove any cobwebs and dust as they arise, or if you see any visible dirt, dust and dark edges around the textured parts of the ceiling. Aside from the fact that houseguests will notice significant accumulation, this is one of the best housecleaning tips to reduce allergies, since popcorn ceilings can be dust magnets.
A more subtle sign that you have a popcorn ceiling that needs cleaning? “If you’ve dusted and cleaned everything else in your home, including your carpets, and still find that there’s a musty smell, this could also be a sign that it’s time to clean your popcorn ceilings,” Kehler says. And you might actually want to call in a specialist if this happens, notes Lee, because musty smells can indicate mold growth. “In this case, it’s important to have the ceiling inspected and cleaned by a professional to prevent further growth and address any underlying moisture issues,” she says.
How to dust a popcorn ceiling
As noted above, it’s important to clean your popcorn ceiling delicately. And just like with laminate floors and stainless steel sinks, you’ll want to use the right materials for the job. The best ones for this job? Gentle cleaners without harsh chemicals, like ammonia or solvents.
Supplies:
- Warm water
- Non-scratch sponge
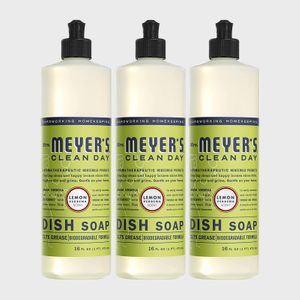
- Dish soap (or white vinegar for a natural alternative)
- Soft-bristled brush
- Vacuum cleaner with crevice and brush attachments
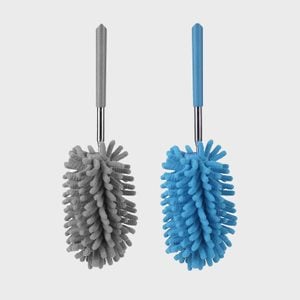
- Telescopic duster
- Spray bottle
- Stepladder
- Dust mask
- Tarp
Step 1: Protect the area
Cover your furniture and flooring with the tarp. This will keep your items from getting wet or dirty. Then set up the stepladder.
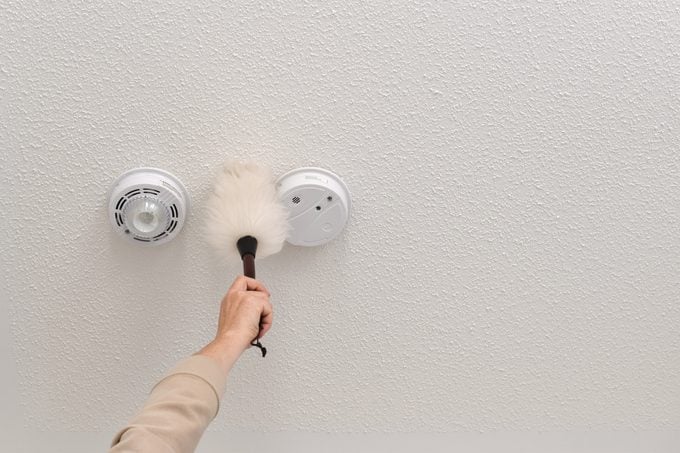
Step 2: Remove excess dust
Use the telescopic duster to gently brush away cobwebs and any large bits of dust. If needed (and only if needed), follow with your vacuum. Use the brush attachment, holding it one to two inches away from the surface of the ceiling. “This distance will allow the nozzle to suction up the dust and debris without damaging the texture of the ceiling,” says Lee. “It is also important to move the nozzle slowly and gently to avoid dislodging the popcorn texture.”
If you want to be extra cautious but still need a little more cleaning power, Lee suggests avoiding vacuuming altogether and opting for a different cleaning method, such as dry-wiping the ceiling with a microfiber cloth.
Step 3: Create the cleaning solution
Mix 2 teaspoons of dish soap with 3 cups of warm water in your spray bottle, gently shaking it to mix. “Or for a more natural solution, you can use a mixture of an equal amount of white vinegar and water in a spray bottle,” says Lee.
Step 4: Test for safety
Test a small part of your ceiling, preferably in a corner or somewhere else inconspicuous, to make sure the cleaning solution doesn’t cause any damage or discoloration. Allow the solution to sit for five minutes. Check for discoloration and changes to the surface, including peeling, flaking, mushiness and warping. If you notice any issues, stop.
Step 5: Spray the entire ceiling
If your ceiling is unaffected, lightly spritz the whole area with the solution. Whatever you do, don’t douse it; too much water can damage your ceiling’s texture. Let the solution sit for five minutes.
Step 6: Tackle stains
Using a damp sponge, gently dab areas of the ceiling that may need extra attention. Avoid scrubbing, as even the most nonabrasive of sponges can damage the ceiling if used too firmly, explains Lee.
Not having any luck? “If your popcorn ceiling has stubborn stains,” says Kehler, “you may have to repaint it.”
Step 7: Let the ceiling air-dry
Allow your ceiling to air-dry. This can take anywhere from four to 24 hours, says Lee. If you live somewhere humid, place tabletop fans in the room to help circulate air and remove moisture from the room. Once the ceiling is completely dry, remove the protective tarp. Before you do, though, you might want to dust and thoroughly clean your walls.
How to deep-clean a popcorn ceiling
As noted earlier, deeper cleans should be reserved for ceilings that haven’t been cleaned in several years—a decade even. “However,” says Lee, “the frequency of deep-cleanings may vary, depending on factors such as the level of use, the environmental conditions of the space and any damage or staining on the ceiling.”
Supplies:
Step 1: Protect the area
Cover your furniture and flooring with the tarp. Then set up the stepladder.
Step 2: Dust the ceiling
Follow the directions above for dusting a popcorn ceiling. Use the telescopic duster to remove cobwebs and large bits of dust. Follow with your vacuum’s brush attachment if needed, keeping it one to two inches from the surface of the ceiling.
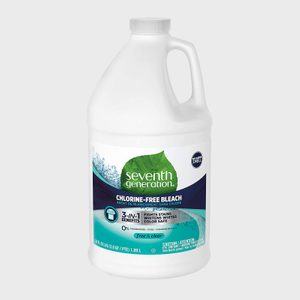
Step 3: Create the cleaning solution
Combine two parts water and one part bleach in your spray bottle. Swirl gently, with the top on, to mix.
Step 4: Test the solution
Test a small, inconspicuous part of your ceiling to make sure the bleach solution doesn’t damage it. Allow the solution to sit for five minutes. Check for discoloration and changes to the surface, including peeling, flaking, mushiness and warping. If you notice any issues, do not proceed.
Step 5: Spray the entire ceiling
Put on your goggles, and then lightly spray the ceiling once or twice.
Step 6: Circulate air
Open your windows to allow air to flow into the room. This will help remove the smell of bleach and also speed up the drying process.
Step 7: Address stubborn stains
As the ceiling dries, gently dab at any remaining stains with a slightly damp sponge. Make sure to use water only, not the bleach solution on this go-round. “Be extremely gentle, since no matter what, at least some of the ceiling texture is going to come off while you’re cleaning,” says Kehler. “This is why you don’t want to rush and you do want to be very slow and deliberate in your movements.”
Step 8: Let the ceiling air-dry
Let the ceiling air-dry. As with the light cleaning, this process of drying can take anywhere from four to 24 hours, says Lee. Because bleach has been involved in the deep-cleaning, be sure to keep air flowing into the room by leaving windows open during the day. Remove the protective tarp when the ceiling is totally dry.
The best popcorn ceiling cleaners
How to keep popcorn ceilings clean
- Regularly remove cobwebs and dust. If you see ’em, swipe ’em! “This will help prevent buildup and keep your ceiling looking clean,” Lee says.
- Keep the rest of your ceiling clean. This means regularly cleaning ceiling fans and light fixtures.
- Use an air purifier. This handy little device will remove dust and other particles from the air, reducing the amount of dust that accumulates on your popcorn ceiling (and everywhere else).
- Attend to any moisture issues. “Moisture can cause mold and mildew to grow on your ceiling,” says Lee, “so it’s important to address any leaks or humidity issues promptly.”
- Use a splatter screen in the kitchen. If you have popcorn ceilings in the kitchen, says Kehler, use a splatter screen while cooking on the stove. This specialized lid will help prevent oil from popping up and hitting the ceiling.
Now that you know how to clean textured ceilings, learn how to clean the rest of your kitchen—from your kitchen sink to your toaster—so it sparkles from top to bottom.
Sources:


Originally Published: March 11, 2024