With summer in full swing, it's that time of year when it seems like there is always somewhere to be. Traditionally a lacquer lover - I do find myself opting for gels more frequently during these months for 2 reasons:
- They are more durable and I do not want to deal with a last second chip on the way to an event.
- I feel like I don’t have enough time for regular polish. Not only is there prep (shaping, cuticle care, etc.) but then there are the actual steps of polishing (base coat, polish, top coat) and THEN the dry time. Even if you are going sans-nail art, the time involved adds up.
Doing my nails in a hurry bothers me. I typically find polishing my nails pretty therapeutic and having to do it in a hurry often results in this downward spiral where I end up messing up a nail before it completely dries only to try and remove the polish from the one nail and end up messing up another. My self-care and enjoyable “me time” become anxiety-ridden and no one wants that.
Granted at-home gels do still take time - if you put the minutes necessary into proper prep, it is smooth sailing for the next couple of weeks! I am currently obsessed with Madam Glam’s line of One Step Gel; on average they last me a solid 2 1/2 to 3 weeks (my last manicure lasted 17 days and was eventually removed due to regrowth not lifting).
How I Do My Madam Glam Manicure
Items Needed:
- Madam Glam One Step Gel in desired color
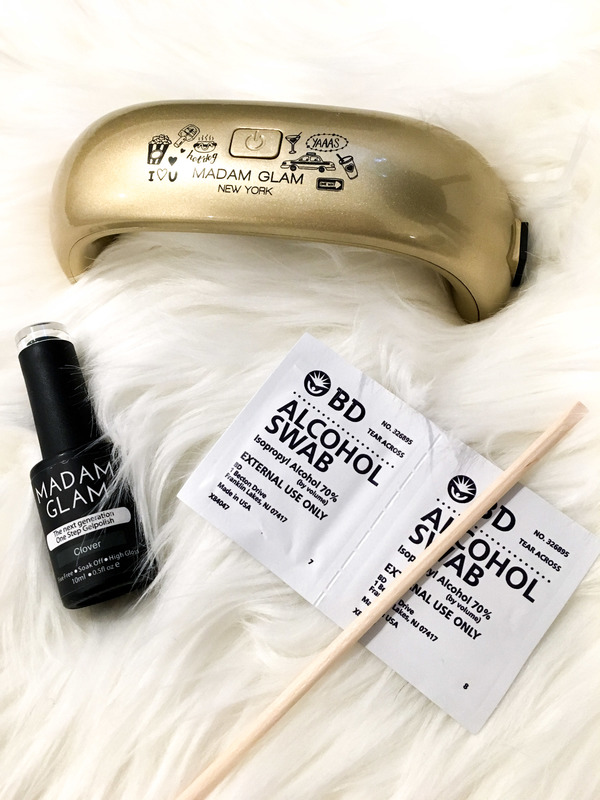
- LED lamp with 30-sec intervals
- Cuticle Stick
- Alcohol Swab
- Buffer
- Nail File
- Cuticle Cream
STEPS:
- PREP NAILS. Shape my nails as desired and appropriately clean cuticles. This is definitely the lengthiest part of my manicure but I believe it to be the biggest contributor to how long my gel manicure lasts. Once my cuticles are completely cleaned, I go back for another once over to make sure the edges of my nails are clean. I then look at each nail against its buddy nail on my opposite hand to ensure symmetry.
- GENTLY BUFF the surface of my nails. It is so important that I do not over buff them - a gentle hand is key! The lightest buffing across the entirety of the nail smooths out any ridges as well as helps the polish properly adhere.
- LIGHTLY SWIPE ACROSS EACH NAIL WITH AN ALCOHOL WIPE. One wipe is sufficient for all nails. I do not throw this away; I keep it off to the side in the event that I need to clean my cuticle stick during the polishing process.
- POLISH. I am right-handed so I naturally always polish my left hand first.
- Starting with my pinky, I polish the first four fingers. Cure for 30 sec.
- Polish my left thumb. Cure for 30 sec.
- Then, I move to the right hand and repeat - always polishing and curing my thumb separately.
- Repeat the entire process on left hand for a second coat. Cure for 60 sec for good measure.
- Repeat the entire process on the right hand for a second coat. Cure for 60 sec for good measure.
- Repeat for a 3rd or 4th coat if necessary to obtain your desired shade!
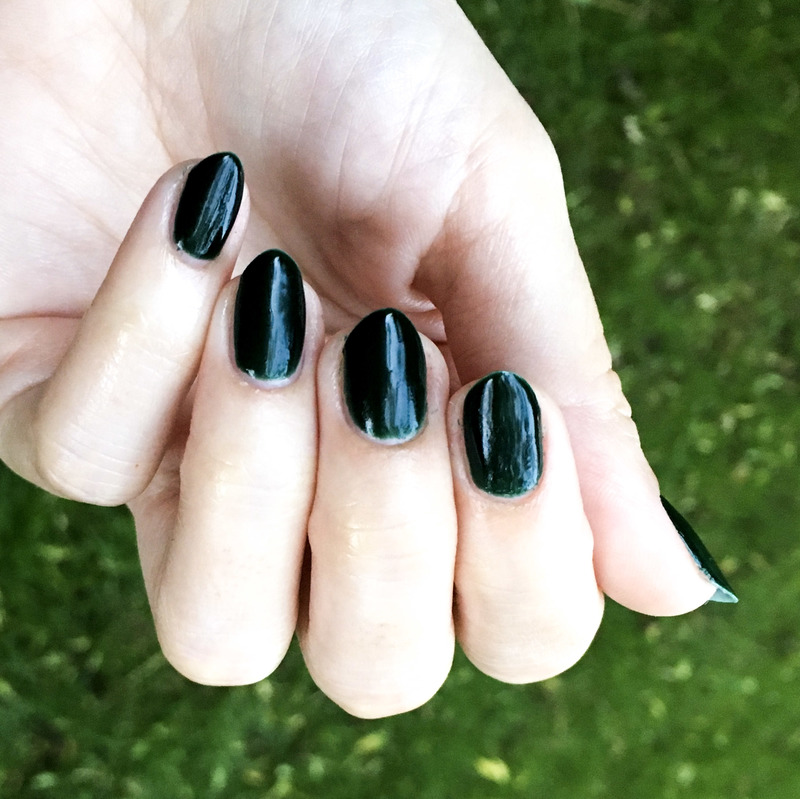
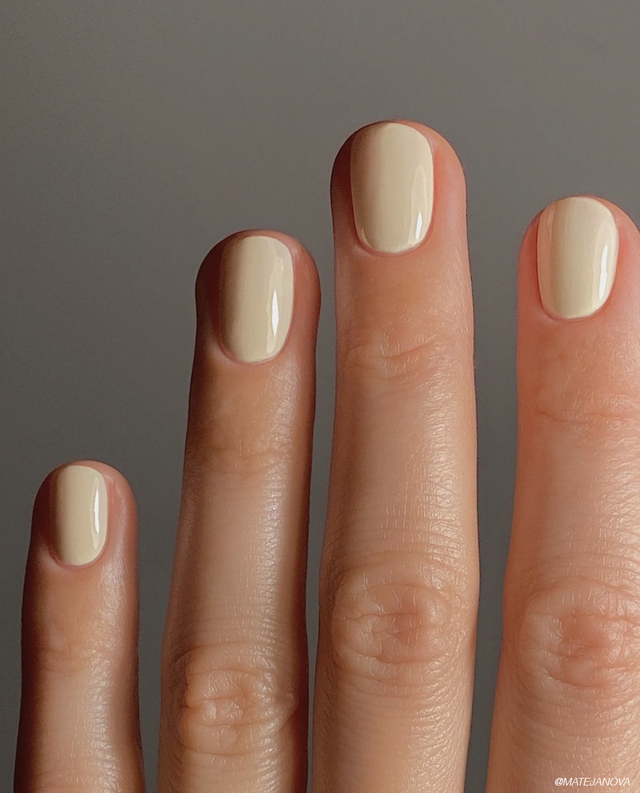
SHOWN: Madam Glam One Step Gel in “Clover”. 2 COATS.
TIPS FOR POLISHING:
- Thin coats! It is better to do 3-4 thin coats than 1 super thick one. Thick coats will not cure correctly and your manicure will probably not last as long.
- DO NOT polish on the skin surrounding the nail bed as this will cause your manicure to lift.
- If you get polish on your skin, wipe your cuticle stick on the alcohol wipe and then use the cuticle stick to clean the polish off of your skin.
- If your entire nail gets messed up prior to curing, use the alcohol wipe to clean the polish off of the entire nail. Don’t stress - just start fresh :)
5. CELEBRATE! No base coat. No top coat. No tacky layer that needs to be cleaned at the end. Just shiny, strong nails for the foreseeable future! *FULL DISCLOSURE: I add a drop of cuticle oil for a final bit of yesssss*
About Madam Glam: CRUELTY-FREE and PETA Certified, This line of Vegan Nail care Cosmetics is also 5-Free. 5-Free Polishes are formulated free of formaldehyde, dibutyl phthalate (DBP), and toluene—plus formaldehyde resin and camphor, too. What does this mean? the products are safer for your nails and YOU!