- News
- Reviews
- Bikes
- Accessories
- Accessories - misc
- Computer mounts
- Bags
- Bar ends
- Bike bags & cases
- Bottle cages
- Bottles
- Cameras
- Car racks
- Child seats
- Computers
- Glasses
- GPS units
- Helmets
- Lights - front
- Lights - rear
- Lights - sets
- Locks
- Mirrors
- Mudguards
- Racks
- Pumps & CO2 inflators
- Puncture kits
- Reflectives
- Smart watches
- Stands and racks
- Trailers
- Clothing
- Components
- Bar tape & grips
- Bottom brackets
- Brake & gear cables
- Brake & STI levers
- Brake pads & spares
- Brakes
- Cassettes & freewheels
- Chains
- Chainsets & chainrings
- Derailleurs - front
- Derailleurs - rear
- Forks
- Gear levers & shifters
- Groupsets
- Handlebars & extensions
- Headsets
- Hubs
- Inner tubes
- Pedals
- Quick releases & skewers
- Saddles
- Seatposts
- Stems
- Wheels
- Tyres
- Health, fitness and nutrition
- Tools and workshop
- Miscellaneous
- Buyers Guides
- Features
- Forum
- Recommends
- Podcast
feature
 Here's how to make your old bike new again Oct 2020
Can’t get a new bike? Here’s how to make your old bike new again
If you're fed up of waiting for a new bike, and have got an old one out of the shed instead, here’s what you should check before you take to the streets.
Many people want to get back on bikes in order to stay off public transport and enjoy some exercise. This means that lots of ageing bikes are being dusted off and brought back into service, particularly thanks to a shortage of new ones in the shops at lower price points.
If you’re inexperienced in maintenance, you might want to book your bike in for a service before you take it out. The trouble is that this is easier said than done with many workshops being full up well in advance. If that’s the case, we’ll tell you the basic checks that need to do yourself.
This article isn’t intended to cover everything that could possibly need adjusting or replacing on a bike you’re bringing out of retirement; that would require a whole manual. The idea is to suggest the key areas you need to look at in order to stay safe and comfortable.
Component brand Shimano says that you should regularly check the following before riding, whether or not your bike has been stored away for a while.
- Do the front and rear brakes work correctly?
- Does the brake cable have any rust, fraying, or cracks?
- Have the brake shoes worn down to the grooves?
- Are there any abnormal noises?
If you do nothing else, make sure you check these things and get them sorted before heading out on the road.
Here are the other things you should check out along with links to articles that'll show you how to put any issues right.
Tyres and inner tubes
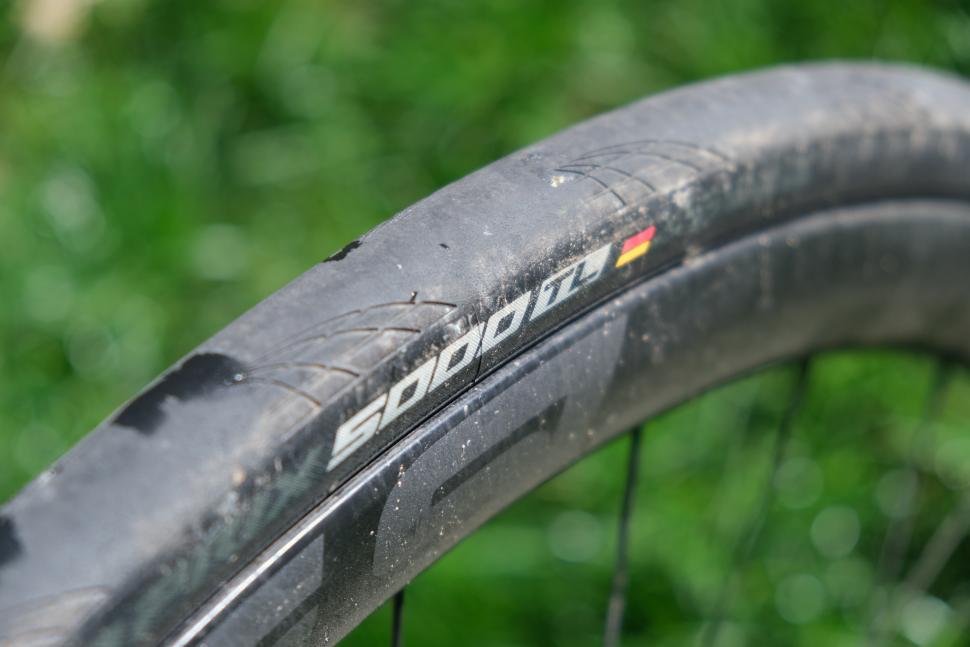
Some tyres have tread wear indicators to tell you when it’s time for a replacement.
Continental road tyres now have two small ‘tap-holes’ in the central area of the tread, for instance. You need a new tyre once these holes have disappeared
As mentioned earlier, rubber degrades over time, so sooner or later tyres won’t perform as intended, even if they've not been used much.
"We would say that a tyre tread rubber would start to harden after five years, or sooner if stored in direct sunlight," says Shelley Childs of Cambrian Tyres, the UK home of Continental.
"Whilst this is not saying you shouldn't use the tyre after this period, its just worth mentioning that the tyre will not be performing optimally after this time. This can vary due to other factors including local environmental conditions (hot/wet/humid etc), but five years is a good gauge.
"Eventually, a tyre will perish and crack and so this then becomes a safety concern and the tyre should be replaced, even if the tread still looks to have some wear left on it."
Tim Ward of Schwalbe UK says ,"If a bike has been sitting on deflated tyres in a shed or garage for a year or more then it's best to replace the tyres and inner tubes.
"I would also say that if a bike has been stored (even if it has been hung up) for more than three years it's probably a good idea to replace the tubes on safety grounds.
"Tyres will last much longer if kept out of direct sunlight (as UV light breaks down the long chain polymer molecules in natural rubber). Beyond five years, though, you might want to consider replacing the tyres and tubes for the same reason.
"One thing that often gets overlooked, and something I firmly believe is good practice, is to also change the rim tape when changing the tubes and/or tyres. Degraded and damaged rim tape can easily cause punctures or, worse, catastrophic and explosive tube failures.
"In this day and age nobody wants to be wasteful if something looks perfectly serviceable, but as tyres and tubes effectively connect you to the ground it's prudent to err on the side of caution."
Saddle
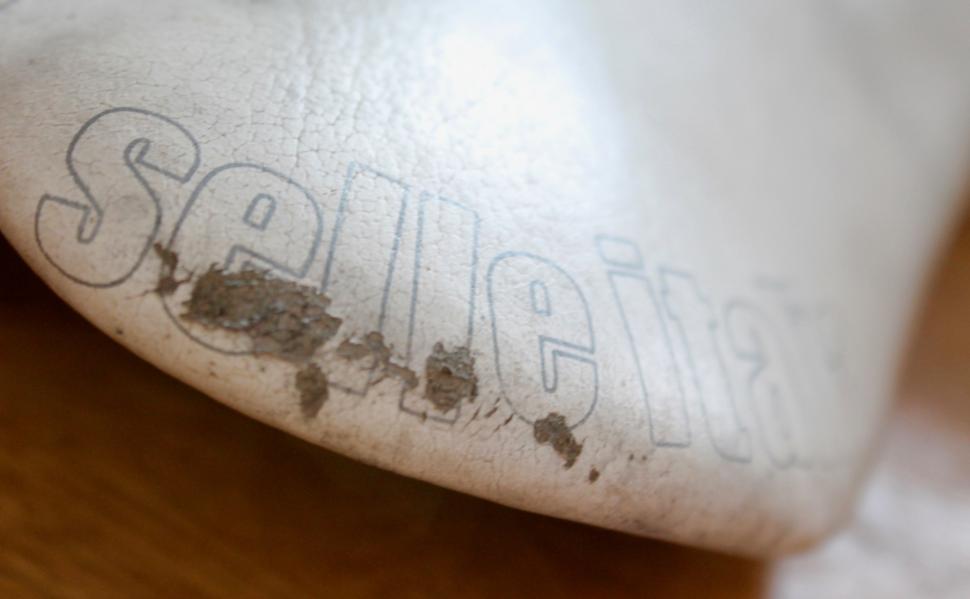
Check your saddle for any obvious damage that could affect its performance – bent rails, a cracked base, or scrapes and scratches to the cover that could let water in.
Padding will also deteriorate over time.
"Any type of flaw, deformation or change in colour in the areas subject to greatest stress indicate that the product has reached the end of its useful life and must be replaced,” says Massimo Perozzo of Selle Italia.
“For safety reasons, Selle Italia recommends replacing the product 10 years after its purchase, or whenever there are signs of structural degradation.”
Fizik suggests half that, whether or not there are any signs of ageing, or after 15,000-20,000km (9,300-12,400 miles).
An old saddle could still be usable, but the performance of the padding and the shell might not be as good as previously, leading to discomfort. If the saddle isn’t supporting you correctly, it could even lead to injury.
Find out when it’s time for a new saddle
Seatpost
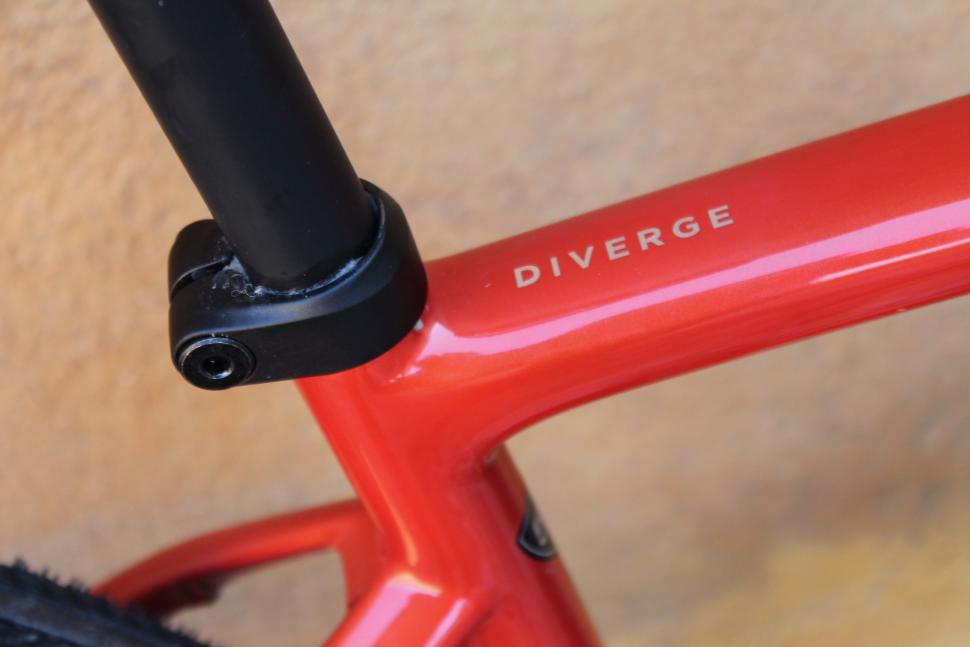
Hold the saddle firmly and try to twist it to the side and up/down. If there's any movement, check the bolt(s) holding the seatpost in the frame and the one(s) in the clamp at the top of the seatpost, and adjust anything that isn't tight.
You could also remove the seatpost to clean and then re-grease (alloy) or add fresh grip compound (carbon). This is something that people often ignore, and can result in the seatpost getting stuck.
Chain
If you dig out a bike that hasn’t been ridden for a while, the part that’s most likely to have corroded is the chain.
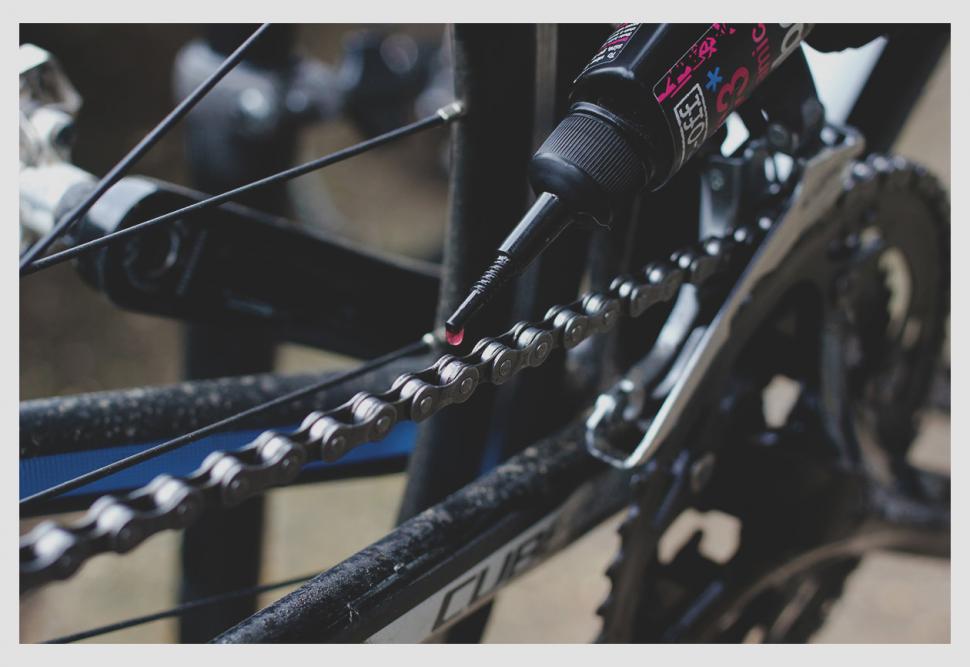
If you’re lucky, it might just need to be cleaned and re-lubed. Result!
Here’s the right way to clean and lube your bike’s chain.
If there’s a small amount of rust on your chain, you might be able to get it off with solvent and a stiff brush.
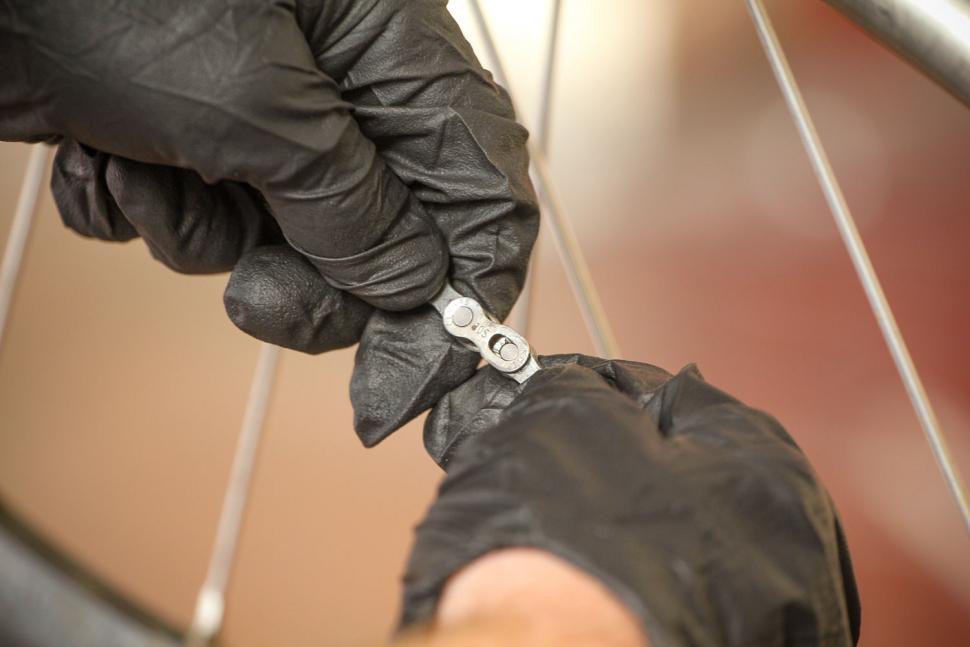
However, if the rust has taken hold and/or the links don’t move freely after cleaning and lubing, fit a new chain (a Shimano Tiagra CN-4601 Tiagra 10-speed chain has an RRP of £22.99, for example, but you can get one online much cheaper than that).
You should replace your chain if you spot any damage (a deformation or crack). Chains gradually lengthen as they wear and need to be changed periodically to maintain the performance of your drivetrain.
Find out when your chain needs replacing.
Here’s how to replace a chain.
One thing to bear in mind, though, is that a new chain might not work well on worn chainrings or sprockets. If it skips as you ride (while your gears are correctly indexed, see below), you’re going to need to change those too. Sorry!
Brake pads
You don’t need us to tell you that mixing it up with motor vehicles when your brakes aren’t at their best would be a shockingly bad idea.
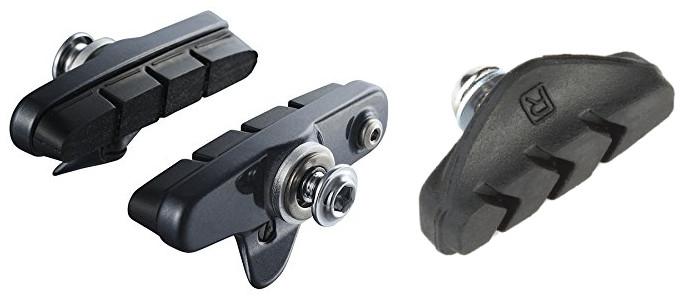
Brake pads wear out with use – that’s a fact of life – so check ’em. Rim brake pads often have a wear line that tells you when they need replacing. If not, Shimano’s advice (see above) is to check whether they have worn down to the grooves and swap for new ones if needed.
If a bike is ridden regularly the brake pads nearly always wear out long before the rubber has a chance to degrade. However, that might not be the case if the bike has been stored away for years, so inspect the brake pads thoroughly. If you’re in any doubt about their condition, bin them off and get some new ones.
Here’s how to replace your rim brake pads.
Disc brake pads can glaze with use so check them before you ride.
Find out how to deal with glazed disc brake pads.
You often get a warning that disc brake pads have almost fully gone when the wire pad separator starts catching on the disc and makes a scratching noise. Failing that, have a look to check there's still meat on the backing plate. We've seen cases where people have gone through the pad, the plate and started braking on the piston, and you really don't want to do that!
Follow our simple instructions for fitting new disc brake pads.
Brake cables
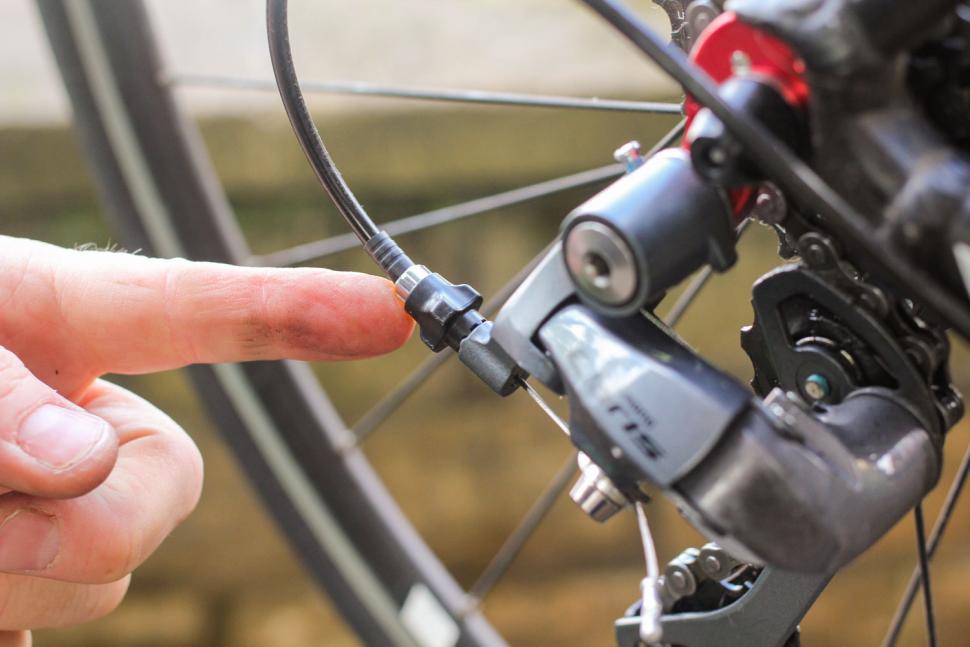
Your inner brake cables need to move freely within the outers. If the inner cables have rusted or frayed, replace them. New cables are cheap and they’re usually easy enough to fit if you have the right tools (admittedly, some convoluted internal routing can sap your will to live).
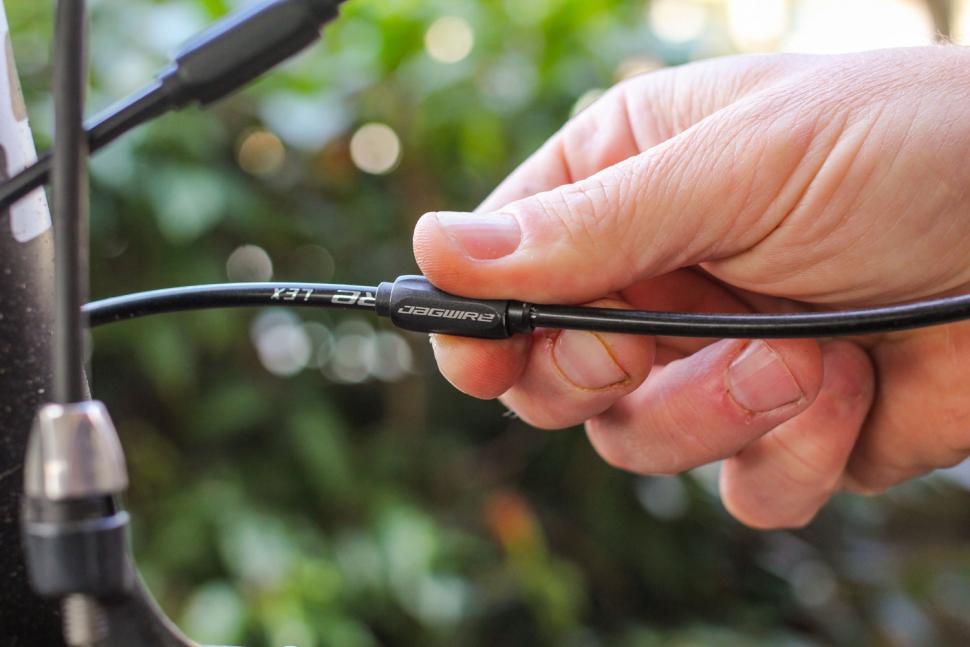
Similarly, if there are cracks in the cable outers, get new ones.
Here's our simple guide to fitting side-pull brakes.
Disc brakes
Check whether the rotors on a disc brake bike are worn to the point that they need replacing.
Here’s when you should get new disc rotors.
And here’s how to fit new disc rotors.
Make sure that no oil or grease has contaminated the rotors or pads. This can affect the performance massively and also lead to squealing.
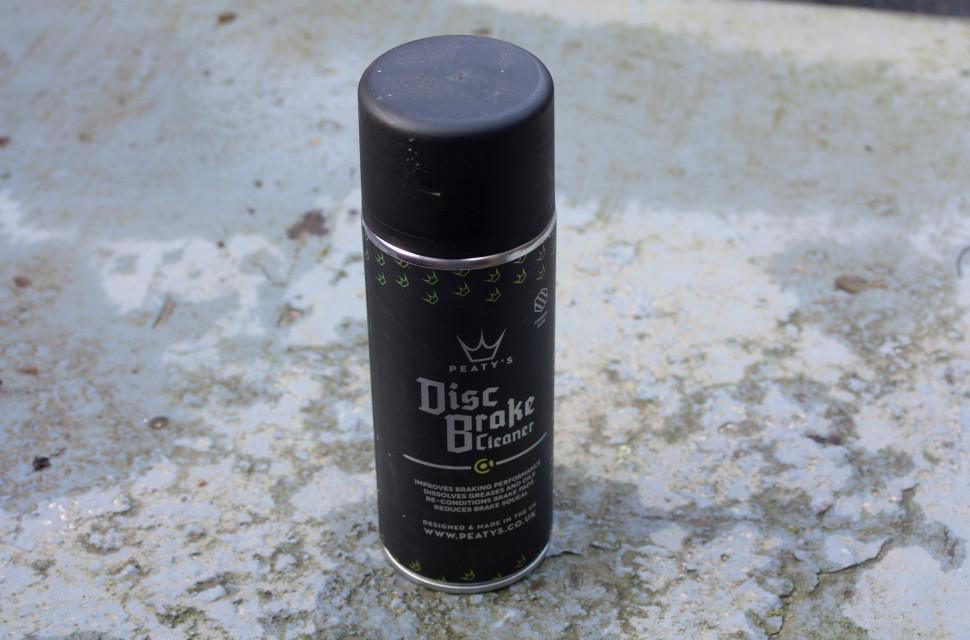
You can use a degreaser to get oil off a disc calliper or rotor, or a specific disc brake cleaner like Peaty’s.
“Cleaning your rotors regularly with a specific (oil-free) disc brake degreaser is a good way to avoid squealing brakes,” says Shimano. “Cleaning your pads too can help quieten things down – you can try some sandpaper or grinding the pads – but if grease has soaked through the pad, you might need to replace them. Don't use a degreaser or chemicals on brake pads.”
Here's how to clean your disc brakes properly.
Here’s how to look after your disc brakes.
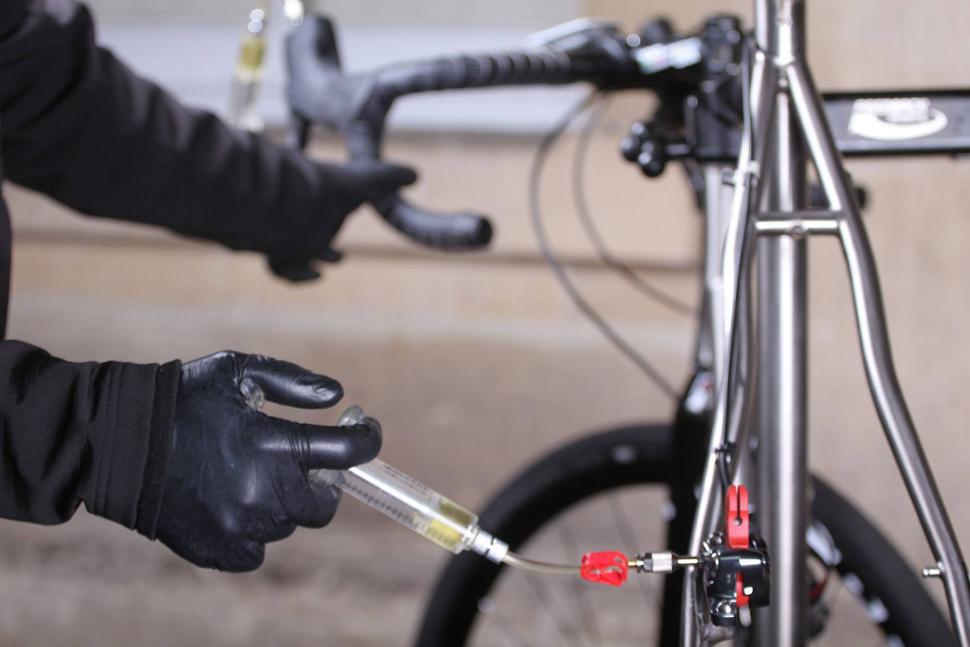
It’s unlikely that you’re going to pull a bike with hydraulic disc brakes out of the back of the garage, but who knows? If so, check the brakes and bleed them if they feel spongy. The process for bleeding brakes varies between models.
Here’s how to sort a SRAM hydraulic disc brake system.
Brake callipers
Squeeze your brake levers to check that the arms of your callipers are able to move freely.
If the pivots need to be cleaned and re-greased/lubed, make sure you don’t get anything on the braking surfaces.
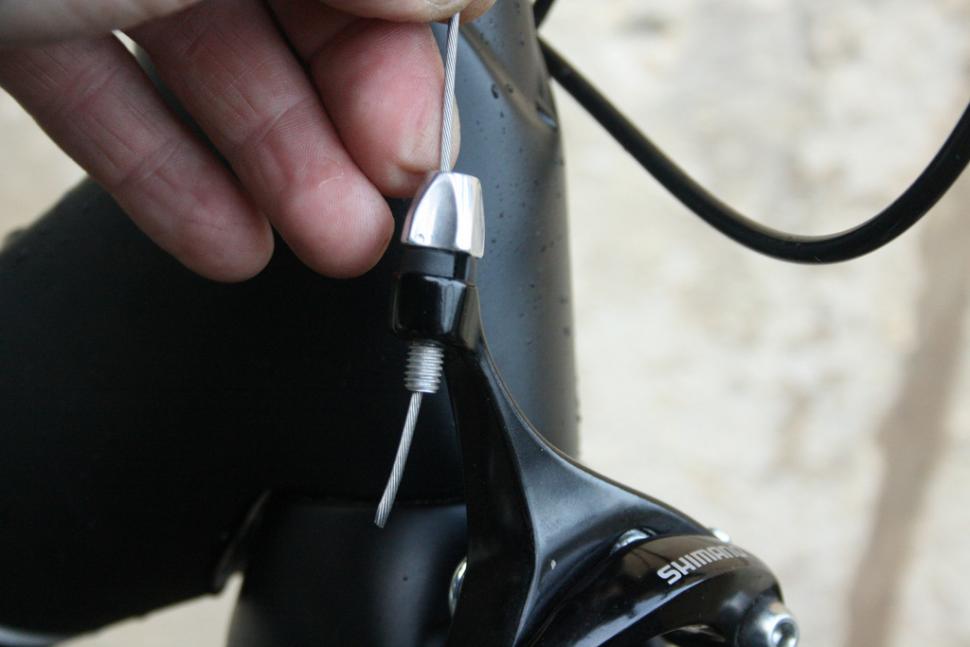
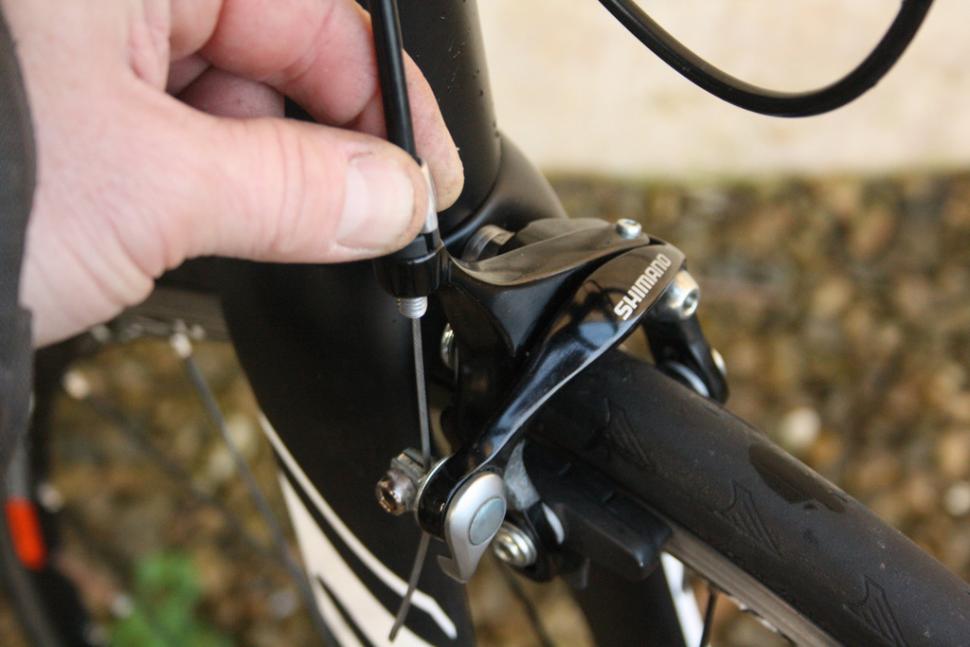
Check that there's enough lever travel after the point the pads contact the braking surface for you to apply plenty of power. If necessary, twist the barrel adjuster where the cable enters the brake calliper to tighten the cable. You need to turn it anti-clockwise.
If you need to tighten the cable further, go to our article on fitting side-pull brakes.
Handlebar tape
While some handlebar tapes don't seem to mind prolonged storage, we've known the surface layer of others to start flaking as soon as the bike is ridden again.
Check out our handlebar tape reviews.
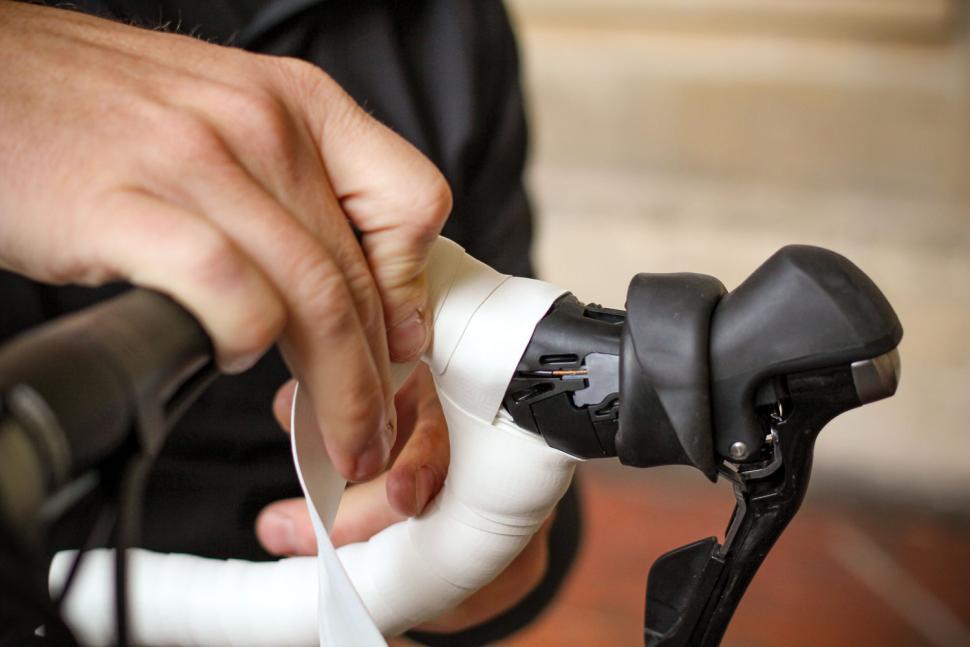
New handlebar tape won’t just look better, it’ll provide more grip and comfort.
Here’s how to wrap handlebar tape.
Grips
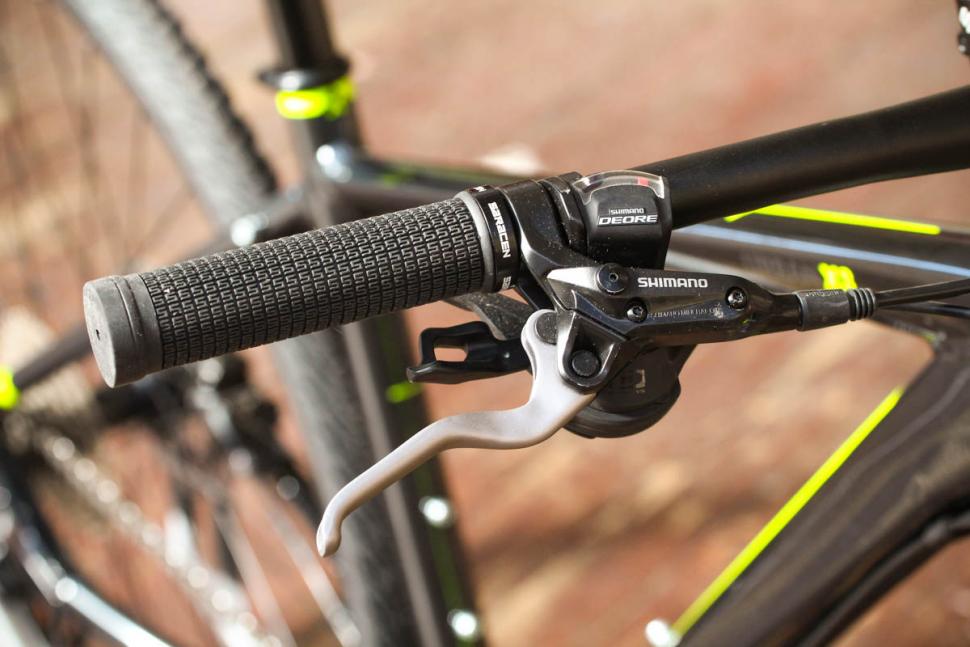
If your bike has handlebar grips, check that they’re still in good condition and that they don’t move in use. Some grips last much longer than others.
If you need new handlebar grips, check out our reviews.
Bearings
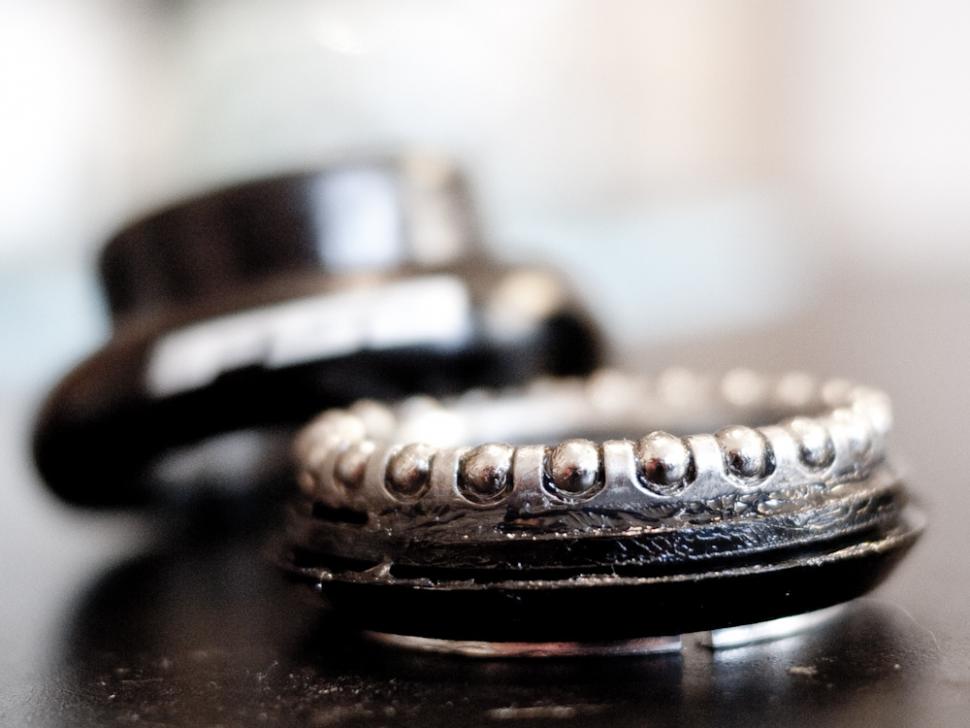
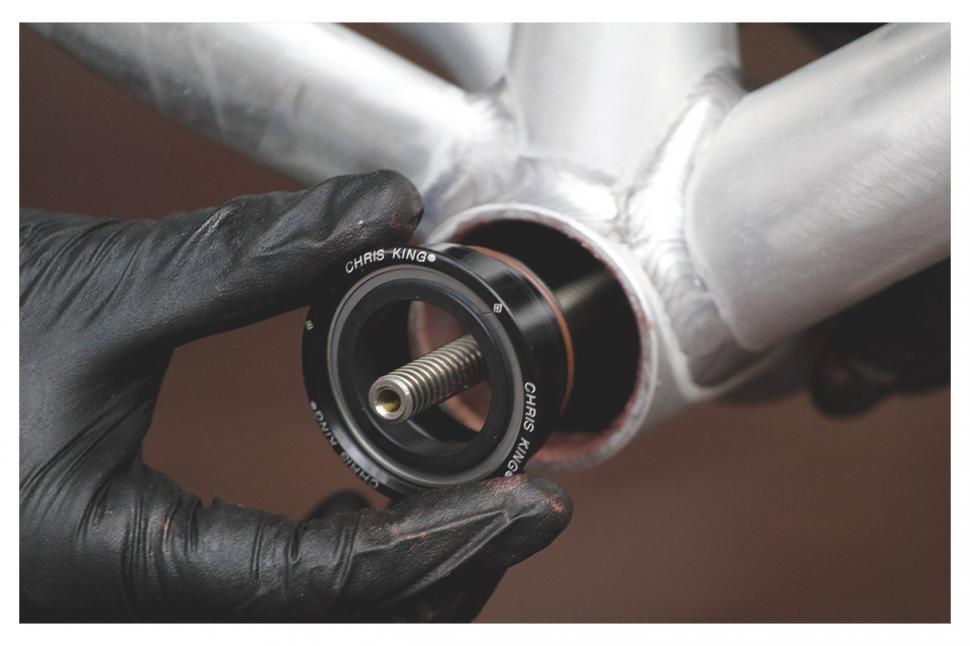
There are lots of different bearings on your bike and they all need to run smoothly. Your headset, bottom bracket, wheels and pedals all rely on properly functioning bearings, for example.
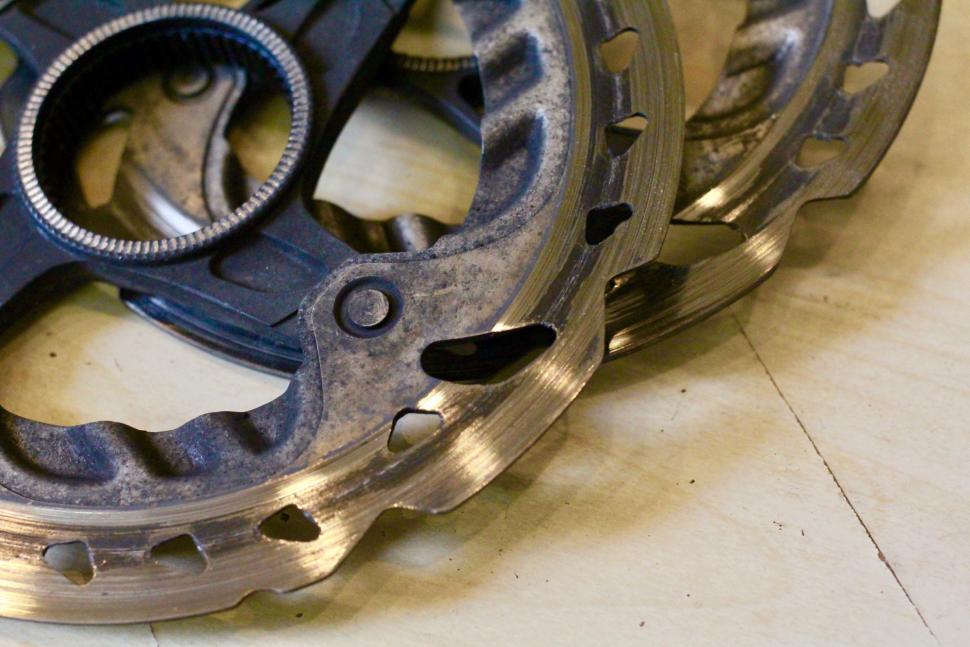
The trouble is that bearings have an annoying habit of corroding if your bike is left at the back of a shed or garage for a long time, especially if it’s damp in there or they were already on the way out (the one pictured above obviously had a tough life!). At best this means that they’ll feel rough, at worst it’ll result in them seizing.
The other problem is that there are loads of different sorts of bearings and different ways of fitting them, and we can’t possibly go through them all here.
Many wheels spin on sealed-cartridge bearings, for example, which can’t be adjusted (although you can gently prise the seal out to clean and re-grease them if you're careful) .
Other wheels from the likes of Shimano run on cup and cone bearings and allow for greater adjustability, although you need to know what you’re doing to avoid damage.
Our best advice would be to test the movement of every bearing to check that it’s spinning freely without any play (unwanted sideways movement).
Here’s how to adjust a threadless headset.
If you have the experience and the right tools, there’s no substitute for opening up a bearing and taking a good look inside for any signs of corrosion, and if necessary cleaning, re-greasing and adjusting – or replacing it entirely. If you’re inexperienced, though, or you don’t have the correct tools, ask your local bike shop to do it for you.
With cartridge bearings, putting some grease or anti-seize on the mating surfaces really helps with removal after ages of subjecting them to water, dirt and salt. Smearing loads of grease around them also helps with keeping water out.
Wheels
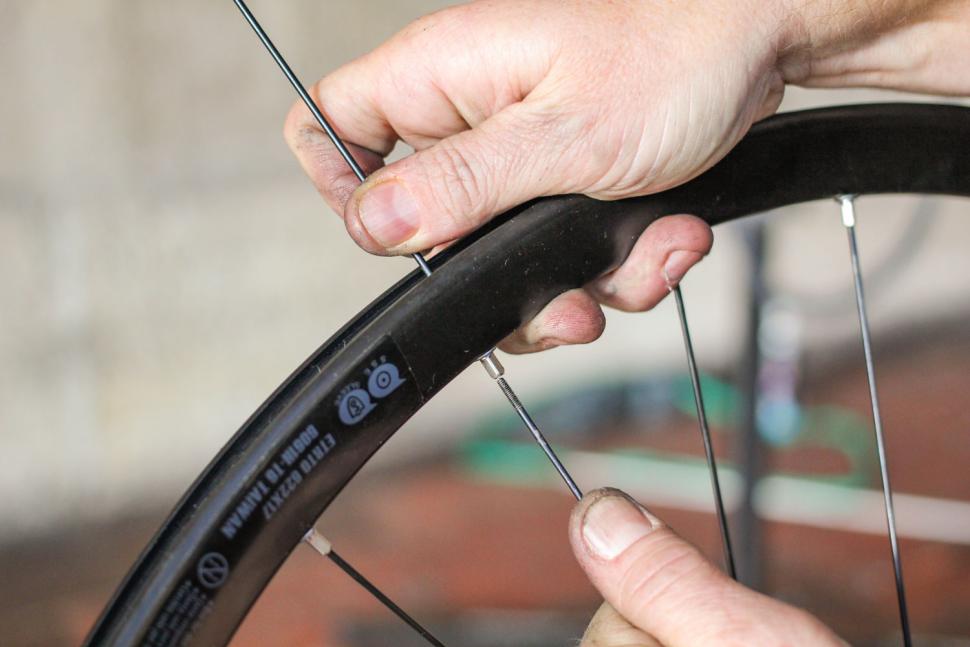
As well as checking that your wheels spin properly, check that there are no cracks in the rims and make sure that all of the spokes are intact; they can sometimes get snapped when a bike is stored away.
Replacing a broken spoke is usually straightforward enough if you have the right tools.
Follow our simple guide to replacing a spoke.
Getting a wheel with several broken spokes to run true again is a more difficult job that we’d say is best left to professionals or experienced home mechanics.
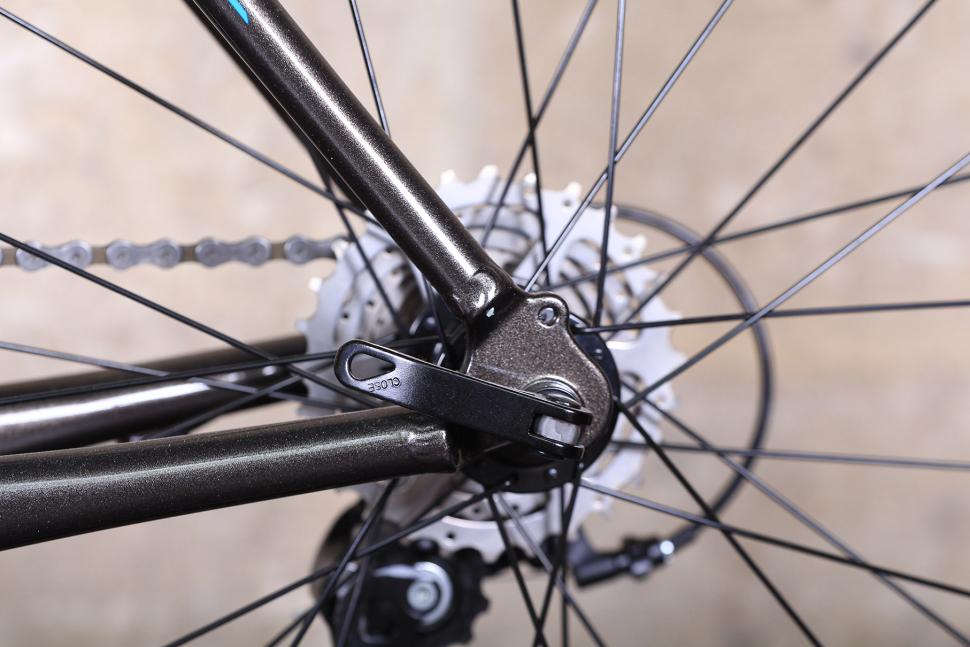
If your wheels are held in place by quick release skewers, check that they're done up and functioning smoothly.
If your bike doesn't have quick releases, check that the bolts are working properly so you can get your wheel off if you puncture.
Gears
Check that the front and rear derailleurs (or mechs) are free of corrosion and able to move correctly, and that the cables haven’t rusted or frayed.
Here are step-by-step instructions for replacing a gear cable.
Adjusting your rear derailleur is pretty straightforward when you know how, especially if it's just the indexing (getting the chain to run on the right sprocket when you click the shifter) that needs sorting.
Here’s how to get your rear derailleur running right.
And here’s how to get sweet shifting from your front derailleur.
Frame and fork
Frames and forks are usually pretty resilient but they can be damaged in storage if something heavy is dropped on them or leaned up against them. Corrosion can also developed in certain circumstances.
Check the frame and fork over carefully, looking especially for cracks and dents. If you're unsure of anything, don't ride it.
Other bolts
Make sure that all of the other bolts on your bike are tight before you ride, especially the stem bolts.
Hold the front wheel between your knees and try to turn the handlebar. Then try to move the handlebar forward in the stem clamp. If there's any movement, tighten the bolts.
It's unlikely that the stem or handlebar will have cracked or corroded while your bike has been gathering dust, but you never know so check them over just in case.
Clean it!
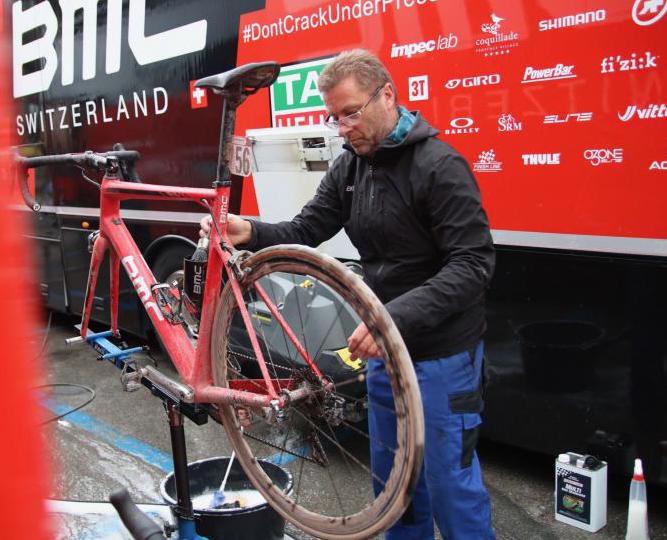
If your bike has been stored for a lengthy period it's likely to need a really good clean to get rid of accumulated grime. This won’t just get your bike looking fresh, it’ll help ensure it runs smoothly and that the components last as long as possible. It’s also a good opportunity for you to look for any faults that could develop into something serious.
Here’s how to clean your bike, from a quick lick to a full makeover.
Go to our reviews of cleaning products.
Relax your ride position
This one isn’t as much about the bike as it is about you! If you’ve not ridden a bike in ages, consider relaxing your ride position for a while to put less strain on your back and neck. You might have ridden in a low, aggressive position three times a week five years ago, but that doesn’t mean you need to go straight back into it.
You can do this on most modern bikes by flipping the stem over (here's how to re-set the headset afterwards), or you could move a headset spacer from above your stem (if there are any there) to below it for a while.
Mat has been in cycling media since 1996, on titles including BikeRadar, Total Bike, Total Mountain Bike, What Mountain Bike and Mountain Biking UK, and he has been editor of 220 Triathlon and Cycling Plus. Mat has been road.cc technical editor for over a decade, testing bikes, fettling the latest kit, and trying out the most up-to-the-minute clothing. He has won his category in Ironman UK 70.3 and finished on the podium in both marathons he has run. Mat is a Cambridge graduate who did a post-grad in magazine journalism, and he is a winner of the Cycling Media Award for Specialist Online Writer. Now over 50, he's riding road and gravel bikes most days for fun and fitness rather than training for competitions.


I should point out that the larger fitting bands for the Carradice QR system are perfect for the outsize seating tubes of my Birdy and Halfords...
Who won the women's race as I must have missed the report on road.cc?
I had someone tell me about another fake camera that they might brake and aquaplane. They drive on the road but don't even know what aquaplaning is...
"with lean strong physiques" More body shaming !
I know, cos I wasn't in the video
Don't forget their insurance will double or even triple for the next few years...
All that glisters...there's an awful lot of fake Rapha kit available, not got any myself but from the photographs online it looks pretty...
Car damaged after crashing into house in Hereford street...
Yeah, I can't find any authoritative studies from a quick search. Anecdotally, EV owners are wearing through tyres quicker than with ICE vehicles...
If you're interested, Westbrook Cycles have them down to £140 already, albeit in a very limited range of sizes.