
The used slow cookers at Goodwill presented a dilemma. Should I go with the two-quart Crock-Pot for name-brand reliability and size? Would the small Babycakes Chocolatier get hot enough? Was a rice cooker like a slow cooker?
Had I been looking for a vessel to actually make food, the choice would have been clear. But I needed one for bicycle chains, which complicated things. Ultimately, I went with the safe choice and brought home the used Crock-Pot. I was ready to experiment with switching from conventional lube to chain wax.
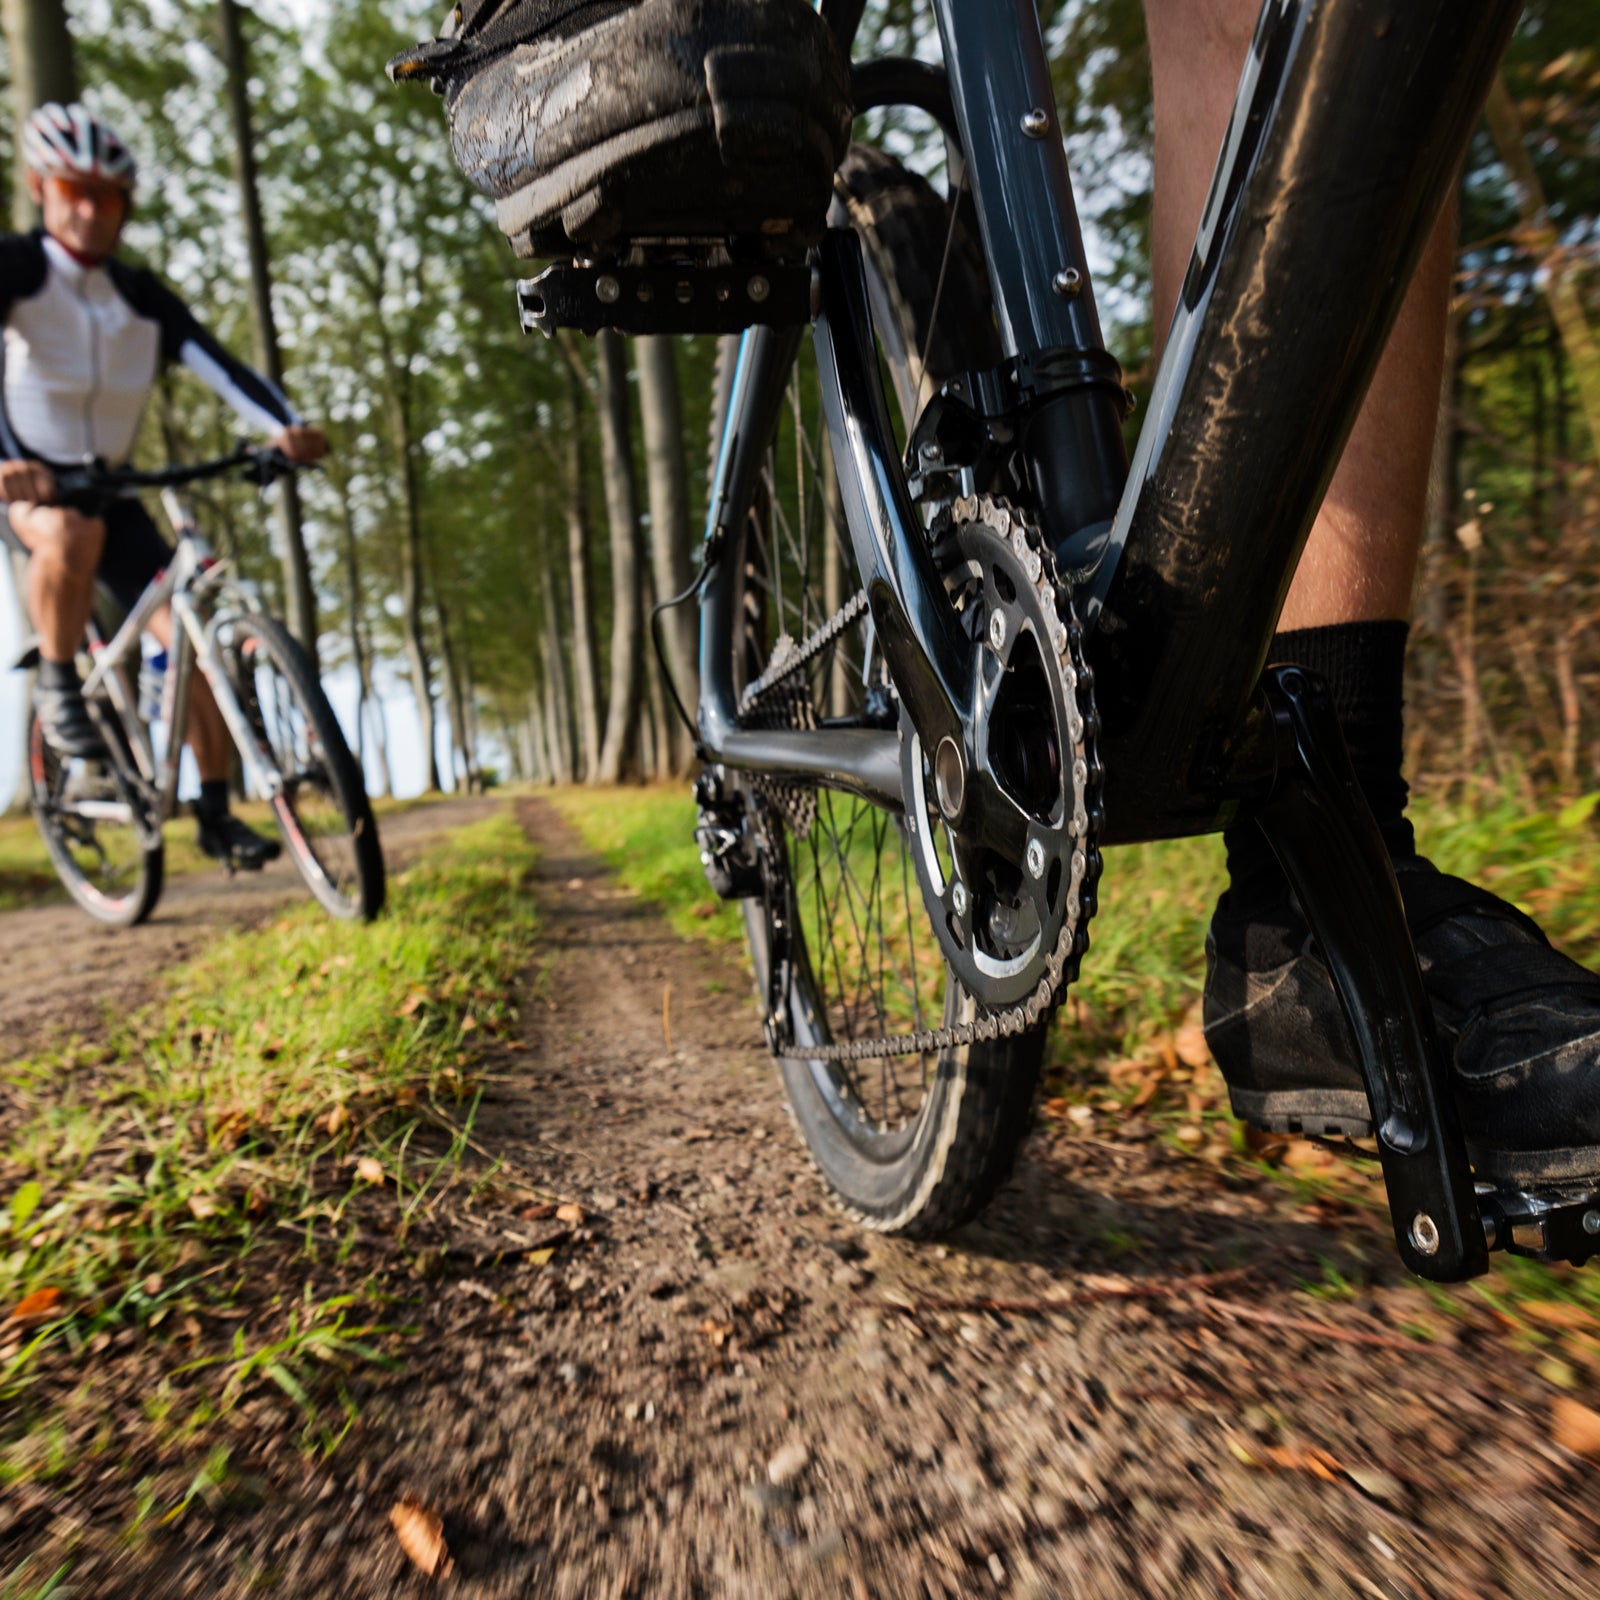
For most of the history of chain-drive technology, bicycle or otherwise, we’ve used some kind of lightweight, free-flowing oil for lubrication. Oil penetrates deep into the chain internals to reduce metal-on-metal friction between the bushings and rollers as they articulate against each other. It also forms a protective barrier against corrosion. But because the oil is wet, it attracts dirt and grime, which forms a paste that essentially acts like sandpaper, grinding away at the mechanisms.
The result of that process is what we call chain stretch. The metal doesn’t physically elongate; rather, the tolerances between the chain’s individual parts increase as material wears away. As the chain “stretches,” it doe sn’t neatly mesh with the teeth on the gears and progressively wears down those parts, too.
This is the cyclist’s eternal dilemma. We oil chains to reduce friction, but the act of oiling them invites contamination that ultimately increases friction. For decades, the only effective mitigation was to regularly clean and relubricate chains every few hundred miles or after every ride in wet, sloppy conditions.
Waxing, a technique developed around a decade ago, changes that. In place of a wet, oil-based lube, you submerge the chain in a heated paraffin bath that penetrates into the chain just like oil does. But as it cools, it hardens and completely dries out, leaving behind a microscopic lubricant (typically Teflon or some kind of metal disulfide). You get the benefits of lube without the dirt.
Chain wax has long been the province of obsessives in pursuit of a few free watts of power—gains that are far too minimal for most riders to bother with. But six months of riding on waxed chains converted me. Why is it worthwhile? A waxed chain produces the cleanest, easiest-to-care-for drivetrain you’ll ever ride. My bikes stay cleaner with half the maintenance, my drivetrains now run and shift more quietly, and I’m saving money on replacement parts. I’ll never go back to oil lubes again.
There’s a persistent perception that chain waxing is a difficult, arcane process that takes a lot of work. Like many myths, there is a grain of truth: the initial cleaning does take some time. But it’s not hard, and it only needs to be repeated when you replace the chain, which you’ll do far less frequently than with oil-based lubes. Think of waxing as the bike-maintenance equivalent of no-knead bread. All you need is some basic ingredients and time.
The Process
Switching from oil lube to wax works best with a brand-new chain. You can clean old chains, but it takes more effort. The first time you clean and wax your chain, make sure to thoroughly wash and scrub your bike’s drivetrain. This part is time-consuming, because you’ve got to do your best to get all the caked-on gunk off the cassette, chainrings, and rear-derailleur pulley wheels. A wire-bristle brush works great on metal parts like cassette and chainring teeth; a rag is best for plastic derailleur pulley wheels.
Cleaning Your Chain
You’ll Need:
- A new chain (go midrange, like Shimano’s HG701 for 11-speed drivetrains)
- A chain tool
- A wide-mouth plastic jar and lid
- Two clean rags
- Rubber work gloves
- A heavy-duty degreaser or mineral spirits
- Denatured or isopropyl alcohol
Step 1
Remove the chain from its package and, using a chain tool, cut it to the appropriate length. (Just match it to your old chain.)
Step 2
Fold the chain into the plastic jar, add degreaser or mineral spirits to cover, tighten the lid, and then shake it like a maraca for two minutes. (Why must you do this to a new chain? It’s explained in the Frequently Asked Questions section, below.) Drain the degreaser into a waste container—you’ll notice some oily residue and metal shavings from the manufacturing process in the degreaser and coating the jar. Lift the chain out, and use a rag to wipe down both it and the jar. (You can also rinse the chain with water.)
Step 3
Repeat step two, except instead of draining the degreaser immediately, let it sit for 15 minutes. Then drain it, and wipe or rinse as you did in step two.
Step 4
Do one more shake-cleanse with a final bath of degreaser. This round of degreaser should look pretty clean. If it doesn’t look almost as good as new, do another shake-cleanse round. Thoroughly wipe or rinse the chain and the jar.
Step 5
Repeat the same process as step two—but use the denatured alcohol this time (the alcohol strips the degreaser, and any water from rinsing, and it speeds up drying). Use your other clean rag to wipe the jar and chain, which should be entirely free of any residue. Repeat again, then wipe out the jar, thoroughly wipe down the chain, and leave the chain in a sunny location to dry for an hour.
FAQs
Why am I cleaning a new chain?
Chains are packed in a thick grease meant to prevent corrosion, but this lubricant is terrible for actual riding. It’s like a magnet for grit. Flushing out every bit of it means there’s nothing to attract dirt, and it also makes room for the wax to penetrate and bond to the chain. The heavy oil is stubborn. If you don’t remove all of it, the wax won’t fully seep into the chain internals. And if you don’t rinse off the degreaser with alcohol after cleaning your chain, it’ll prevent the wax from bonding to the chain.
What should a clean chain look like?
There should be no oily residue to the touch, and the links should move freely, with a clean-sounding click as they articulate.
Why rubber gloves?
Alcohol is readily absorbed through skin and can cause alcohol poisoning. Denatured alcohol contains methanol, which can lead to serious health issues with enough exposure. Citrus degreasers and mineral spirits are a bit less toxic but still hard on skin. So work outside or in a well-ventilated area, like a garage with the door open.
I read on a forum that I need an ultrasonic cleaner. Is that true?
The true bike nerds among us who won’t settle for less than microscopically clean chains use ultrasonic cleaners, which use heat, solvent, and vibration to clean metal parts. They’re more thorough than the shake method, but they also cost upward of $150 and get widely varying reviews for reliability. There’s no reason not to use one, but you don’t have to.
Some people say to just leave the chain overnight in degreaser. Is it OK to do that?
Please don’t. Citrus degreasers are great cleaners, but they’re water-based acids, which means that as they work on the chain, they can lead to a chemical reaction with metals called hydrogen embrittlement. This essentially creates microscopic cracks in the chain metal that could result in a sudden, catastrophic failure while pedaling. The shake and quick-soak method outlined here is a safer approach.
Waxing Your Chain
You’ll need:
- Chain wax (I use Molten Speed Wax but also plan to try Silca’s Super Secret Chain Blend)
- A slow cooker (two quarts or smaller) that you’re prepared to ruin with wax
- A section of wire coat hanger with one end bent into a J shape
Step 1
Fill the pot of your slow cooker with enough wax to generously cover the chain. Lay chain in the pot, on top of the wax, as flat as possible. Turn the slow cooker on low. It may take 30 minutes or more for the wax to fully melt. In the meantime, sweep out your garage, clean a bike—whatever you need to do to pass time.
Step 2
Once the wax has liquified, use your coat-hanger tool to agitate the chain (make sure the chain stays fully submerged). Set a timer for 30 minutes.
Step 3
Swish the chain around again, then hook a chain link in the J bend of your modified coat hanger and carefully lift it out of the wax bath. Once the chain stops dripping, hang it to cool. Thread the chain-connector quick link on your chain tool (use pliers for a connecting pin), and swish in the liquid wax bath for a minute, then set it aside to cool. (There’s no need to clean the slow cooker; just unplug it and cover it. The wax will simply remain there and melt again the next time you need to wax a chain.)
Step 4
Once cool, the chain will be stiff. Loosen the links by pulling the chain over your index finger or a metal rod of some kind (I use an old ski pole). You may see some minimal wax residue on the outside of the chain; this will flake off on the first ride.
Step 5
Install the newly waxed chain on a clean drivetrain, using the dedicated connecting pin or quick link that comes with the chain—the one you swished in the wax.
The Benefits to Waxing
It Will Save You Time
This entails a lot of work up front. But once you’ve cleaned and waxed a chain, maintenance mostly consists of listening for the drivetrain to get noisy again and then removing it and plopping it back in the wax bath for an hour or so.
The drivetrain itself will stay far cleaner. Since March, I’ve ridden exclusively on waxed chains for road, gravel, and mountain biking. Wax lube doesn’t last longer than conventional lube: I can get about 300 miles out of either in optimal conditions. But at that point, the waxed drivetrain is still dry and largely free of dirt, while an oiled drivetrain would be packed with grit and gunk, requiring more frequent, involved bike washes.
It Will Save You Money
The dirtier items like chains and cassettes are, the faster they wear out. Data from Zero Friction Cycling, an Australian boutique that does chain testing, suggests that wax can offer a wear life that’s three times longer for chains compared to conventional lubes.
Chains cost $35 and up. With conventional oil-based lubes, I go through three a year on my daily-driver gravel bike, plus at least one each year for my road and mountain bikes, which I ride a bit less. That’s $150 to $200 a year in chains. Now that I wax, one chain will last me a full year or more on the gravel bike and multiple seasons for my road and mountain bikes. (Use a chain-wear checker to tell you when it’s time for a new one.)
Cassettes will set you back at least $75, and high-end versions can be as much as $400. With regular bike washes, I used to get three to four seasons out of a cassette but expect to at least double that life span with wax. It literally pays to keep things clean.
Caveats and Tips
Drip-on wax lube isn’t as good, but it’s still better than oil lubes.
For my gravel bike, I experimented with a kind of wax lube that you apply by dripping it onto the chain, like an oil-based lube. The wax is suspended in a liquid carrier that evaporates after you apply it. I tried two: Squirt, a longtime favorite, and a newer one from Silca called Super Secret. The idea with this is that you get the benefits of wax without the slow-cooker step. Both kept my drivetrain much cleaner than oil-based lube but left slightly more residue than a conventional hot wax. You still have to do the initial chain-cleaning process. Drip wax is a fine option; just don’t expect quite the same cleanliness as a hot wax. You can even combine the two methods, starting with an initial hot wax and then “topping off” with drip lubes instead of another hot wax about every 200 miles (though you’ll still need to re-wax around every 1,000 miles for dry conditions). Apply a single drop to each link, then let it dry overnight. A clean rag can wipe off any excess residue. For hot wax, I’ve been using Molten Speed Wax but plan to try Silca’s Super Secret Chain Blend, which uses a different metal disulfide that the company claims results in lower friction than any other lubricant and lasts longer.
Hot wax may not be the best option for cyclists who live in rainy climates.
Wax still forms a barrier against water corrosion, but in wet conditions, it’s less effective at repelling grit. If you live in a rainy area, you’ll need to fully reclean your chains more often, especially on gravel and mountain bikes. Hot wax also isn’t the best choice for situations where you’re washing your bike a lot, like cyclocross racing. The repeated washes will strip wax just as they will oil, and hot waxing takes longer to redo. You can use oil-based lube or a drip-based wax lube here. Either way, the best approach in this situation is just to wash your bike regularly.
You can wax multiple chains at a time.
If you want to maximize your efforts, clean and hot-wax multiple chains in the same jar and slow cooker. I started with two, so I’ve always got a clean, waxed chain ready to swap onto the bike. I set the other aside to wax on weekends when I have time.
Waxed chains can still get dirty but don’t usually need to be fully recleaned.
Waxed chains aren’t impervious to collecting dust and dirt. If yours is a little dirty but doesn’t merit a full recleaning, put it in an old metal pan, pour boiling water on it, and swish it with your chain tool. The hot water will lift off the surface wax, and with it, most of the dirt. Repeat once or twice, then dry completely overnight before waxing again.
Buy spare chain pins or links.
Chains come with attachments: either special pins or two-piece links that snap together. I prefer links to the pins. Either way, buy a couple extra. Nine-speed chains have reusable links, but 10-, 11-, and 12-speed chains are narrower, and the links are single use. If you reuse these single-use snap links, they may not fit together securely, which means they could snap. Yes, people can and do reuse them safely and yammer on about it on forums, but they’re not paying for your post-crash surgery. Spare links cost $5 to $15 each, snap-link pliers are $16, and these reusable links from Wipperman cost between $10 and $23. Dental implants cost $1,500 and up—per tooth.
A note on waste disposal: be safe and think of the environment.
Whether you’re using mineral spirits or a citrus degreaser (my pick was Zep Heavy Duty, which is best purchased at your local hardware store), neither are things you just dump into the gutter or pour down a sink. The same goes for denatured alcohol, which contains methanol. Set aside a couple of empty laundry-detergent bottles, fill them with your used cleaners, and then take them to a hazardous-waste facility when they’re full. To create less waste, use this trick from Josh Poertner, Silca’s CEO: line a funnel with a fresh coffee filter, and strain the used degreaser or alcohol back into the main container. It’s best to discard the initial batch of degreaser and alcohol, but the ones from subsequent steps should be clean enough that, if filtered, they can be reused.