Even the most beautiful of home floors will need some loving care for it to always look its best.
This means that knowing how to seal hardwood floors can help your home maintain its value and charm.
Here are the steps you’ll want to follow for a successful experience.
1. Make Sure Your Home Is Well Ventilated.
There will be a lot of dust in the air when you’re sealing your hardwood floors.
Many of the products you may wish to use could also emit harmful vapors.
You’ll want to make sure there is air movement within the room and that you’re wearing personal protective equipment to guard your breathing passageways.
Keep in mind that an open door or window without a screen can also contaminate your environment and make this job more difficult, so not every ventilation method is a good one.
2. Make Sure Your Hardwood Floors Are Smooth.
The first step in the sealing process is to make sure your floors have had scratches, dents, dings, and other visible damage removed.
This typically means needing to sand the floor.
Although you could theoretically use hand sanders to get this job done, a large rotary sander will save you a lot of time and give you results that are more consistent.
3. Clean Up.
Sanding your hardwood floors is going to create a huge mess.
You’ll need to remove all sawdust, debris, and grit that is leftover from the sanding process.
Use a vacuum to remove items since the sanding process exposes the wood and makes it more vulnerable to damage. Do not use water for the cleanup process at all.
Once you’re finished vacuuming, run a tack cloth over the floor to make sure you’ve gotten all the dust.
4. Stain The Hardwood Floor First.
The sanding process on your hardwood floor will also likely remove most, if not all, of the stain that gives your home the charm it has.
You’ll want to apply a new coat or two of stain before you begin the sealing process.
Not just any stain will do.
A penetrating stain is going to give you the best results. Use a roller and follow the grain of the wood, making each coat as even as possible.
Make sure the stain won’t raise the grain of the wood so you’re forced to sand it again.
Give the stain at least 1 hour to dry or whatever the instructions on the stain require.
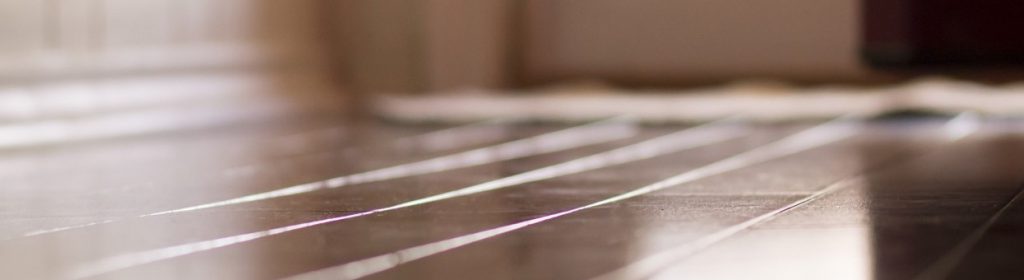
5. Now You’re Ready To Apply The Sealant.
Most hardwood floor sealants are made from polyurethane.
This gives the floor the shiny surface that is so attractive and durable.
It also means that you’ll need to apply two coats of sealant to achieve the results you’ll want to have.
Just as you did with the stain, use a roller and follow the grain of the wood as you apply the sealant.
The first coat will need to apply for at least 6 hours before proceeding to the next step.
6. Lightly Sand Your Hardwood Floor Again.
You’ll need to lightly sand the first coat of sealant with a fine grade of sandpaper to get the second coat to adhere properly. A #220 sandpaper will generally provide you with the best results.
Once you’ve sanded the entire floor, you’ll need to once again vacuum up the debris.
Wear breathing protection during this process because polyurethane dust can be potentially harmful to human health.
Use a tack cloth to remove any remaining dust.
7. Apply The Second Coat Of Sealant.
The second coat of sealant goes on just like the first coat did.
Go with the grain of the wood and use a roller to apply it. Be as even with your application as you can be.
Once the second coat has been fully applied, it will need to dry for at least 8 hours. It is typically recommended to just allow it to dry overnight to avoid damaging the sealant inadvertently.
Otherwise you may wish to spend a day away from the home so the floor can dry properly.
Knowing how to seal hardwood floors can help you maintain your home for a fraction of the price of having a contractor do this work for you.
Although there is no set timetable for how often this job needs to be completed, a hardwood floor that looks worn out will benefit from this process.
Get started today with these steps if needed and your floor will look brand new once again.