One of the greatest advantages of using WordPress is being able to quickly and easily change the look of your website. While this may not be super important to everyone, it’s a huge selling point for musicians who often want to change the look of their site to promote a new record, video, or tour. In this post, we’ll cover how to change your WordPress theme.
Changing a theme is pretty simple, but there are a few things that you’ll want to make sure you understand before you make a swap. In this post, we’ll walk through the entire process from start to finish.
Before we get started
Swapping out your WordPress theme is a big change, and you’ll want to make sure you don’t rush into it without a solid plan in place.
Back up your site
The first step should be to create a backup of your existing site. If anything goes wrong, you can simply revert to the way things were before you started making changes. If your host doesn’t provide backups as part of your plan, be sure to create a backup on your own. There are several great articles available on backing up your website, including one directly from the WordPress Codex. Take some time to review this process — it’s an important skill to have.
Prep your materials
In addition to backing up, you’ll also want to disable any caching plugins that are enabled. Now, let’s make sure you have all of the items you need for changing a WordPress theme. These include:
- A way to jot down some notes
- Your new theme files
- A splash/maintenance page to display as you’re setting up the new theme
Review your current site
There are a few components of WordPress themes that may not transfer from one to another. For this reason, you’ll want to take a good look at your current theme and maybe even take some notes and screenshots of the features that you want to keep active on the new theme. Some of the areas you’ll want to pay special attention to are:
Theme specific settings
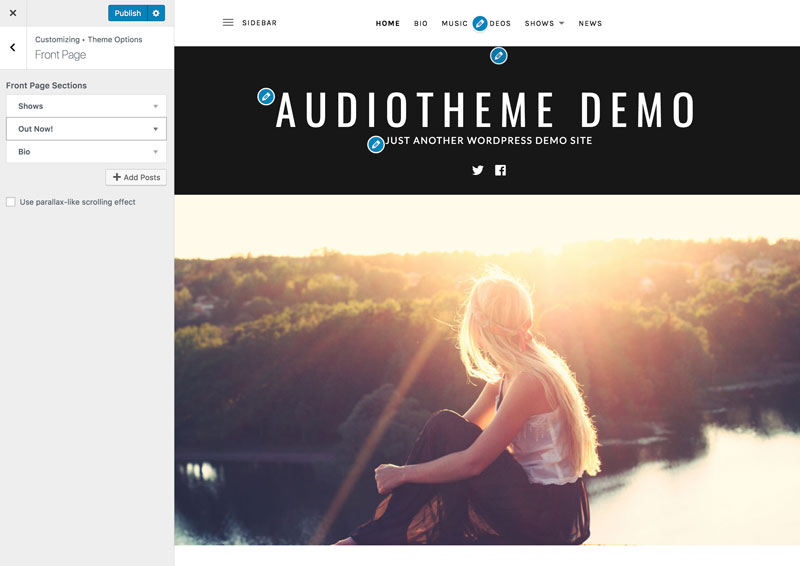
If your current theme has special settings like front page sections, you’ll want to make sure you make note of these. Since they’re theme specific, they will most likely not transfer to your new theme. Don’t worry though, the content will still be there, it will just take a little configuring to make them display.
Widgets and sidebars
Widgets and sidebars are a great way to customize the look and feel of your site. We’ve covered them extensively in the past. However, because not all themes use widgets in the same way or place, you may need to customize these on your new theme. Be sure to take note of those that are in use, so you can set them up on the new theme if necessary.
Custom CSS
The Additional CSS area of the customizer can come in handy for tweaking several elements within themes. Like other portions of the customizer, the changes you make there are specific to the active theme. So if you’ve added snippets to make changes to plugins or other features you want active in the new theme, you’ll need to make sure you copy those to a safe location.
Codes and scripts added to header and footer files
If you’re not using a plugin to add scripts like Google Analytics tracking, odds are you put those snippets in the header.php file of your child theme. Any files associated specifically with your old theme won’t be active in your new theme. Double check that you haven’t added any of these scripts, or you might lose your analytics.
The Process
Once you’ve taken notes on your current theme setup and created a backup of your site, you’re ready to move forward.
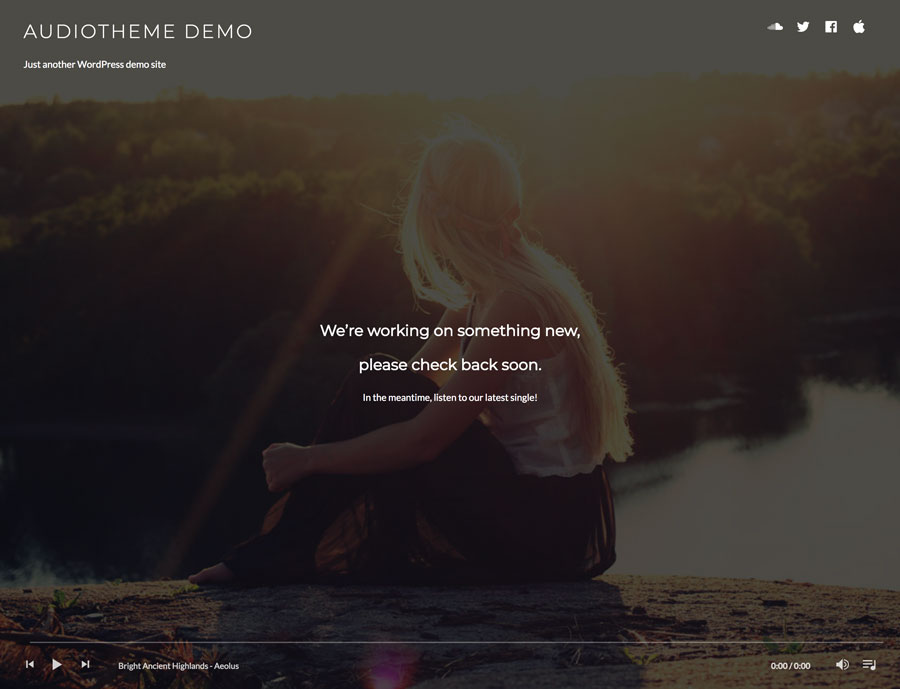
Step one: set up a Maintenance page
When you first activate your new theme, it’s probably going to take a few minutes of setup to make it display the way you want. That’s why I’m going to recommend setting a coming soon or maintenance mode screen to display while you’re making tweaks. You can use our Billboard plugin to quickly create a temporary page that looks good. There are also several other plugins available in the WordPress plugin directory which will work as well.
Step two: upload and activate the new theme
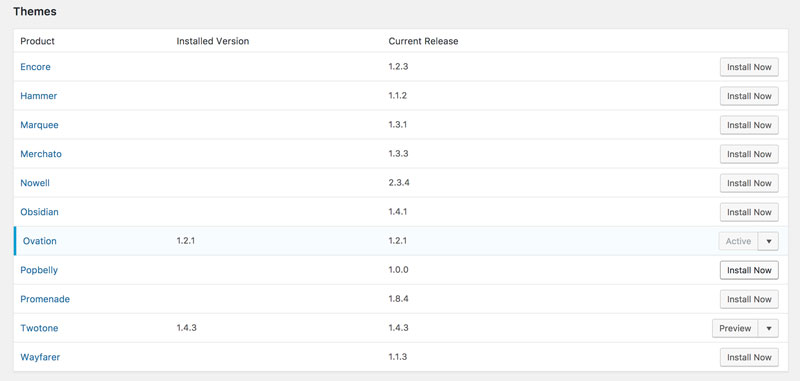
If you’re an All-Access Pass customer who is using the AudioTheme Agent, you can simply activate your new theme directly within the WordPress dashboard.
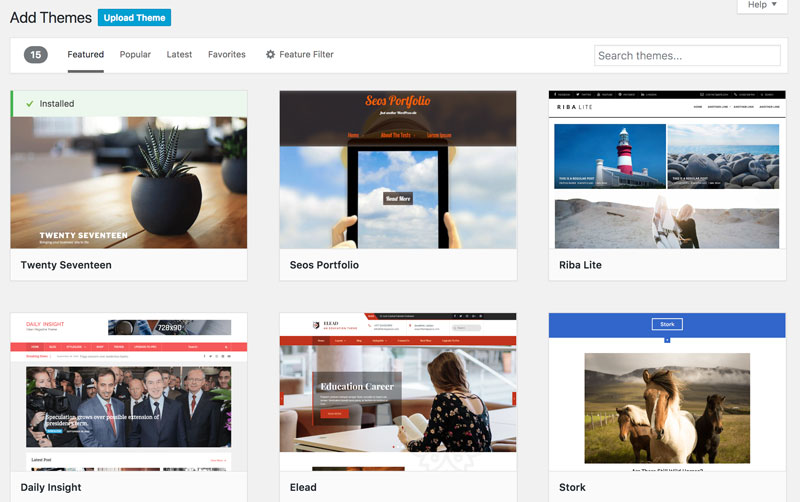
If you’ve purchased a new theme from another website, you’ll need to install it manually. You can do this in your WordPress dashboard under Appearance → Themes → Add New.
On the next screen, you can search WordPress’ huge library of free themes, and install them with a few clicks. Or if you’ve downloaded theme files that need to be uploaded in order to be installed, you can select the “Upload Theme” option from the top of the screen.
From there, you can select the theme’s zip file from your computer and click “Install Now”.
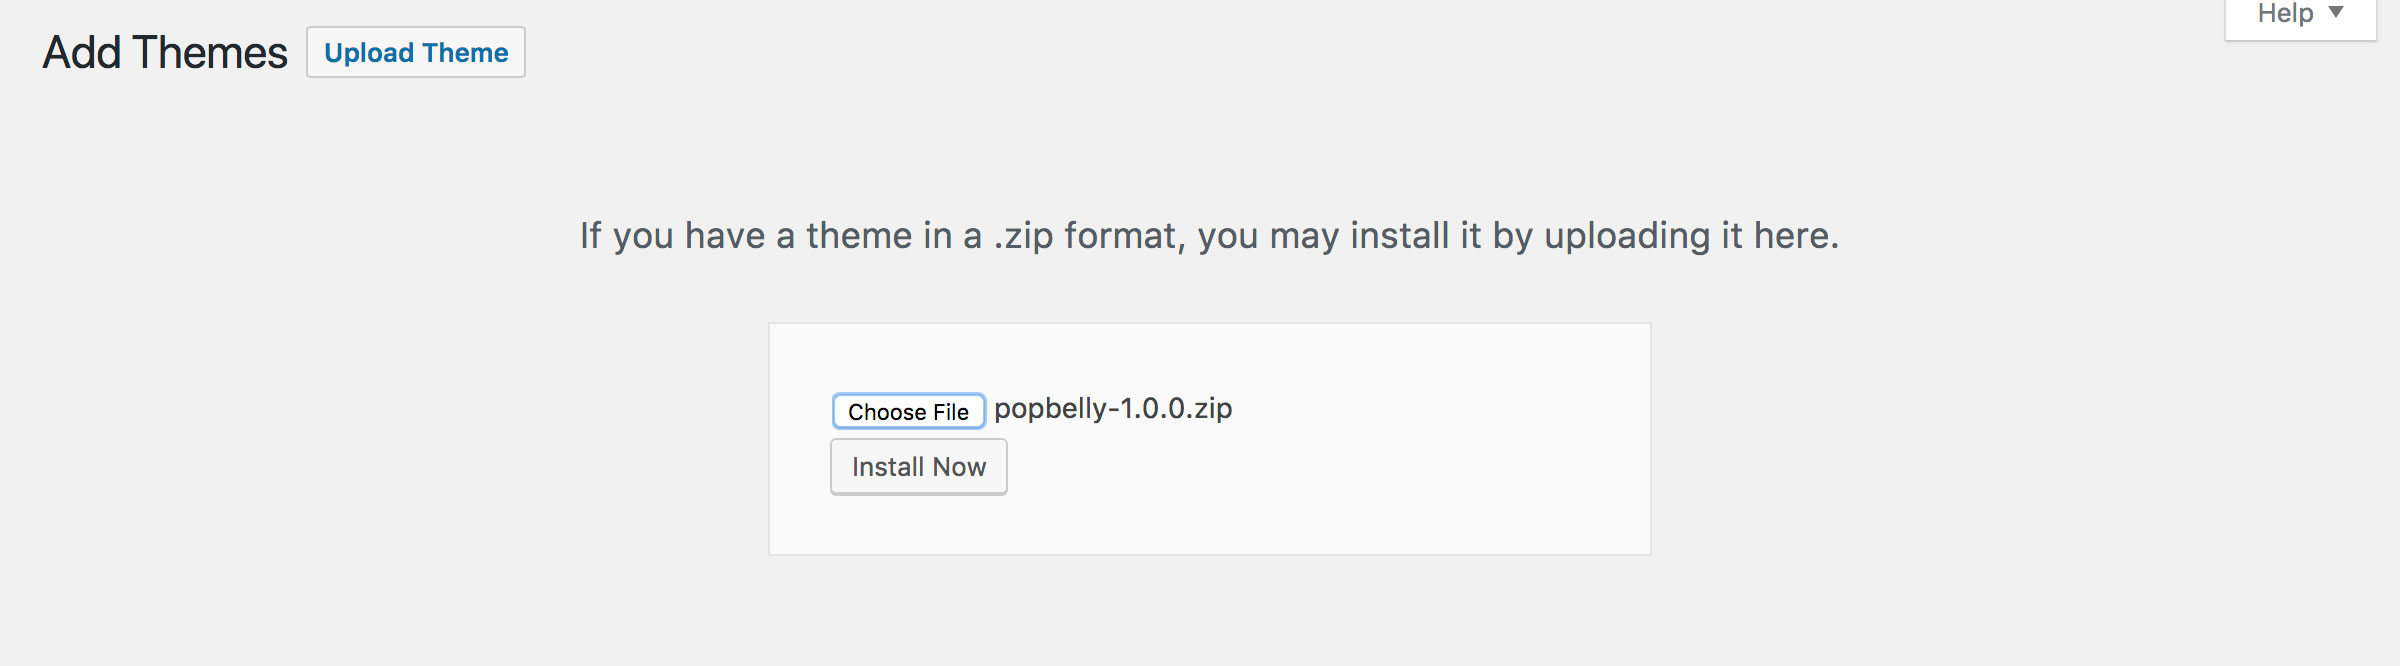
Hint: In support, we often hear from people who claim that their theme files won’t upload properly. If you’re getting this error, the first thing you should do is check to make sure your browser hasn’t automatically unzipped your file on download. This typically happens in Safari. You can find instructions for changing that setting here.
Once your theme has been uploaded successfully, you can go ahead and activate it.
Step three: start making your tweaks
At first glance, you’ll be able to see that most of your content is still displaying in the same manner, but you’ll notice some of the missing items we listed earlier. While your maintenance page is still active, go ahead and tweak those items to get the look you want.
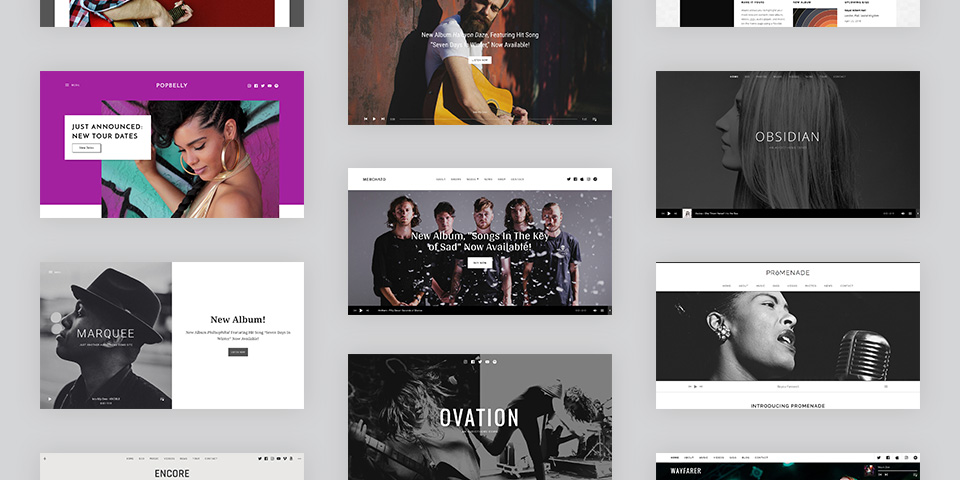
In our example, we’re using our brand new theme, Popbelly, which has front page sections available under the customizer. Other themes will use home page widgets, or similar features. I’ll go ahead and change the layout to Banner, and start adding some sections and changing theme colors.
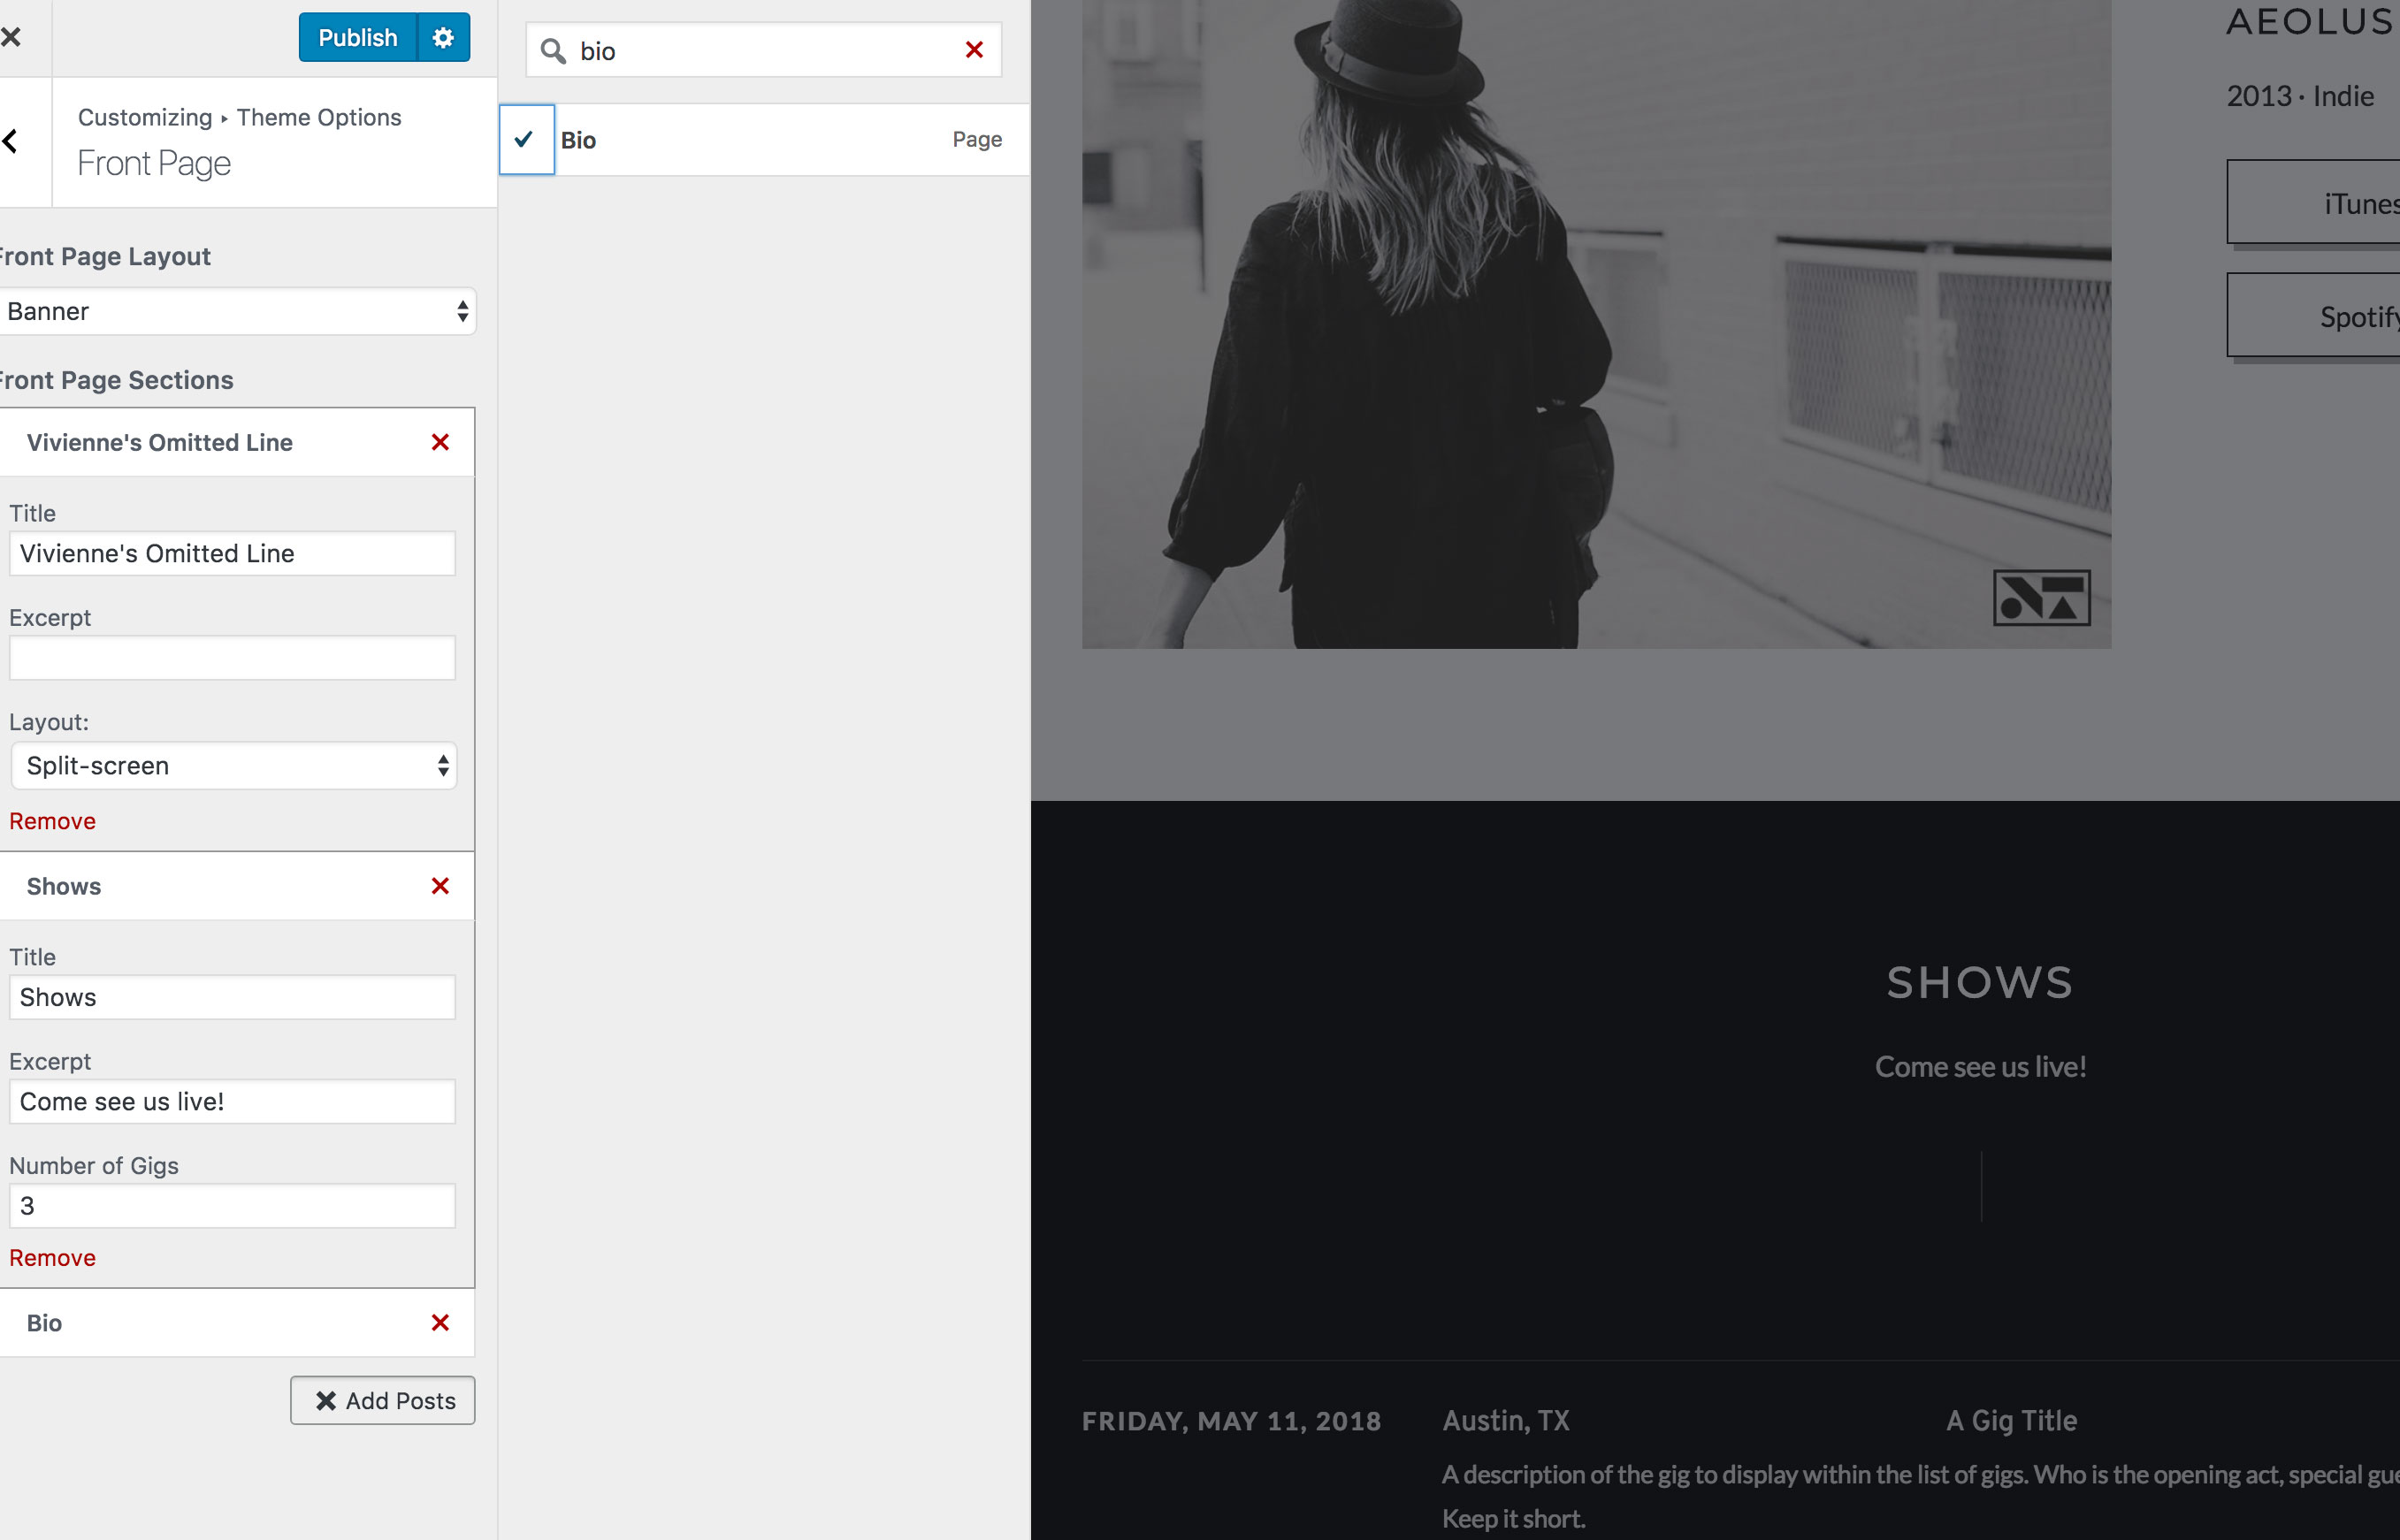
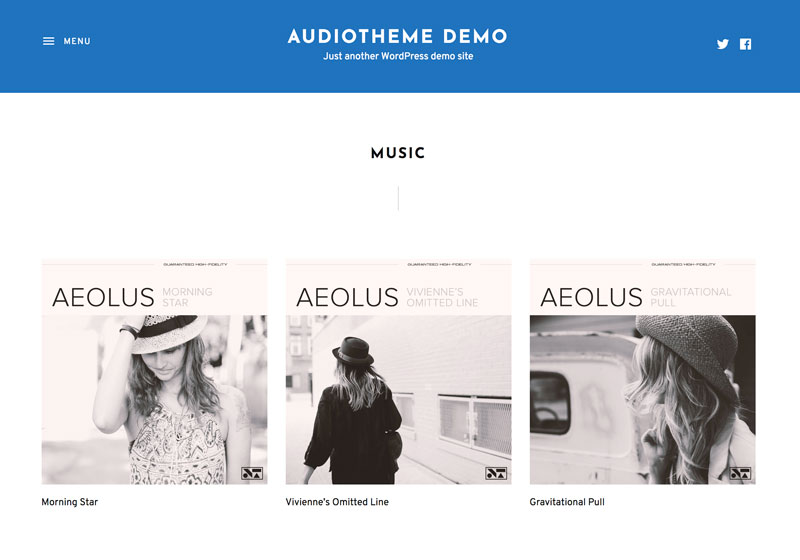
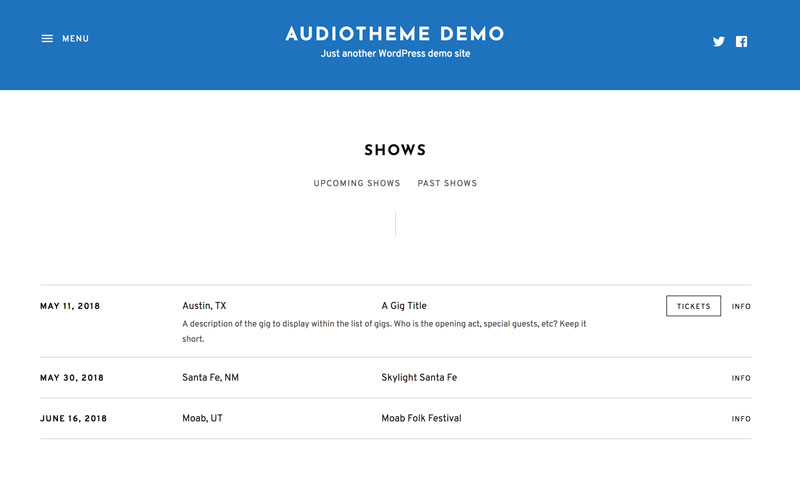
Since I changed from one AudioTheme to another, my Gigs, Discography and Videos won’t need any special attention. A quick look shows they are ready to go.
Repeat this process for the theme widgets and any custom CSS you want included in the new theme. Go ahead and click through all of the pages of your site to make sure things are displaying the way you want them to.
Step four: deactivate your maintenance page
Once you’re happy with the way things are looking, go ahead and disable your maintenance mode plugin. Once you’ve done that, it’s probably a good idea to check out your site in a few different browsers and devices.
Step five: spread the word
With your maintenance page down, you can go ahead and tell the world about your brand new site — it’s ready for traffic!
Wrapping up
Whether you’re promoting a new record or simply after a fresh new look, changing your WordPress theme can be a great way to give your site some new life. Putting a plan in action and following the steps listed above can make the process easy and exciting.