“In business operations, a drop shipment refers to the direct shipment of items from a vendor to a customer without the need for intermediate handling or storage. This efficient practice eliminates the need for inventory management and allows for seamless delivery from the vendor to the end customer.”
Drop shipping is a highly efficient order fulfillment strategy that eliminates the need for inventory management. Retailers get products directly from third-party suppliers, who manage the shipping process to customers.
By leveraging purchase orders, products are quickly delivered from vendors to customers, ensuring a streamlined and cost-effective approach.
This strategy not only improves service levels but also optimizes supply chain management, allowing retailers to focus on marketing while manufacturers and distributors handle order fulfillment, creating a seamless and satisfying customer experience.
Utilizing the powerful capabilities of Business Central, you can effortlessly simplify complex processes and enhance operational efficiency.
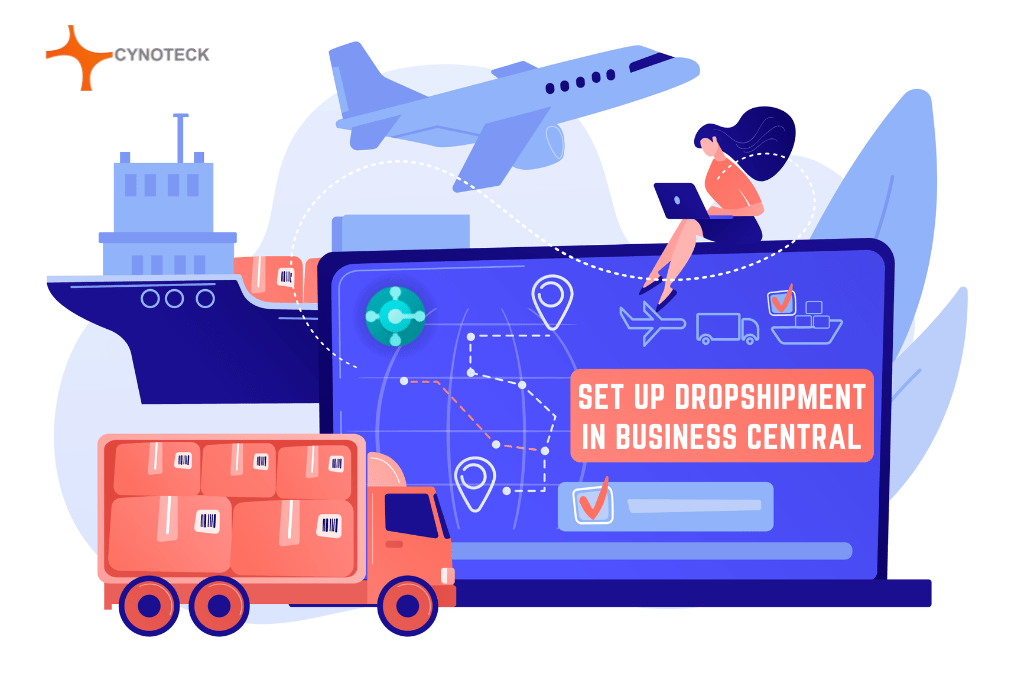
Dynamics 365 Business Central provides a seamless solution for managing the entire drop shipping process. Drop shipment in Business Central can be performed with a few simple steps.
You can create sales orders, generate purchase orders, drop-ship items to customers, and efficiently post sales orders and purchase invoices. This integrated approach streamlines operations, saving time and driving productivity.
In this blog post, we will analyze the process of establishing and efficiently managing drop shipments within the Business Central platform. Gaining insights on the setup and effective management of drop shipments to optimize your business operations.
What is a Drop Shipment?
A drop shipment is the shipment of items from one of the vendors directly to one of the customers. The two documents can be linked to tell the vendor to ship straight to the customer when a sales order is marked for drop shipping and a purchase order is created with the customer’s information in the Sell-to Customer No. field.
This can be an efficient and cost-effective way for retailers to do business, especially if they are working with a large number of suppliers or offering a wide variety of products.
Effortlessly manage the sale of goods shipped directly from your vendor/supplier to customers using the Microsoft Dynamics 365 Business Central Drop Shipment process.
This streamlined method ensures accurate management without the goods passing through your warehouse. You need to understand a concise outline of the steps involved in this efficient process:
- Entry of Sales Orders
- Make a Requisition worksheet
- Make a purchase order
- Post Sales Order
- Gets Purchase Order Automatically
- Invoice Purchase Order
Also, read: Guide on Migrating Your Legacy Data to Dynamics 365 Business Central
How to Set Up Drop Shipment in Business Central?
Method 1:
Simplifying the drop-shipping process is important for distributors. Dynamics 365 Business Central offers a streamlined solution, allowing you to effortlessly create sales and purchase orders, facilitate drop shipments to customers, and ensure accurate posting.
With just a few clicks, you can optimize operations by generating sales orders, corresponding purchase orders, and posting sales orders and purchase invoices, improving efficiency and customer satisfaction.
Let’s now examine Business Central’s complete drop shipping procedure, which includes:
- Creating a sales order
- Creating the relevant purchase order
- The customer receives the item(s) via drop shipping
- Posting the sales order
- Posting the invoice for purchases
1) Creating a Sales Order in Business Central
In the initial step of drop shipment within Dynamics 365 Business Central, the process begins with entering essential details such as order type, sales organization, distribution channel, division selection, and creating a sales order reference.
Navigating Business Central, you’ll find important items conveniently listed under the ‘Actions‘ heading in the top right corner, ensuring easy access.
By clicking on Sales Order, you’ll be directed to a blank sales order screen where you can input customer information, item description, and quantity quickly and accurately.
2) Creating a Purchase Order
After creating the sales order, the next step involves generating a Purchase Order. After closing the sales order, you will be directed back to the Business Central dashboard.
Access the Purchase Order option from the ‘Actions‘ heading in the top right corner. Within the Shipping and Payment section, simply modify the ‘Ship-to‘ dropdown menu to ‘Customer Address‘ and choose the appropriate customer from the Customer dropdown menu.
3) Drop Shipping
Within Business Central, accessing a comprehensive list of sales orders for specific customers is simple.
- By choosing Drop Shipment at the top of the screen and selecting Get Sales Order, you can view open sales orders for the selected customer.
- Easily identify the correct sales order and confirm it by selecting OK.
- To complete the process, click the Post button, ensure the Receive option is chosen, and click OK.
These straightforward steps facilitate efficient management of drop shipments within the system.
4) Posting the Sales Order in Business Central
Once the drop shipment process is initiated, the next step is to post the sales order in Business Central. The user-friendly and feature-rich dashboard allows you to effortlessly set the sales order and initiate the sending process.
- Simply click on the Sales Orders tile under the ‘Ongoing Sales‘ section from the Business Central dashboard.
- Open the relevant sales order and click on Post and Send from the ribbon at the top of the screen.
- Choose the Invoice option to generate an invoice for the customer, and a copy of the invoice will be presented to you.
5) Posting the Purchase Invoice
To complete the process, we need to post the purchase invoice.
- Navigate to the Business Central dashboard and choose the Purchase Orders tile under the ‘Ongoing Purchases‘ section.
- Select the relevant purchase order, click the Post button from the ribbon at the top of the screen, select the Invoice option, and click OK.
With Business Central, you can conveniently create receipts and invoices while posting the purchase invoice, ensuring a streamlined and efficient workflow.
Dynamics 365 Business Central offers robust automation and flexibility to streamline complex drop shipments, simplifying the process and improving customer satisfaction.
Also, read: Shopify Connector in Dynamics 365 Business Central: How can it benefit your business?
Method 2:
To enable a drop shipment in Business Central, the initial step includes creating a sales order. Within the sales order, you need to proceed to enter the Customer No. in the header section.
Subsequently, choose the desired Item for sale to the customer in the section of the line. Finally, ensure to mark the Drop Shipment box to indicate the nature of the transaction.
1. How to create a purchase order
Once the sales order lines have been populated with the item and quantity, the next step is to generate a purchase order.
To complete this, navigate to the Purchase Orders page and click on the ‘+ New‘ button.
This straightforward process allows the seamless creation of purchase orders professionally and efficiently.
2. A purchase order’s connection to the drop shipment
- Within the purchase order, you need to specify the Vendor No. to identify the supplier from whom you are purchasing the goods. Optionally, you can input an invoice number if available.
- Next, in the Shipping and Payment tab, choose the appropriate Customer Address value in the Ship-to field.
- After this, click ‘More Options‘, ‘Actions‘, ‘Functions‘, ‘Drop Shipment‘, and ‘Get Sales Order‘ in the header after that.
Initiating this action will prompt a screen where you can select the sales order to associate with the purchase order. Upon selecting the appropriate record, the system will automatically retrieve and populate the purchase order lines with corresponding values.
To verify the correct connection of the purchase order with the sales order, navigate to the Lines section of the sales order. Click on ‘Order‘, followed by ‘Drop Shipment‘ and ‘Purchase Order‘. This action will open the corresponding purchase order record, allowing you to confirm the relation.
3. Posting the drop shipment
To complete the drop shipment process, you have two options for posting: either posting the sales order or the receipt on the purchase order.
However, invoicing the purchase order is not possible until the sales order is posted. This ensures proper sequence and adherence to the workflow, maintaining accuracy and consistency.
You can encounter the following issue or problem when attempting to upload the purchase or sales order record:
Although the Location Code may seem unnecessary for drop shipments in Business Central, it does have an impact.
During the initial company setup, there is a preference to enable the Location Mandatory field on the Inventory Setup page by default.
This decision may inadvertently influence the handling of drop shipments.
It is crucial to review and adjust the settings accordingly to ensure streamlined processes and accurate inventory management in Business Central.
Allowing the Location Mandatory field during company setup can create a requirement to input a Location Code value when posting orders, even though it may not be relevant for drop shipments.
While it is recommended to provide a Location Code value on the order, an alternative option is to disable the Location Mandatory field.
However, modifying pre-existing setup is not advised as it pertains specifically to drop shipment postings. It is important to carefully consider the implications and choose the most suitable approach for efficient and accurate order processing.
Also, read: Conquer Security and Disaster Recovery Challenges with Microsoft Dynamics 365 Business Central SaaS
4. Drop shipments are carried out using the Requisition Worksheet
Once you have created a sales order following the previously mentioned process, an alternative approach is to utilize the Requisition Worksheet to generate a corresponding purchase order record.
The Requisition Worksheet page offers a specific function for drop shipments, distinguishing it from the Planning Worksheet.
This differentiation allows for the separation of duties, with the Requisition Worksheet serving the purchasing team, while the Planning Worksheet focuses on other business aspects such as manufacturing. This functionality improves efficiency and facilitates a streamlined workflow within Business Central.
- Within the Requisition Worksheet, choose ‘Drop Shipment‘ and ‘Get Sales Orders‘ to access the desired order using the available filters.
- Once you have configured the filters to your satisfaction, simply click ‘Ok‘ to proceed.
- This efficient process allows for precise identification and retrieval of the desired sales order on the Requisition Worksheet, improving order management within Business Central.
- It is essential to note that the lines in the worksheets serve as suggestions, and you have the flexibility to delete or modify them according to your requirements.
- If you are satisfied with the suggested lines, simply click on ‘Process‘ and ‘Carry Out Action Message‘ to generate the purchase order based on the Requisition Worksheet.
The next steps remain the same as mentioned earlier. This streamlined process allows for customization while ensuring the accurate creation of purchase orders based on the worksheet lines, maintaining consistency in your workflow.
It is important to be aware that when utilizing the Requisition Worksheet to generate purchase order lines, the Location Code field remains mandatory if the Location Mandatory field is enabled on the Inventory Setup page.
5. Special Orders in Business Central
Special orders offer the ability to ship specific catalog items to customers, with a key distinction from traditional sales orders.
In a special order, the purchase order and sales order are linked, establishing a connection between them.
This connection enables the reservation of stock purchased, effectively integrating the purchase and sales orders for streamlined order fulfillment and inventory management.
The process of creating special orders in Business Central involves connecting a sales order record with a purchase order.
You can start by creating a sales order and specifying the Customer No. in the header and the Item No. on the lines.
To simplify this process, consider personalizing the page to include the ‘Purchasing Code‘ and ‘Special Order‘ fields.
Inputting the special-order value in the Purchasing Code field will automatically check the Special-Order field, allowing for line-by-line handling of these values.
Also, read: Outgrown of QuickBooks? Business Central Could be the Right Choice for You
6. Purchase order
- Next, proceed to create a purchase order by generating a new record and specifying the relevant vendor. Then, navigate to the Shipping and Payment tab.
- Like the drop shipment process, set the Ship-to field to Customer Address, ensuring it corresponds with the customer specified in the sales order.
- Click “More Options,” “Actions,” “Functions,” “Special Order,” and “Get Sales Order“, in the header option.
Then choose the appropriate order:
By doing so, your address will be updated as the shipment address.
Also, read: Payment Tolerance – Business Central user manual
7. Posting
This is the concluding step is to post the special order. Unlike drop shipments in Business Central, special orders provide the flexibility to fully post the purchase order before the sales order.
This allows for efficient order processing and ensures accurate tracking of inventory.
8. Executing custom orders using the requisition worksheet
In addition to manual creation, users can generate the corresponding purchase order using the Requisition Worksheet.
After the sales order is created, including the Customer No., items, and setting the Special-Order value in the Purchasing Code, access the Requisition Worksheet page.
Instead of the Drop Shipment function, this time, select the Special-Order function to create the purchase order.
Like drop shipments, you can use filters to associate the sales order record with the purchase order during a special order.
When working on the Requisition Worksheet, ensure to input a value for Vendor No. field if it is not already specified in the Item Card setup.
Once you click the “Carry Out Action Message” action, the Requisition Worksheet lines will clear, indicating the successful creation of a purchase order. At this point, you can proceed with posting the purchase order, following the same steps as outlined in the previous section on special orders.
Now after the two orders are linked, you have the flexibility to navigate between them by performing the following actions on either the purchase or sales order.
You can also watch our tutorial video on How to Create Drop Shipment in Business Central
Benefits of Drop Shipping
Drop shipping allows efficient testing of different business ideas with minimal risk, allowing valuable insights into product selection and effective marketing strategies.
Here are a few compelling reasons why drop shipping has gained significant popularity:
1) Easy to Start with, requires Less Capital
Drop shipping offers significant advantages by eliminating the requirement for warehouse management, order fulfillment, inventory tracking, returns handling, and stock management.
This frees up resources for core business activities. Additionally, retailers can quickly launch an e-commerce store without the requirement for upfront inventory investment, providing a diverse product selection and allowing rapid entry into the online retail market.
2) Wider Assortments and More Customers
By implementing a drop shipping strategy, businesses can offer a broader range of products without the burden of inventory costs and risks.
Wholesale partners can showcase your products in their physical or online stores, effectively reaching their customer base. This indirect expansion of your market allows online businesses to reach more customers and drive growth.
4) Saves Time and Money
Managing stock levels and the logistics of order fulfillment can be a time-consuming challenge. However, with drop shipping, you can eliminate the need for a warehouse, packing, and shipping orders, monitoring inventory, handling returns, and tracking stock levels. This streamlines operation, saving you valuable time and resources while reducing costs.
5) Flexibility and Scalability
Drop shipping provides unparalleled flexibility that traditional business models lack.
With dropshipping suppliers, scaling your business becomes easier as they manage the processing of additional orders.
This means you can expand without experiencing the same level of workload increase, resulting in fewer growing pains and less incremental work.
The dropshipping model furthermore allows for efficient and seamless growth.
Also, read: Performing a bank reconciliation in Dynamics 365 Business Central
Conclusion
Drop shipment in Microsoft Dynamics 365 Business Central provides entrepreneurs with a streamlined and secure solution for launching an e-commerce business. By leveraging Business Central, entrepreneurs can easily establish an online store, select products, and simplify order fulfillment. With suppliers handling direct shipping to customers, the process becomes seamless and efficient.
While dropshipping is not a guaranteed path to overnight success, it can be a profitable revenue stream with the correct approach. Building a quality website, investing in marketing, and providing excellent customer service is essential for any successful online store. Understanding the complexities of dropshipping is crucial. By leveraging innovative solutions and partnering with a supportive company, dropshipping can become a profitable experience for your business.
Also, read: Business Central Integration with LeafLink Cannabis CRM
FAQs (Frequently Asked Questions)
Dropshipping is a lucrative business model that enables online retailers to sell products without the burden of inventory management and fulfillment. By leveraging this approach, entrepreneurs can establish e-commerce stores with a diverse product range. Dropshipping reveals its value by improving sales and boosting vendor and retailer profitability. In the current challenging business landscape, a comprehensive and risk-reducing strategy is essential for all stakeholders involved.
Dropshipping businesses often work with tight profit margins due to market competition. The earning potential in this model depends on several factors, including:
– The level of niche competition
– The demand for the products among consumers
– Budget for advertising and promotion
– Operational efficiency
– Customer service
– The products’ quality
Dropshipping is a fulfillment approach where a third party manages product sourcing, storage, and order fulfillment on behalf of the seller. This method enables manufacturers, wholesalers, and retailers to utilize the process seamlessly within the supply chain.
Dropshipping is highly successful for vendors that leverage their existing capabilities and fulfillment networks by following these tips:
– Partner with retailers who are already dropshipping or have an established customer base.
– Use dropshipping to experiment, as dropshipping doesn’t require a large amount of inventory, it’s an excellent avenue to test new categories and styles of products.
– Work with sourcing agencies or become featured on a sourcing platform.
– Combine your selling skills to widen your audience and customer base.
Microsoft Dynamics 365 Business Central
Microsoft Dynamics 365 Business Central is an all-in-one ERP business management solution that helps you connect your financials, sales, service, and operations to streamline business processes. Connect our team if you are interested in implementing Dynamics 366 business central in your business.