Build your first proximity app in 5 minutes
We’ve recently launched our Proximity SDK enabling the world’s most reliable beacon notifications and proximity zone monitoring. Getting to know a new SDK and learning its API can be time-consuming. It often means hours spent on manual integration and troubleshooting. Now there’s a better way. You can save that time and focus on your use case, if you let us guide you through our new App Templates, which come with our Proximity SDK integrated from the start. We’ll pick the right template and go through what’s possible—defining proximity zones, adjusting range and more. Now, buckle up and let’s go!
Starting off with the right template
The most popular use cases for proximity are either about adjusting the content of an app depending on where the user is, or sending notifications when someone enters or leaves an area. You can easily accomplish both with our App Templates available in the Estimote Cloud.
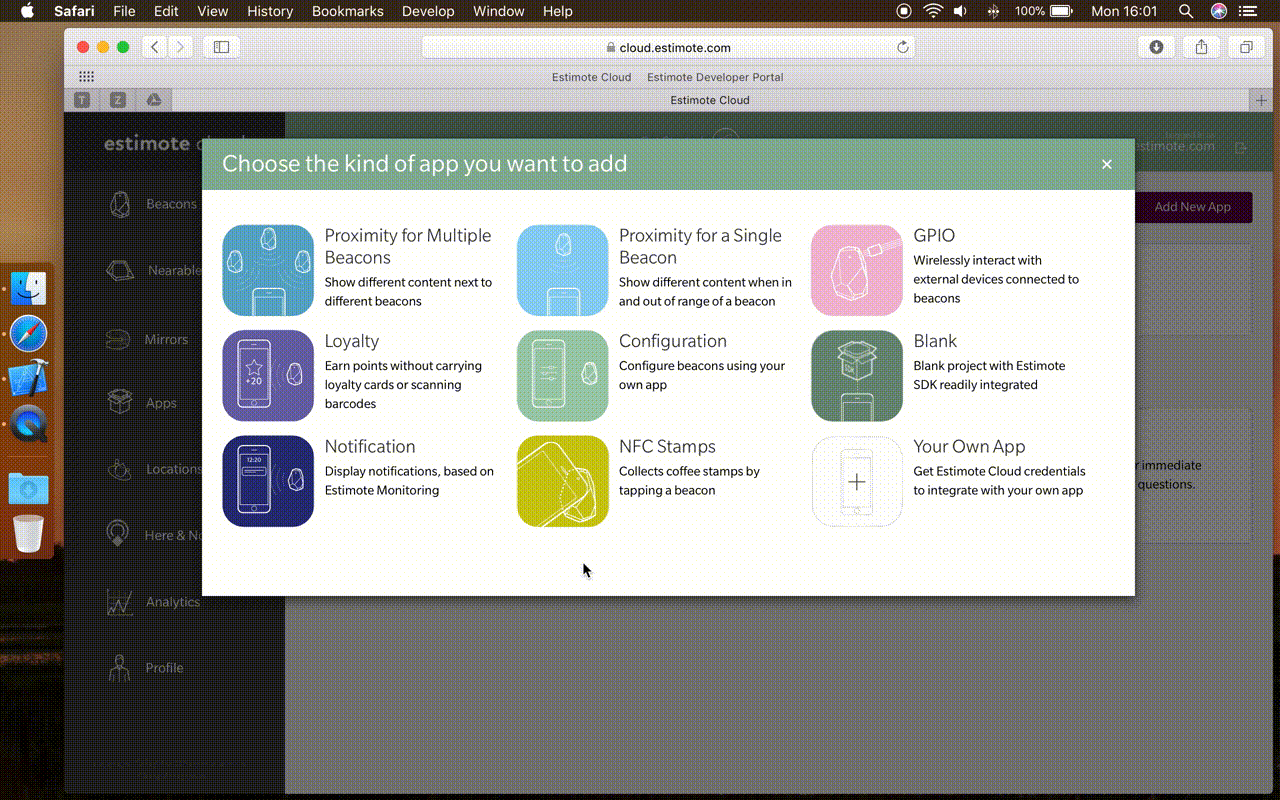
In the first case, users actively interact with the app and you adjust content based on where they are. Think about a museum application that presents different content to a visitor depending on which artwork they are closest to (similar to the Guggenheim Museum’s case). Here you would go for “Proximity for a Single Beacon” and “Proximity for Multiple Beacons” templates as they monitor proximity zones in foreground.
It’s different when your app is supposed to stay idle until a specific event occurs—a user entering or leaving an area. In this case, monitoring runs in the background—without the app being active. The moment you want to engage your users, you can quickly bring the app into focus with a notification. It could be used for proximity marketing in retail, like in the Tesco Lotus’ case. They send different discounts and coupons based on the department you enter. Here, the “Notification” template would do as it works in background.
Got a completely different idea and want to start from scratch? Go for the “Blank” template with the Proximity SDK already integrated.
All those templates are available for both iOS & Android and now support Kotlin! Now let’s see how you can tweak them to your use case.
Defining proximity zones with attachments
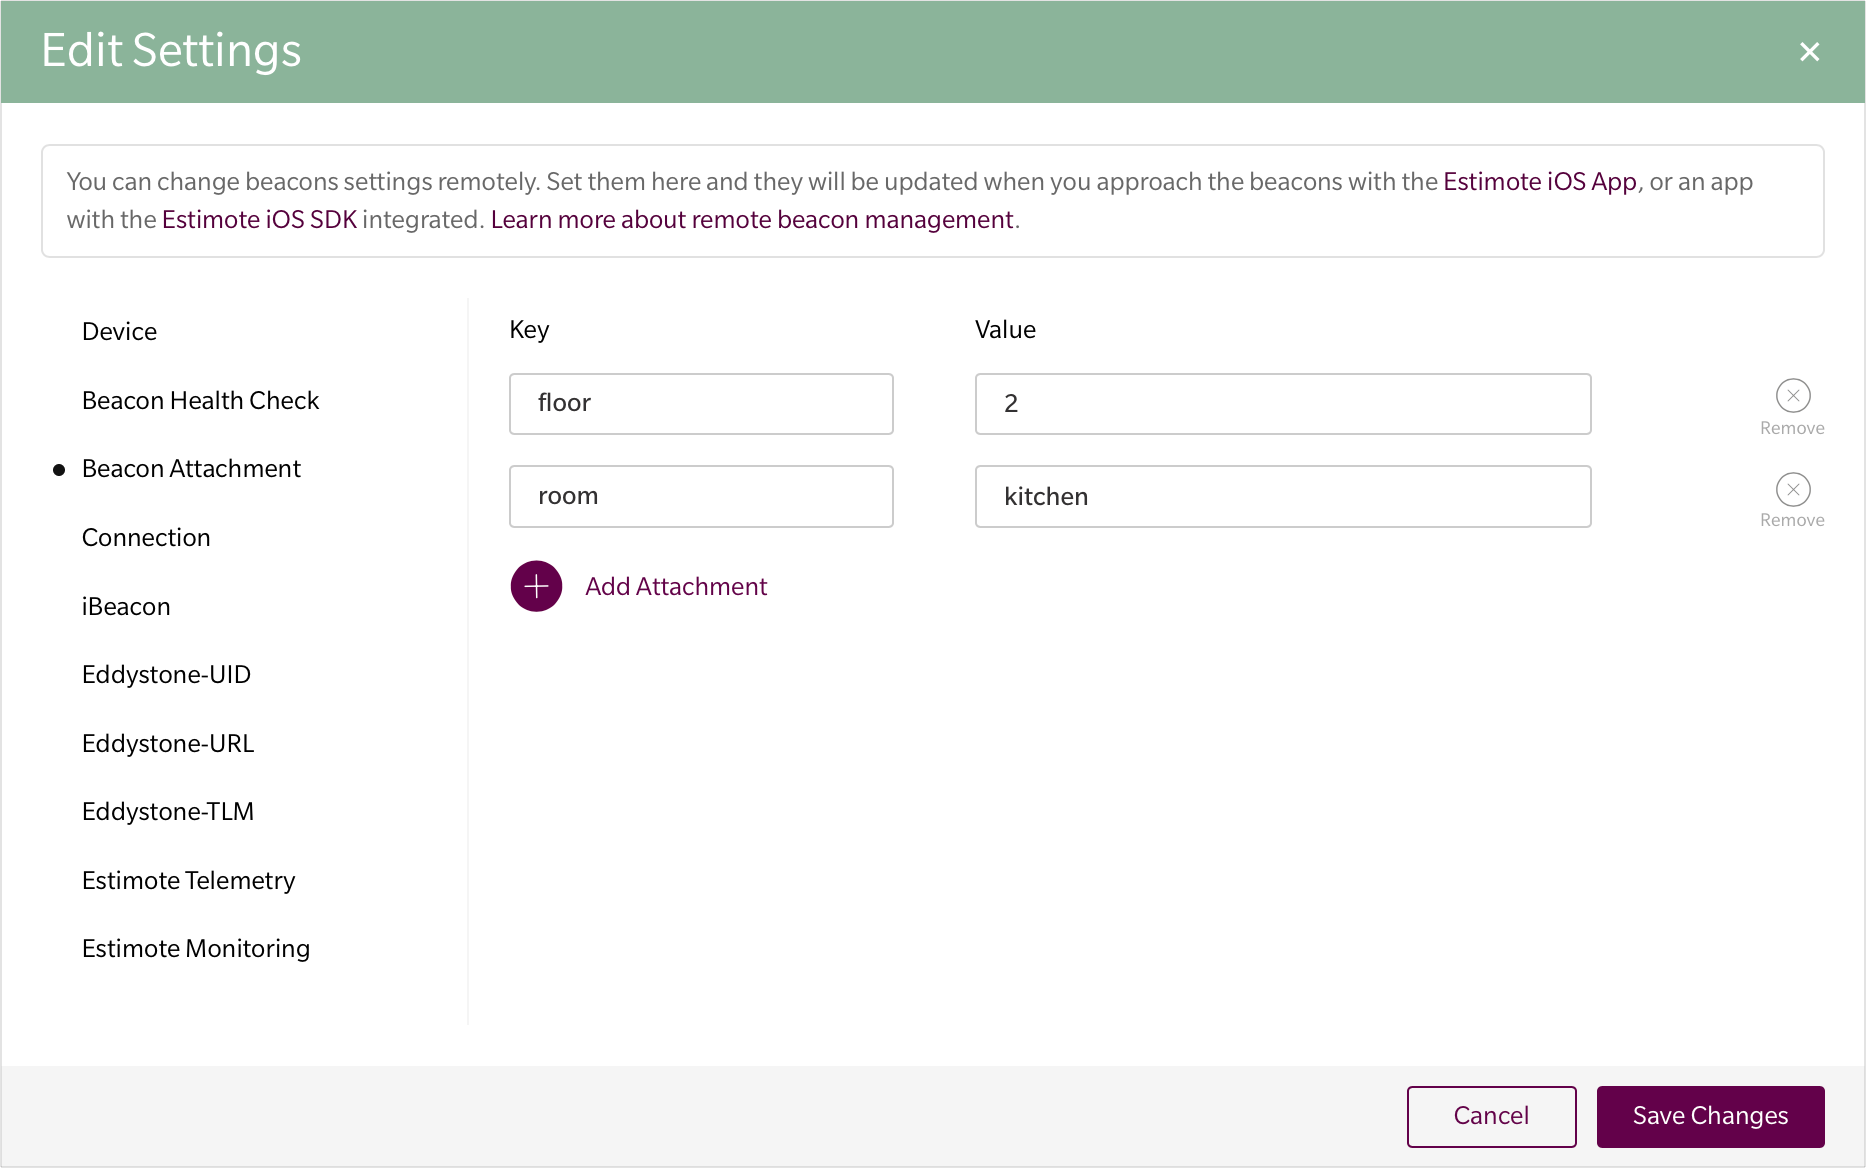
After choosing the right template, it’s time to connect to your beacons, adjust their range… Well, that’s not the case anymore! Proximity zones are software-defined!
Each beacon has a Cloud attachment associated with it. This means you can keep simple data (for example names of the areas) in the Estimote Cloud using key-value pairs. They live there and can be modified at any time directly from the Estimote Cloud dashboard in the Beacon Settings section:
Then, zones are defined based on those attachments in the mobile app using EPXProximityZone objects. You can easily adjust their range with the desiredMeanTriggerDistance argument:
let zone = EPXProximityZone(
  range: EPXProximityRange.custom(desiredMeanTriggerDistance: 3.0)!,
  attachmentKey: "room",
  attachmentValue: "kitchen"
)
Taking it further with zone based interaction
You can decide what happens when a user enters or exits an area defined by a proximity zone:
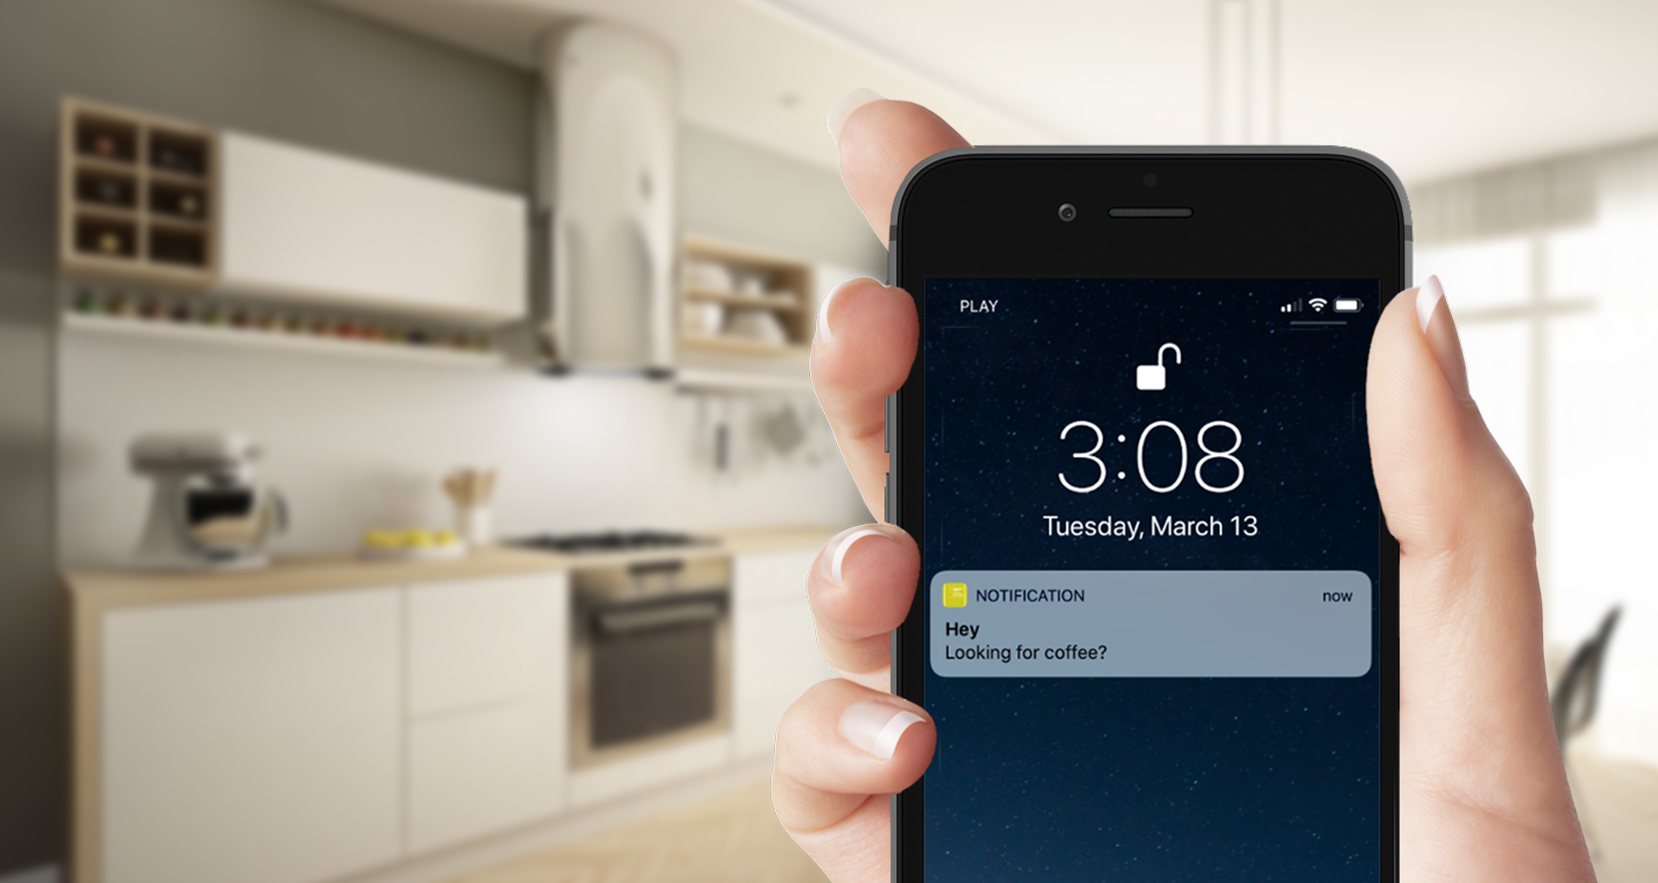
zone.onEnter = { attachments in
  // Send a notification saying “Hey, looking for coffee?”
}

zone.onExit = { attachments in
  // Send a notification saying “Have a nice day and see you soon!”
}
It’s possible to subscribe to both of the events at once. You could use that for gathering analytics to better understand how your users interact with the space:
// Both enter and exit events
zone.onChangeAction = { attachments in
  // Send analytics to your cloud
}
So when entering the kitchen, a user would get this:
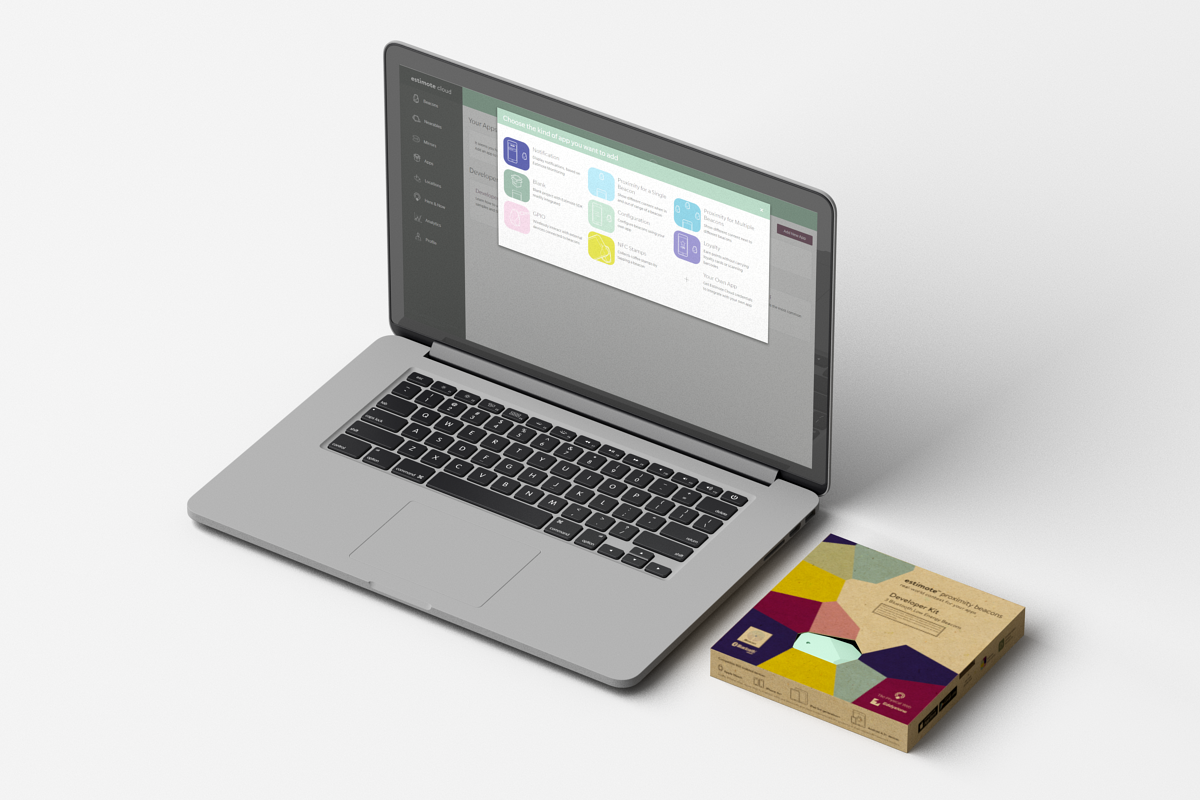
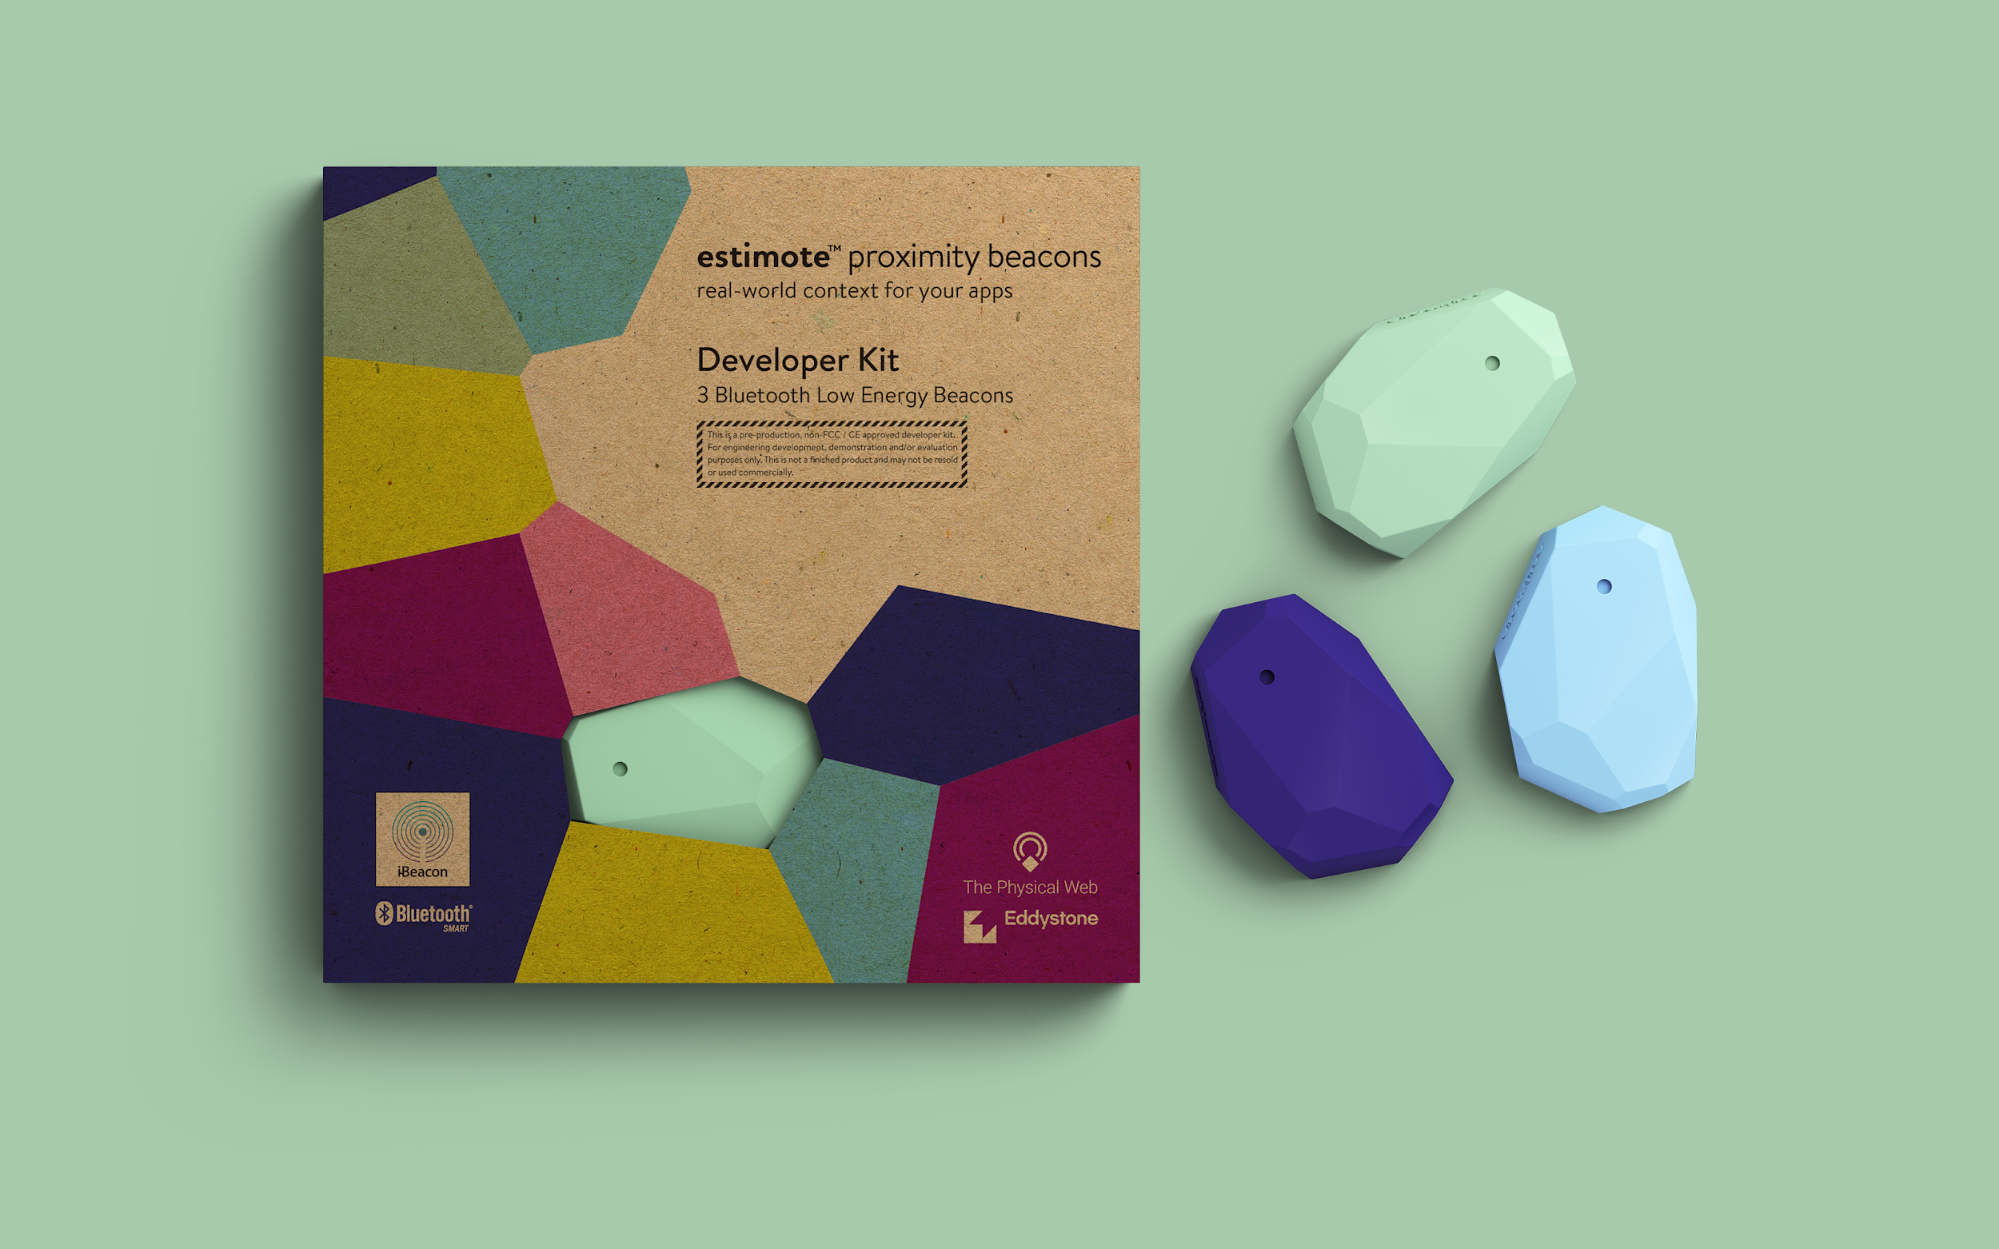
Grab a devkit and build your app!
Now that you know all about templates, go to Estimote Cloud and start building your first app with the Proximity SDK. Keep in mind, it runs on Estimote Monitoring 2.0 and Proximity Beacons have this enabled by default. However, if you bought a dev kit before September 2017, just enable Estimote Monitoring and you are good to go!
If you need more help, clarification, or just want to brag about an amazing app you’ve built, head straight to our forums or ping us at contact@estimote.com.
Przemek Blasiak, Software Engineer at Estimote
