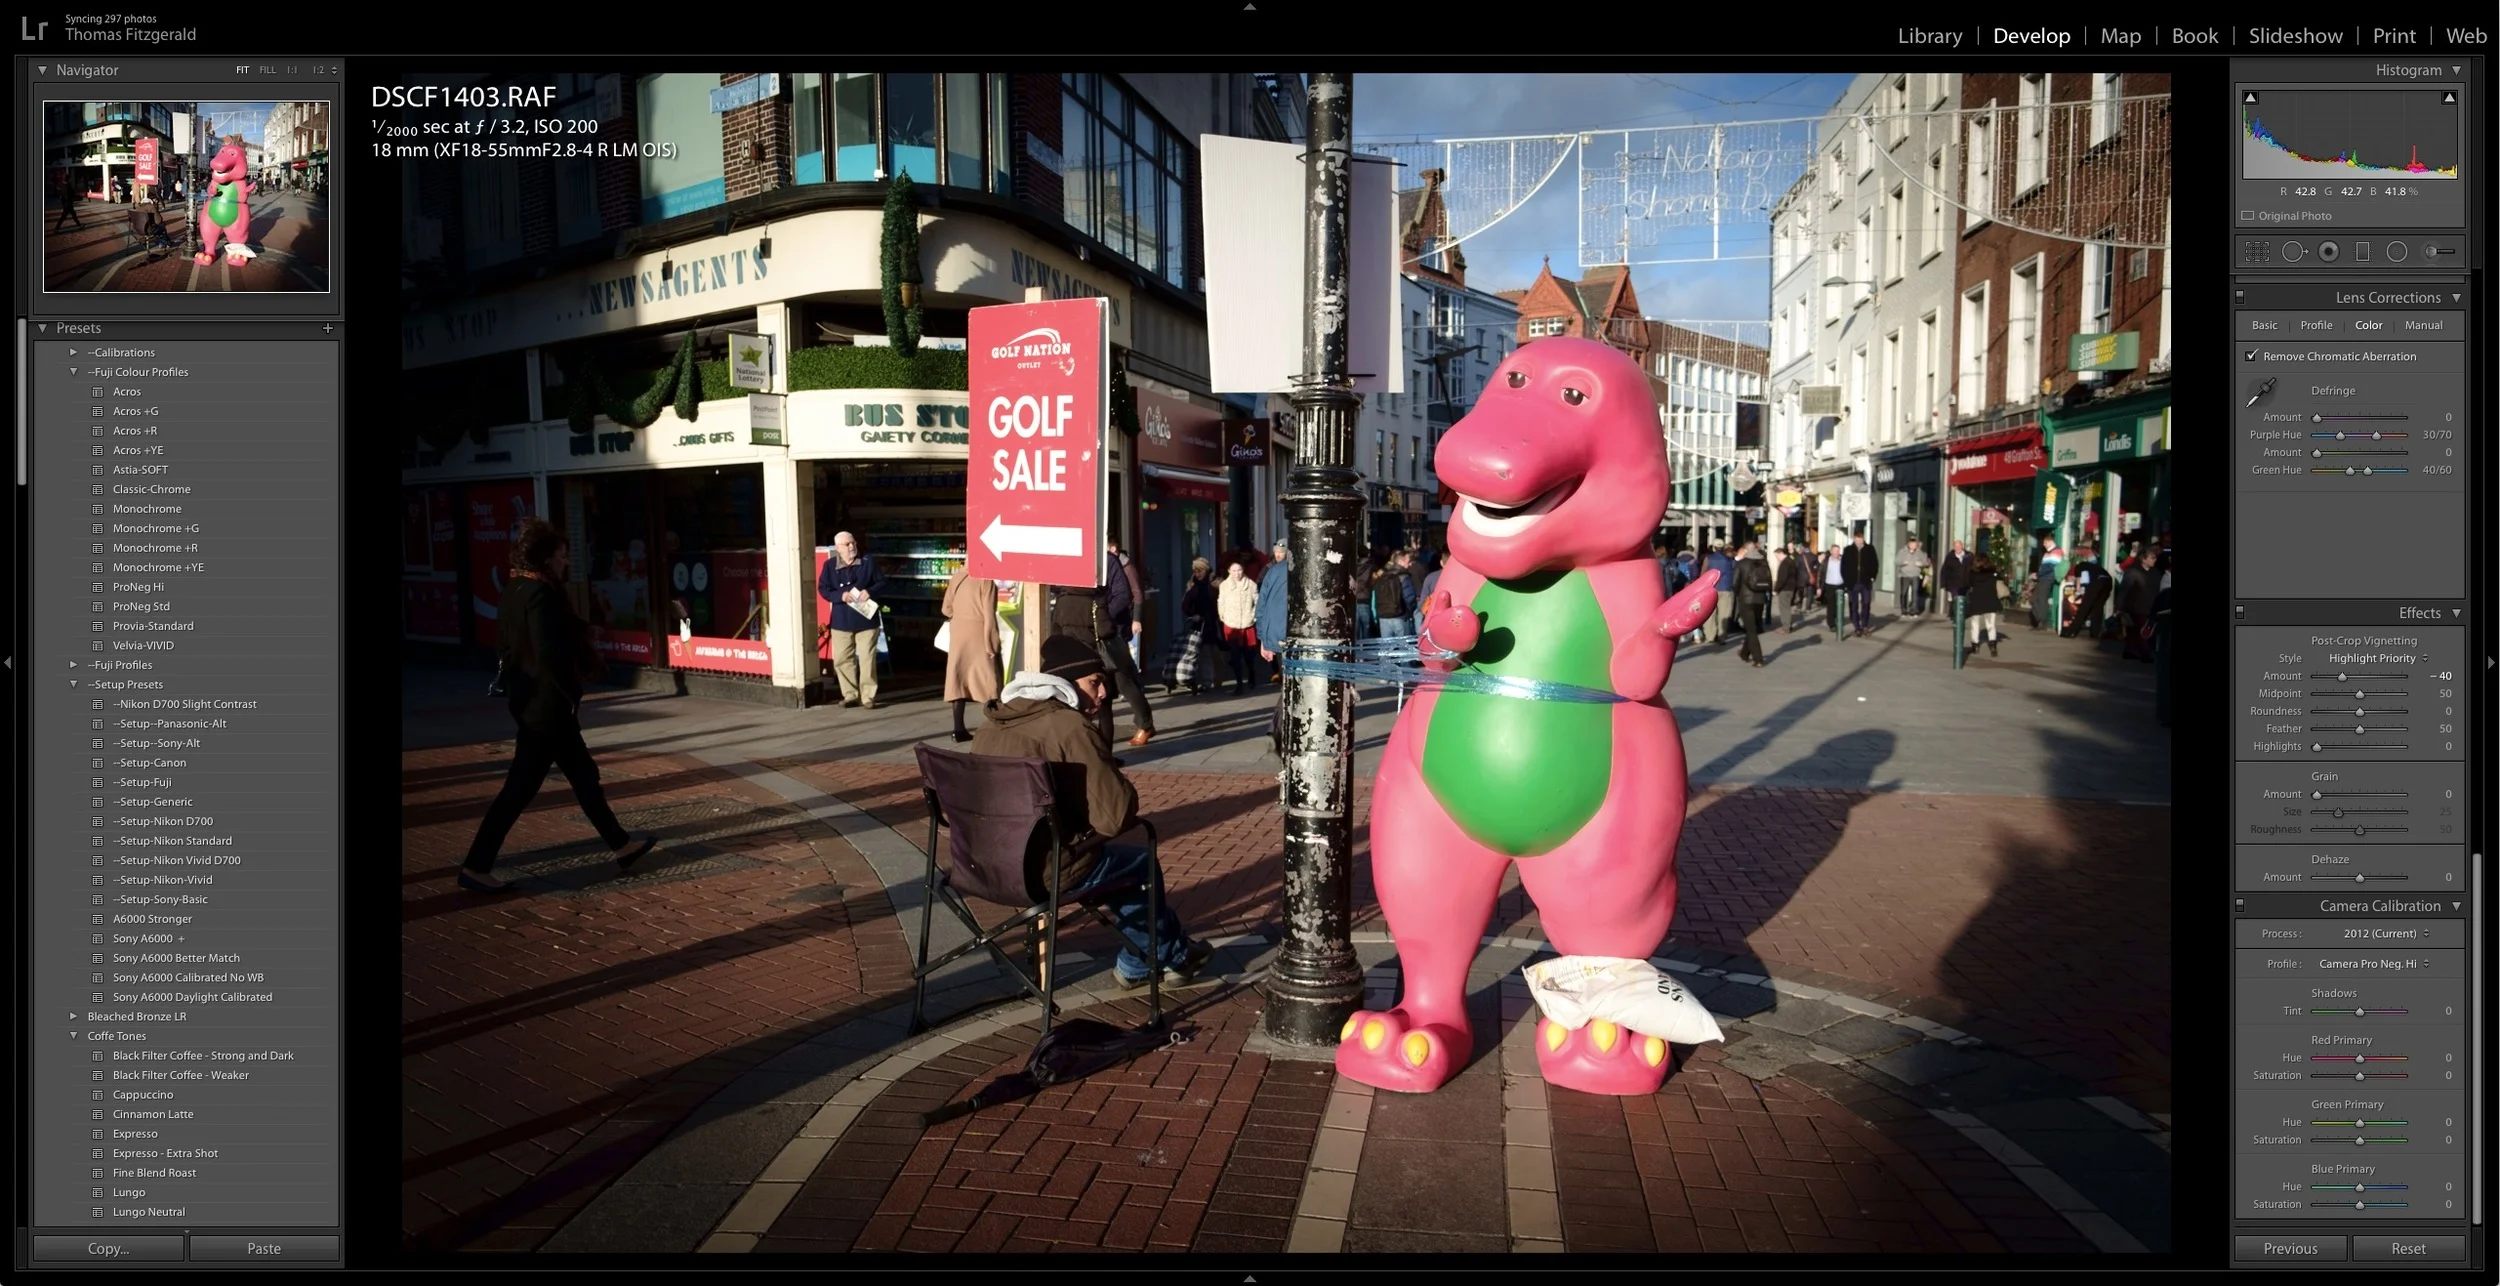
Working with Fuji X-Trans Files on Lightroom Mobile
While there was nothing preventing you working with Fuji files on Lightroom Mobile before, now that the latest version supports presets and preset syncing, the workflow has gotten a lot easier. If you follow any of my techniques for sharpening and managing Fuji files, you can now apply many of these to Lightroom mobile as well. There are of course limitations still, but its come a long way in just one version.
What follows is a brief overview. This isn’t a complete workflow or guide by any means. Most of what I’m going to talk about corresponds to the advice in my Fuji Lightroom guide, and I’ll be making use of the presets that come with that, or the free presets I also have available. I will consider doing a dedicated Lightroom mobile guide should there be demand.
Just a quick point on terminology. Because Lightroom’s official naming has gotten a little complicated, for the rest of this post, I’ll be referring to the desktop version of Lightroom Mobile as Lightroom CC (as opposed to Lightroom Classic) and I’ll be referring to the iOS (and Android version) as Lightroom Mobile. I don’t have access to the android version, so I’ll be dealing mostly with the iPad edition of the software.
Getting the presets into Lightroom CC and Syncing
Before you go anywhere, if you want to use my sharpening presets with Lightroom mobile you’ll need to import them into Lightroom CC first. Once you do this, they will automatically sync across. Here’s how to install presets into Lightroom CC:
- Open Lightroom CC
- Go to the Edit Mode (Press E on your keyboard)
- Click on the Presets button at the bottom of the interface.
- At the top of the presets panel that appears click on the … menu button, and from the menu choose import presets.
- From the open and save dialog, select the folder from of presets that you wish to install.
- That’s it! Presets should now be installed.
Once you install presets into Lightroom CC on the desktop, they will sync over to the mobile version, provided you have the latest versions installed.
Getting RAW files into Lightroom Mobile (on iOS)
To get your Fuji RAW files into Lightroom Mobile there are a couple of options. The easiest way is to import them into the desktop version and let them sync over. Obviously this defeats the purpose of working on an iPad to some extent, so if you want to import in the field you will need wither the Apple USB to Lightning adaptor or the SD card adaptor. The Fuji Wifi remote app doesn’t support RAW files that I’m aware of. It only imports Jpegs.
(Again, I don’t have access to an Android device, so I don’t know the procedure there. This isn’t a snub, I just don’t have access. If anyone from an android device maker wants to send me one, by all means - I’ll be happy to do an updated report ! ;-) )
To import using the SD card (or USB adaptor) adaptor you have to go through Photos first and the camera roll on your iPad or iPhone. All you have to do is insert an SD card into the reader and connect it to your device. The import window will come up. Follow the instructions here to import the files into Photos. This will import both RAW and Jpeg if you shot both, however, the JPEG will only show up in Photos on the iPad. Don’t worry, the RAW files are there, and will be imported into Lightroom CC.
Once you’ve imported the images into Photo, you can now begin to import them into Lightroom. You may have Lightroom set to auto import anything new from the camera roll. If you do, then just opening Lightroom should be enough. I have this disabled, and if you do then you need to manually import.
To import into Lightroom Mobile, here’s what to do:
Step 1 Go to the overview screen (or whatever it’s called) and click on the import from camera roll button - this is the one that looks like a little photo with a plus on it.

Step 2 Select the images that you want to import by swiping across them, and then click add x photos at the bottom of the screen (x being the number of photos selected).
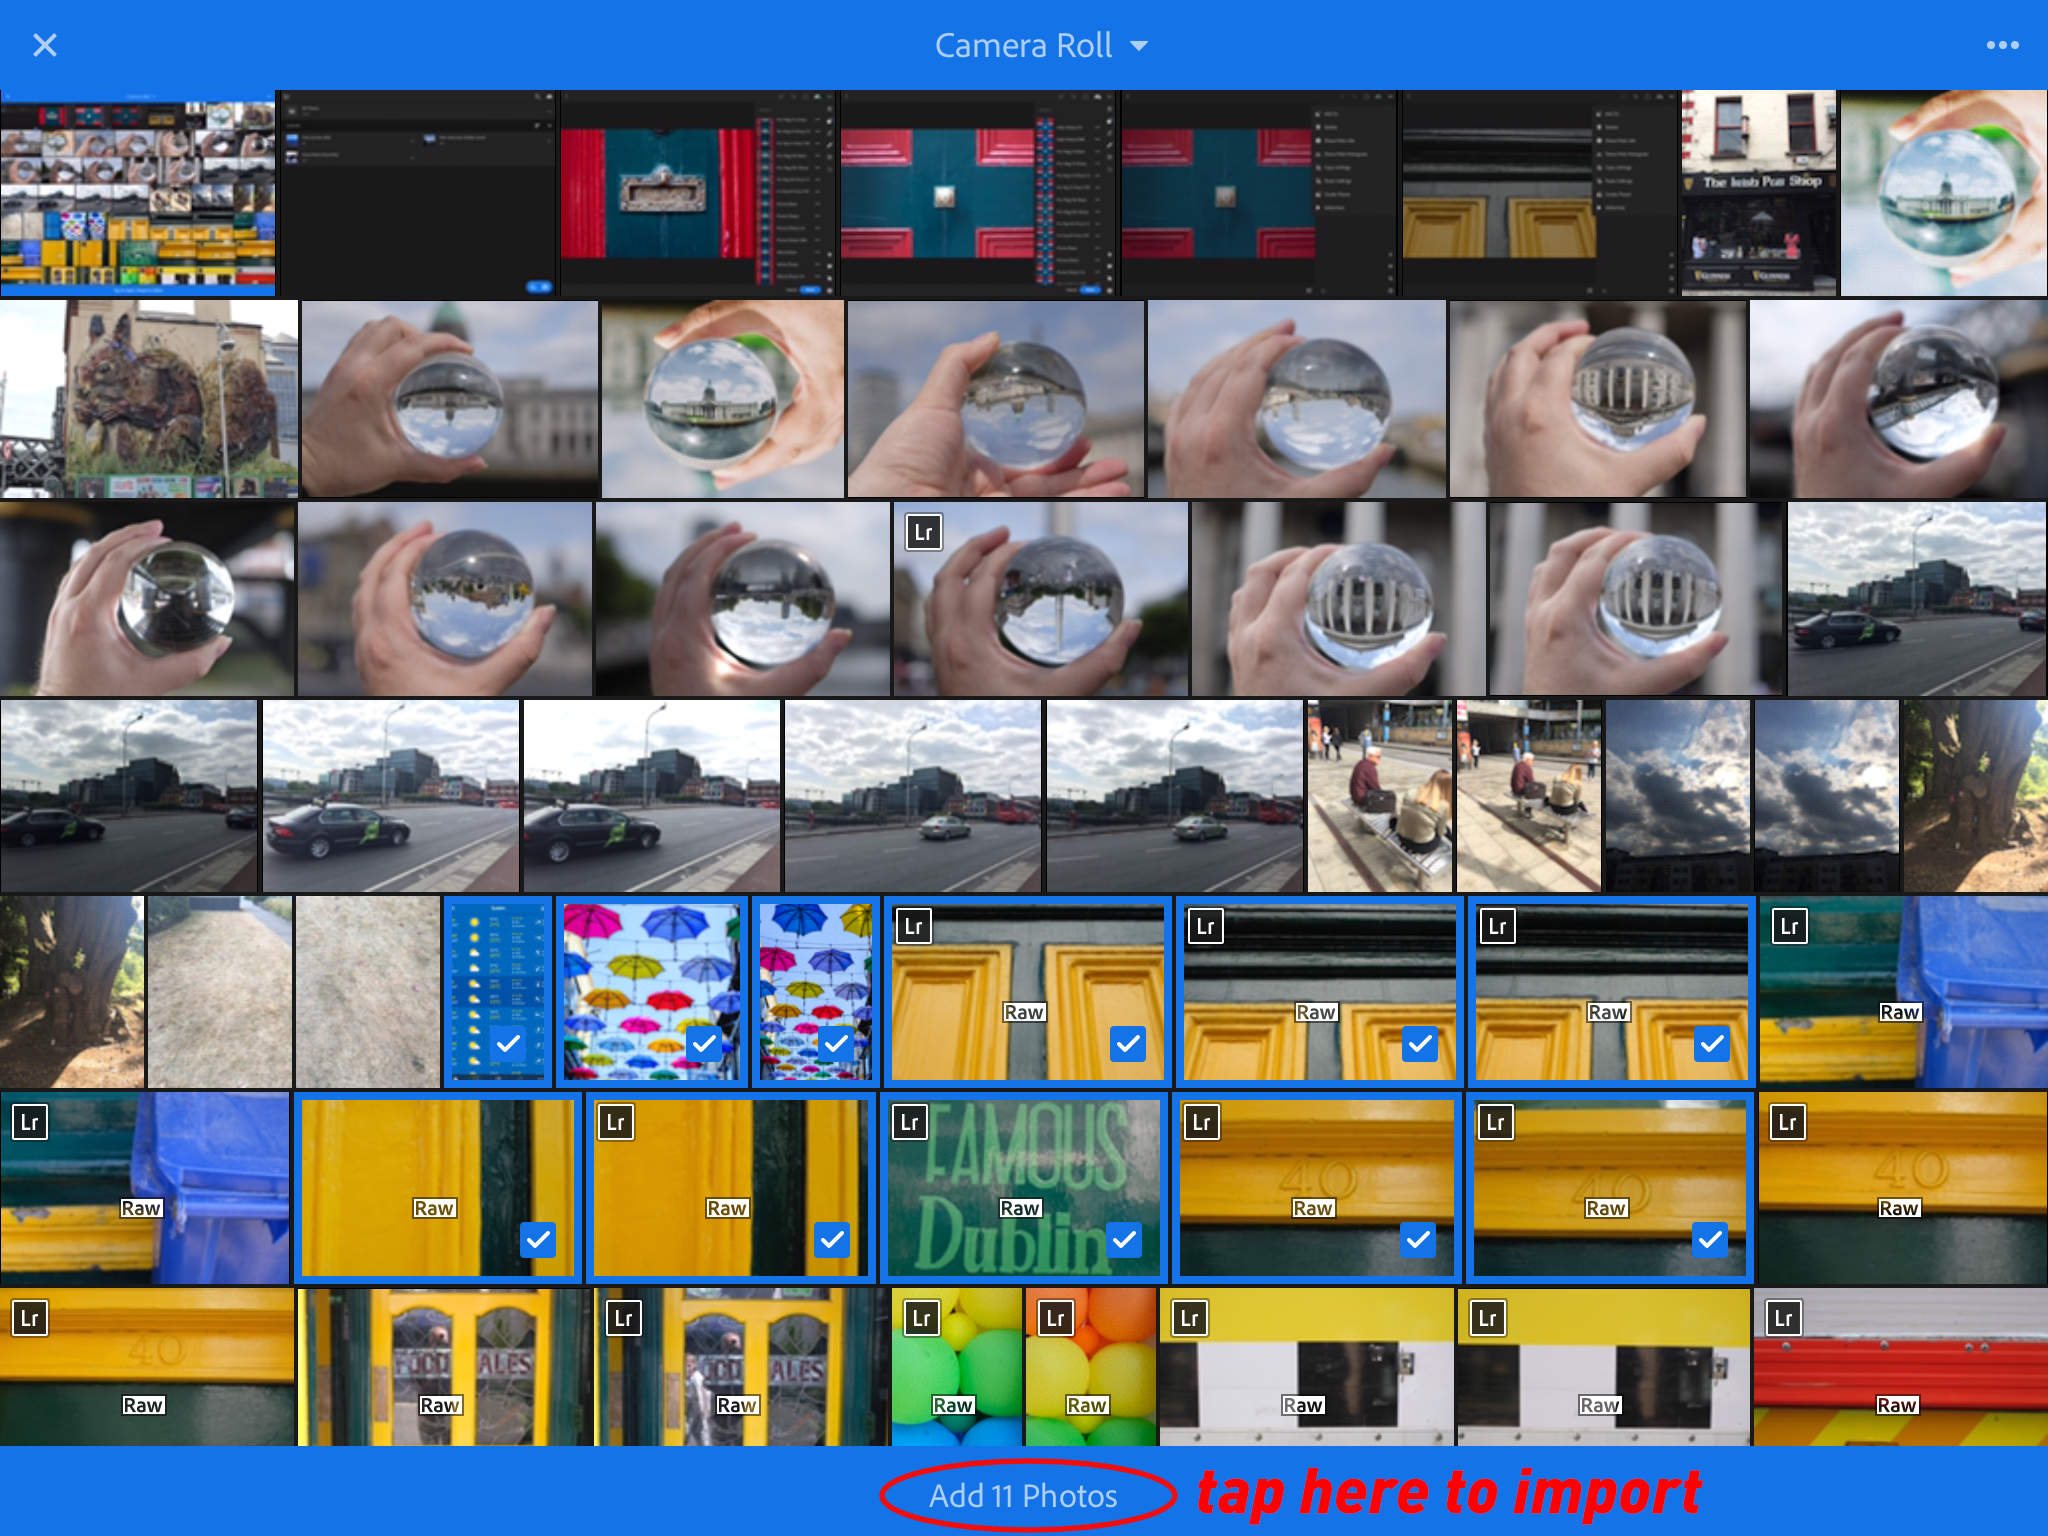
Thats all there is to it. Your images should now be available to work with.
Applying a preset, and Applying to Multiple Images
Because there is no way to apply settings on import, the best way to achieve the same effect is to apply a preset to one image and then copy and paste the edits to additional images. There doesn’t appear to be a way to do this to multiple images at once yet (if anyone knows how, please let me know).
To apply a preset, here’s what to do:
Step 1 Select an image to bring up the edit controls. Tap on the Presets button to bring up the preset browser.
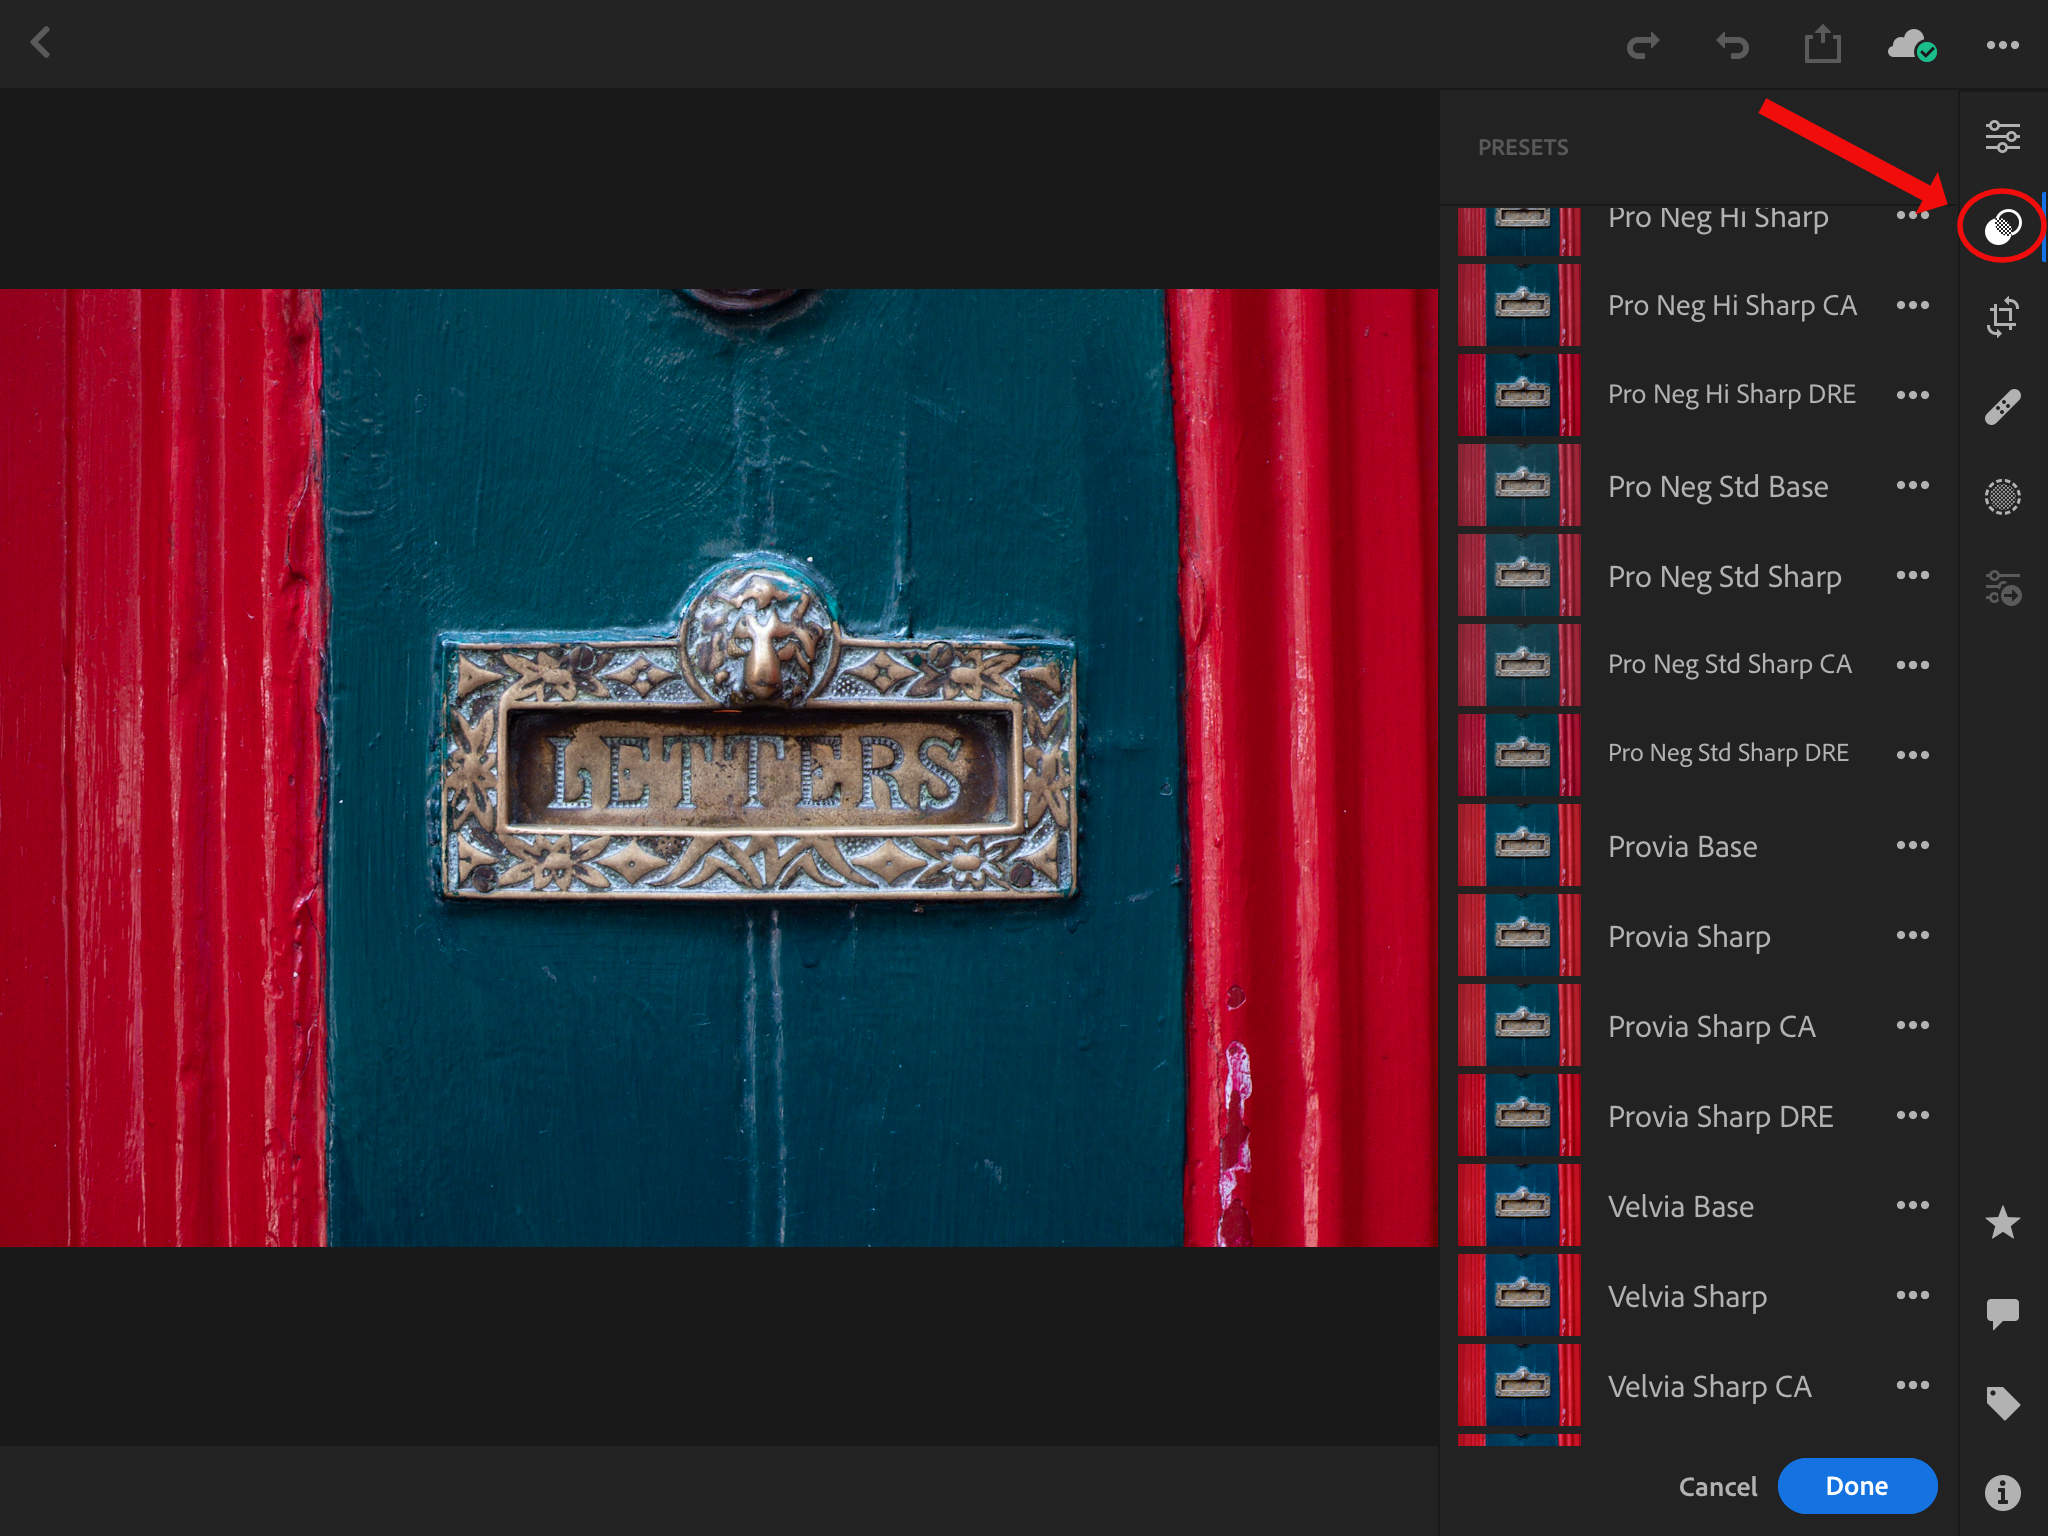
Step 2 Tap on the preset that you want to apply.
Step 3 Tap done. This is very important - if you wish to apply more than one preset, you need to tap on done between each preset. Otherwise it will only apply the new one you tap on. This is the equivalent of hovering over a preset in the desktop version of Lightroom.
To copy and paste:
- Select the image that you applied the presets to and from the … menu choose the “Copy Settings” option.
- Select the next image and from the same menu choose the “Paste settings” button.
A quicker option might be to use the previous button. In this case, apply the preset to the first image, then move to the next and tap the previous button.
Conclusion
That’s pretty much it for a brief overview. Obviously there is a lot more to this, and there’s still some work to be done, but it’s definitely getting there as a solution. Of course it still has the problems of Lightroom’s rendering engine, but if you need to work with Fuji images in the field, and you want to work with my (or other people’s) sharpening settings, the addition of preset syncing makes it much easier. I will endeavour to do an updated version of this if I discover more, or there is additional info available.
Help Support the Blog
This blog is pretty much my day job now and I work to bring you my own take on photography, both tutorials and tips, as well as inspiration from my own art. I support this work, and my YouTube channel entirely either via sales of my eBooks and Lightroom presets, or the kind support of my readers. (I also have one affiliate ad). Running all this isn’t cheap, and so If you like what you see and you want to help keep this all going, there are a number of ways you can do so:
Buy me a coffee / Tip Jar. If you want to support the blog but don't want to sign up for Patreon, you can buy me a coffee via PayPal with a one off donation to my PayPal tip jar.
You can support me on Patreon. If you like what I do here and find the information useful, then you can help by subscribing to me on Patreon. As well as helping keep this blog going with even more useful news, tips, tutorials and more, members also get special Patreon only feed, which gives you behind the scenes content, as well as monthly downloads (for the top tier), for only €2 or €5 a month Stop by and check it out.
You can also show support by buying something from my from my Digital Download Store where I have Lightroom Presets, and e-books available for download. If you're a Fuji X-Trans shooter and Lightroom user, check out my series of Fuji Guides. For Sony Alpha shooters I have a guide with tips on how to get the best from processing your A6000 Images in Lightroom.
If you like this post then you can see more of my work on Instagram, Twitter and Facebook. I also have a YouTube channel that you might like. You should also check out my other Photography Project: The Streets of Dublin. If you want to get regular updates, and notices of occasional special offers, and discounts from my store, then please sign up for the Newsletter.