
Setting up Build and Deploy Pipeline for a .NET Core Console Application
Automatically deploy and run a console application using TeamCity and Octopus Deploy.
Table of Contents
I was given a console application written in .NET Core 2.0 and asked to set up a continuous deployment pipeline using TeamCity and Octopus Deploy. I struggled a bit with some parts, so thought it's worth putting together a post on how I went about it. If you have a better or different way of doing things, please shout out in the comments below.
At the end of this post, we will have a console application that is automatically deployed to a server and running, anytime a change is pushed to the associated source control repository.
Setting Up TeamCity
Create a New Project and add a new build configuration just like you would for any other project. Since the application is in .NET Core, install the .NET CLI plugin on the TeamCity server.
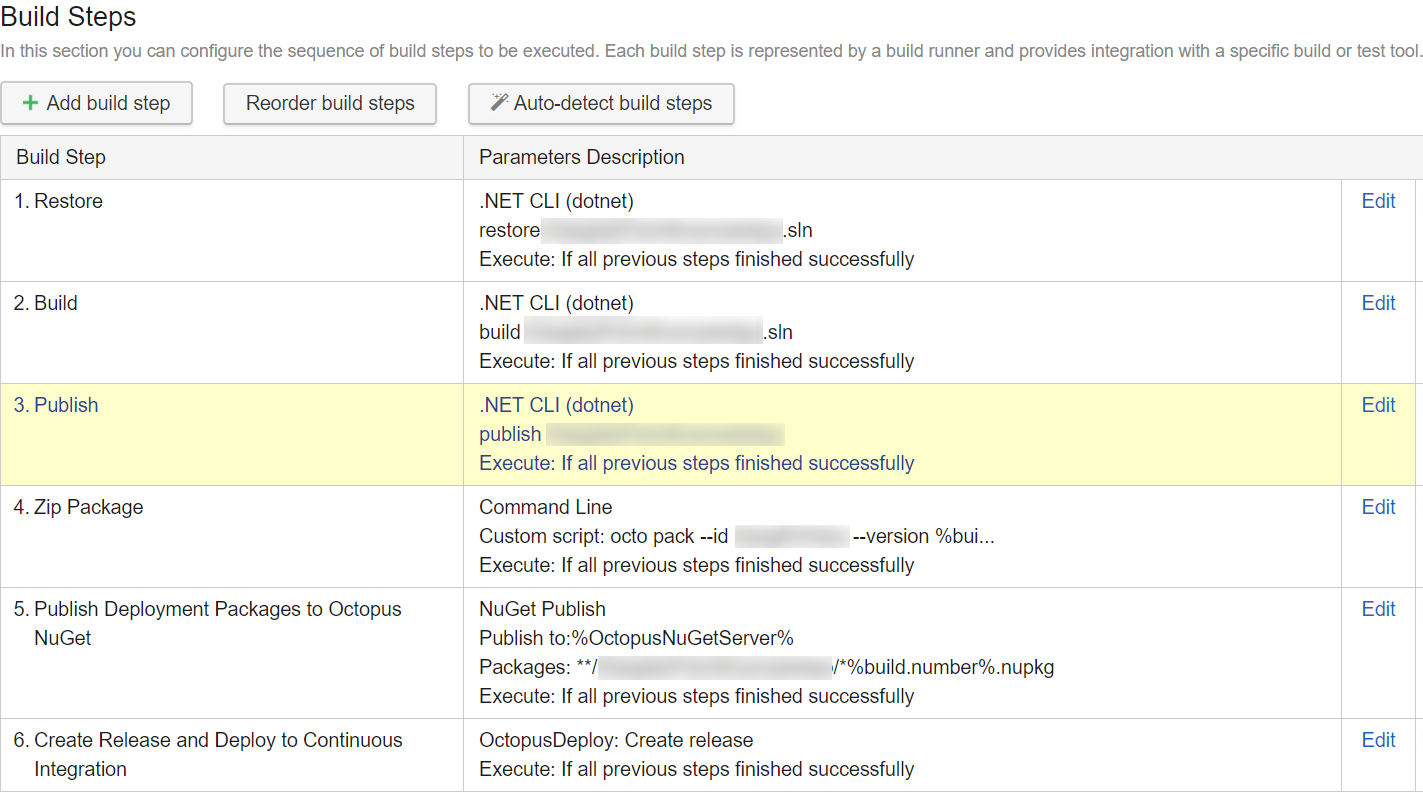
The first three build steps use the .NET CLI to Restore, Build and Publish the application. Thee three steps restore the dependencies of the project, builds it and publishes all the relevant DLL's into the publish folder.
The published application now needs to be packaged for deployment. In my case, deployments are managed using Octopus Deploy. For .NET projects, the preferred way of packaging for Octopus is using Octopack. However, OctoPack does not support .NET Core projects. The recommendation is to either use dotnet pack or Octo.exe pack. Using the latter I have set up a Command Line build step to pack the contents of the published folder into a zip (.nupkg) file.
octo pack --id ApplicationName --version %build.number% --basePath published-app
The NuGet package is published to the NuGet server used by Octopus. Using the Octopus Deploy: Create Release build step, a new release is triggered in Octopus Deploy.
Setting Up Octopus Deploy
Create a new project in Octopus Deploy to manage deployments. Under the Process tab, I have two steps - one to deploy the Package and another to start the application.
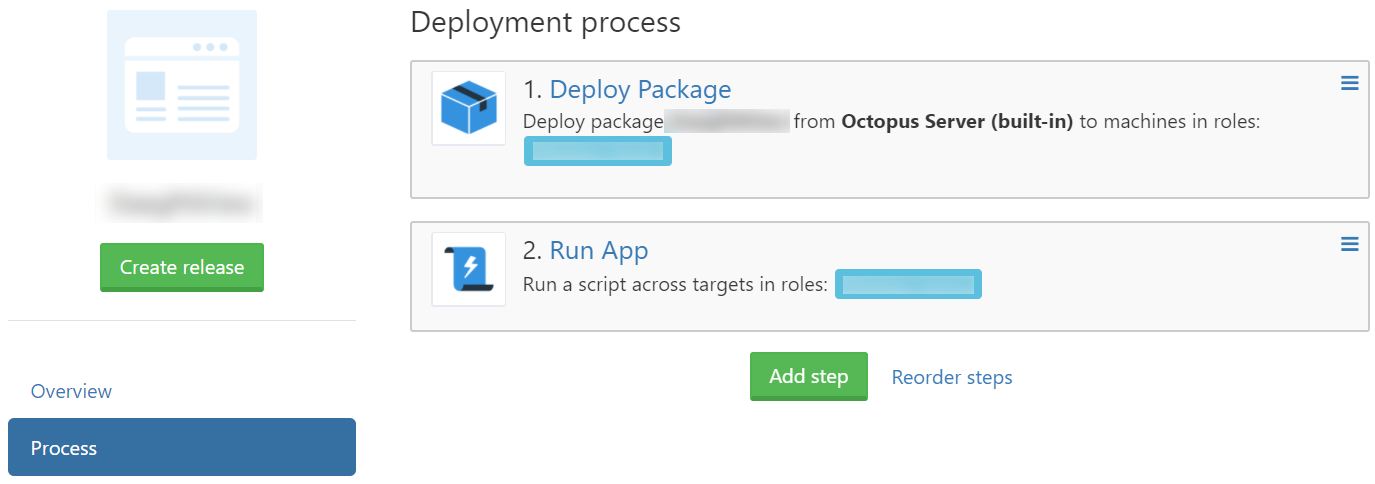
For the Deploy Package step I have enabled Custom Deployment Scripts and JSON Configuration variables. Under the pre-deployment script, I stop any existing .NET applications. If multiple .NET applications are running on the box, select your application explicitly.
Stop-Process -Name dotnet -Force -ErrorAction SilentlyContinue
Once the package is deployed, the custom script starts up the application.
cd C:\DeploymentFolder
Start-Process dotnet .\ApplicationName.dll
With all that set, any time a change is pushed into the source control repository, TeamCity picks that up, build and triggers a deployment to the configured environments in Octopus Deploy. Hope this helps!

Rahul Nath Newsletter
Join the newsletter to receive the latest updates in your inbox.

