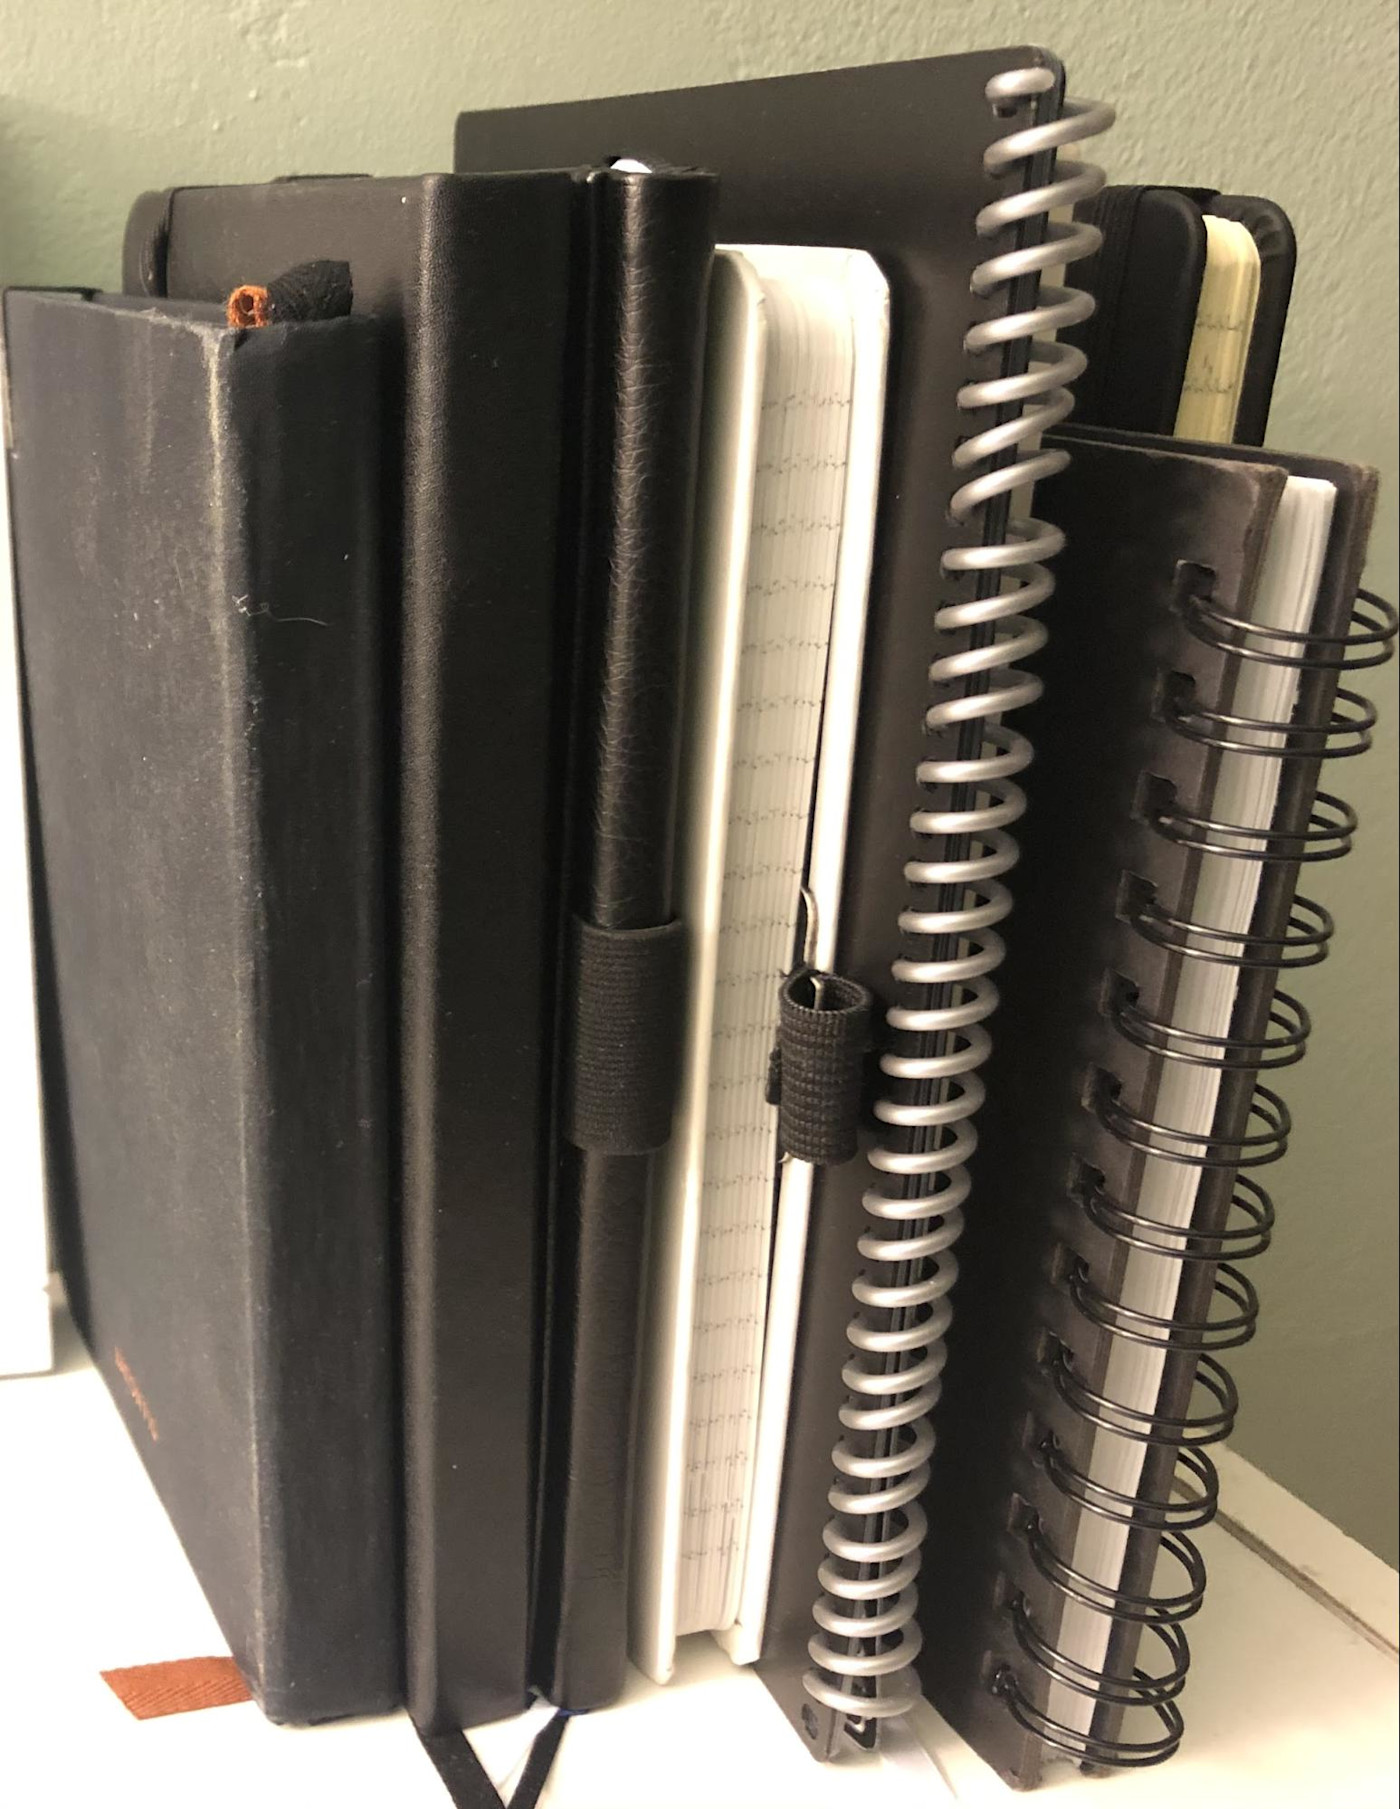
For years, I've read books, viewed webinars, and been to conferences where the author or speaker touted the value of journaling. It's therapeutic. There's a legacy factor (leaving something behind for loved ones). Journaling helps compile ideas. And so on. So I would buy a journal and write in it one time or maybe two, never to be opened again. I've even tried different styles and formats—which simply means that I accumulated half a dozen (or eight!) nearly empty journals on my bookshelf.
There are three main problems for me:
Some people like paper. I'm not one of them. In my mind, things on paper cannot be easily filed or categorized, they're not in the cloud (available wherever/whenever I want them), and they're not digital, which means they're not typewritten, easily cross-referenced, able to be cut and pasted, searchable, the list goes on.
I have terrible handwriting, so my notes can usually only be read by me.

More importantly, I never know what to write. If it's something lengthy, I want to use a word processor. If it's short, I question its value. Either way, I don't want to waste time putting words on paper simply for the sake of writing a journal. I want it to be purposeful. (I'm an organizational consultant at Greenfire Innovations, so that tracks.)
Yes, I tried things like journaling apps, handwriting apps, note-taking apps like Evernote (taking pictures of my journal entries), and even Rocketbook, a hybrid paper/digital journal. While each of these has its benefits, none of them got me journaling. Maybe these are only my issues; maybe your reasons for hating journaling are different. But maybe what helped me can help you too.
If you want to use an app for journaling but can't find one you like, consider creating your own journal app.
A system for journaling
To boil it down to a single word, what helped me start journaling was a system. I love systems. Systems are simply an organized group of processes or steps to help accomplish an objective. I actually created my own journaling system almost by accident. And using this system, I filled my first journal ever—and I'm now almost finished with my third one.
Before I get into the system, a caveat. In order for this to work, you need to want to begin journaling. You also need to value lifelong learning. This journaling system assumes that you'll be reading books, listening to podcasts, watching webinars, or learning from others in some capacity.
The system itself is pretty simple.
1. If you don't have a journal, buy one. Pick one you like; the style or format really doesn't matter. Here's the one I most recently bought—inexpensive but with all the features I wanted, including a built-in pen holder.
2. If your journal doesn't have a pen holder, get some of these (or something like them). They remove the obstacle of not having a pen when you go to write something.
3. Take your journal with you everywhere. Have it nearby when you're reading, watching TED Talks, meeting with a mentor—anything where you might be learning.
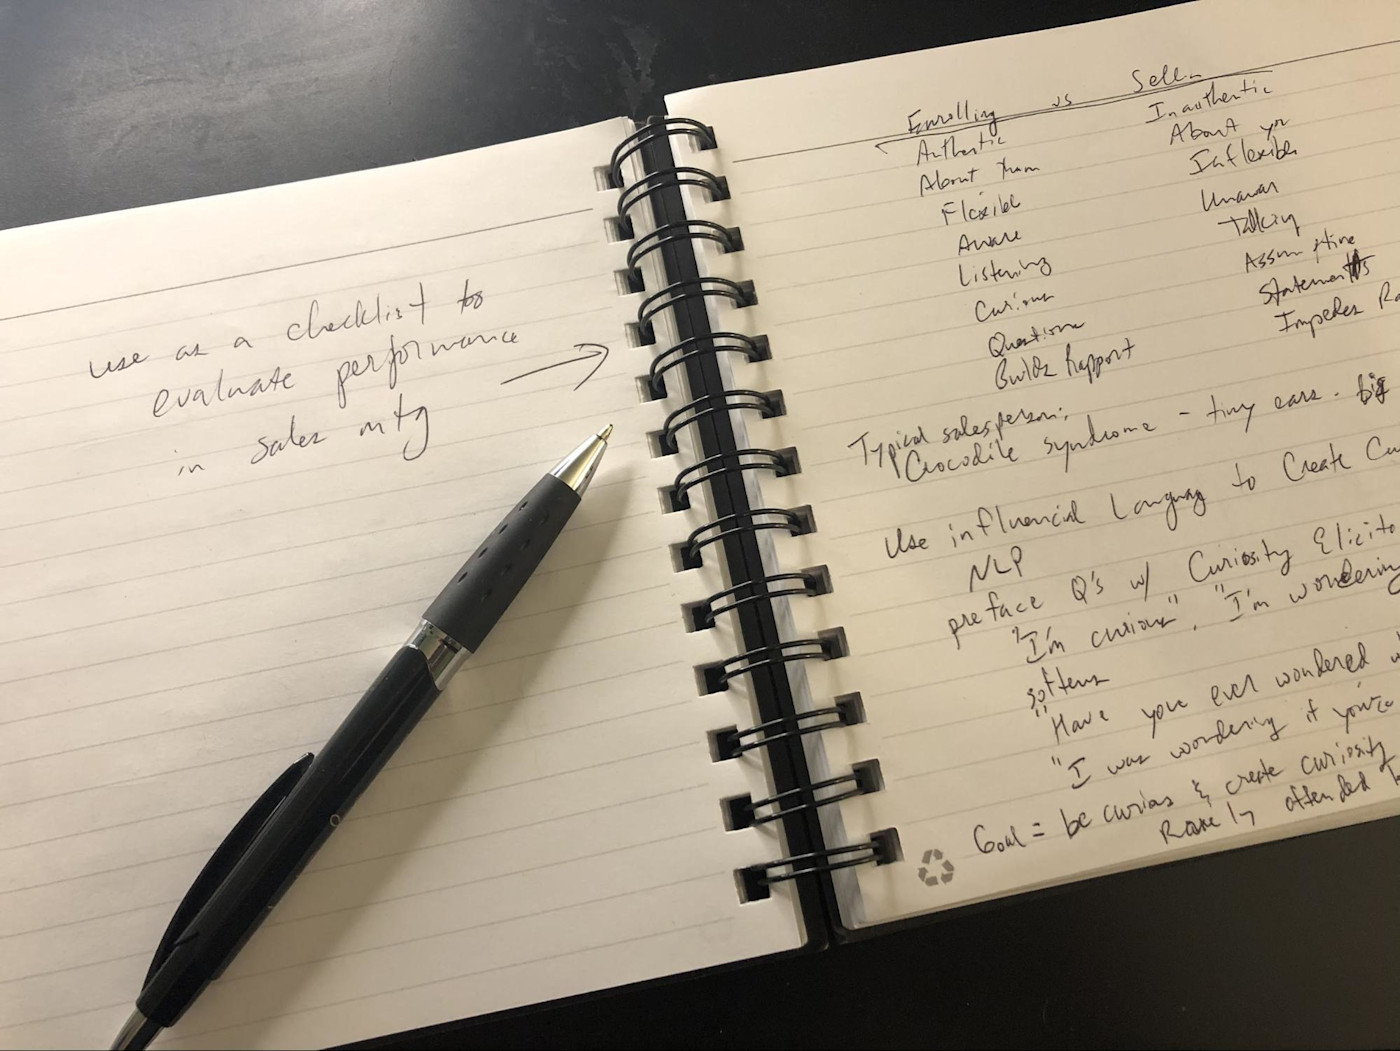
4. Use the right-hand pages of your journal to take notes. This isn't college, so you don't need to write down everything. Write down important ideas, concepts you'd like to remember, innovative thoughts, or key points. Whatever jumps out at you in the moment—including your reactions to what you're learning—jot it down.
5. Reserve the left-hand pages of your journal for action items. These are things you want to do. They can be rough ideas or more detailed outlines. The beauty here is that you can quickly scan through the left-hand pages of your journal to find "to-dos" and reference your notes on the right-hand pages next to those action items for more clarity. Sometimes my action items are directly related to the notes on the right-hand side, and I'll usually draw an arrow or star to indicate that. Other times, the action items have no relationship to the notes. Although it's still a little chaotic, the left/right separation provides enough structure to keep journal entries organized without taking unnecessary time or complexity to do so. (Bonus tip: I also dog-ear pages with really important notes or ideas, so I can quickly find those later.)
6. When you fill a journal, label it. Give it a unique name or number. I use the date it was completed (e.g., "Journal 20201031"), but you can call them anything you like. Either write the name or use a label maker and stick it on the spine. This will make your journal name visible when it's on your bookshelf. The labeling will help for cross-referencing in step 7.
7. Take a few minutes to compile your action items (left-hand pages) from your completed journal into whatever you use for to-do lists (whether that's an app on your phone, a spreadsheet, a paper list… it doesn't matter). I've been using MeisterTask, and it's worked well for me. It's web-based but also has a mobile app, and there's a free version. Whatever you use, be sure to include the journal name or number in your task. That way, if you want to know where to find your notes about the task later, you'll easily be able to find the journal where it's written.
(You can also archive your journal by using your phone's camera and snapping photos of your important journal pages, or all of them, into Evernote, the Rocketbook app, CamScanner, Google Keep, or even the iOS Notes app.)
So that's the system I've been using. It's not perfect, but it's been highly effective for me (translated: I'm actually filling journals with useful and actionable information). It's also not complicated, and therein lies its beauty. Not only does it help bridge the gap between paper and digital, but it also provides purpose for my journaling that had been lacking.
This was a guest post by Eric Beschinski, Chief Navigation Officer of Greenfire Innovations and creator of the iNautilus methodology. The iNautilus is a visual, progressive, functional system of Organizational Navigation (strategy + execution) designed to help organizations reach their Ideal Destination. His book, the iNautilus Guide for Organizational Navigation, and other information are available at the Greenfire Innovations website. Want to see your work on the Zapier blog? Read our guidelines, and get in touch.
