Maybe you just picked up a new external hard drive, DVD or CD device, server, or even memory stick to use with your Mac. Being able to see these external devices and their contents is obviously important. And the most convenient place to access them is in the Finder Sidebar.
This short tutorial walks you through how to show external drives on Mac in the Finder Sidebar.

Open up Finder
To get started, open a new finder window. Either click the Finder icon in your Dock or File > New Finder Window from your menu bar. Then, follow these steps:
- With Finder open, select Finder > Settings or Preferences from your menu bar.
- Click the Sidebar tab.
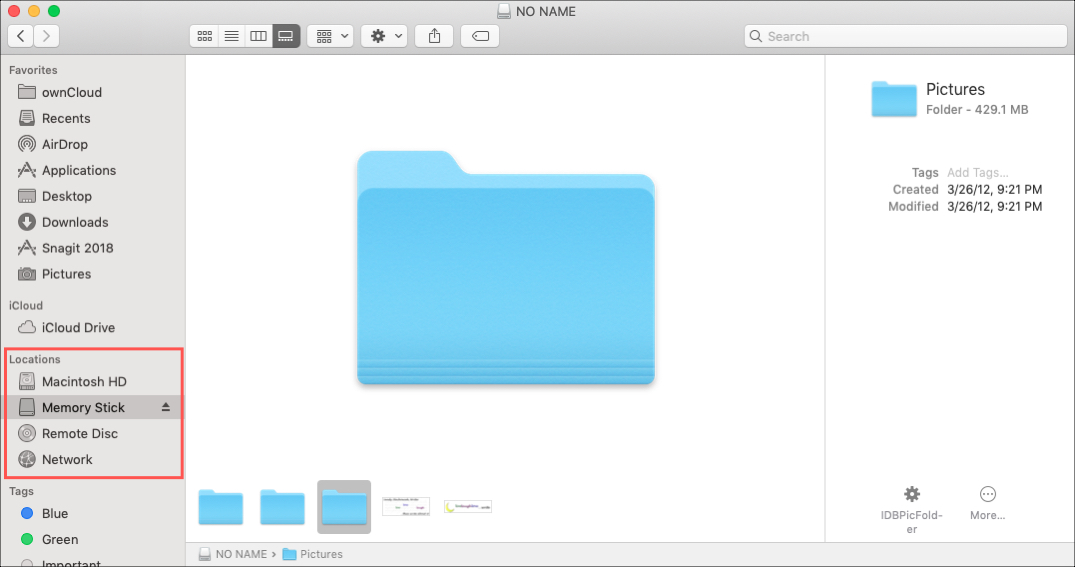
- Under Locations, check the boxes for those external devices you want to show in the Sidebar.

Once you make the changes, you will see your Finder Sidebar update immediately.
You can also rearrange those external items in the Sidebar. Just click one, drag it to its new spot in the list, and release.
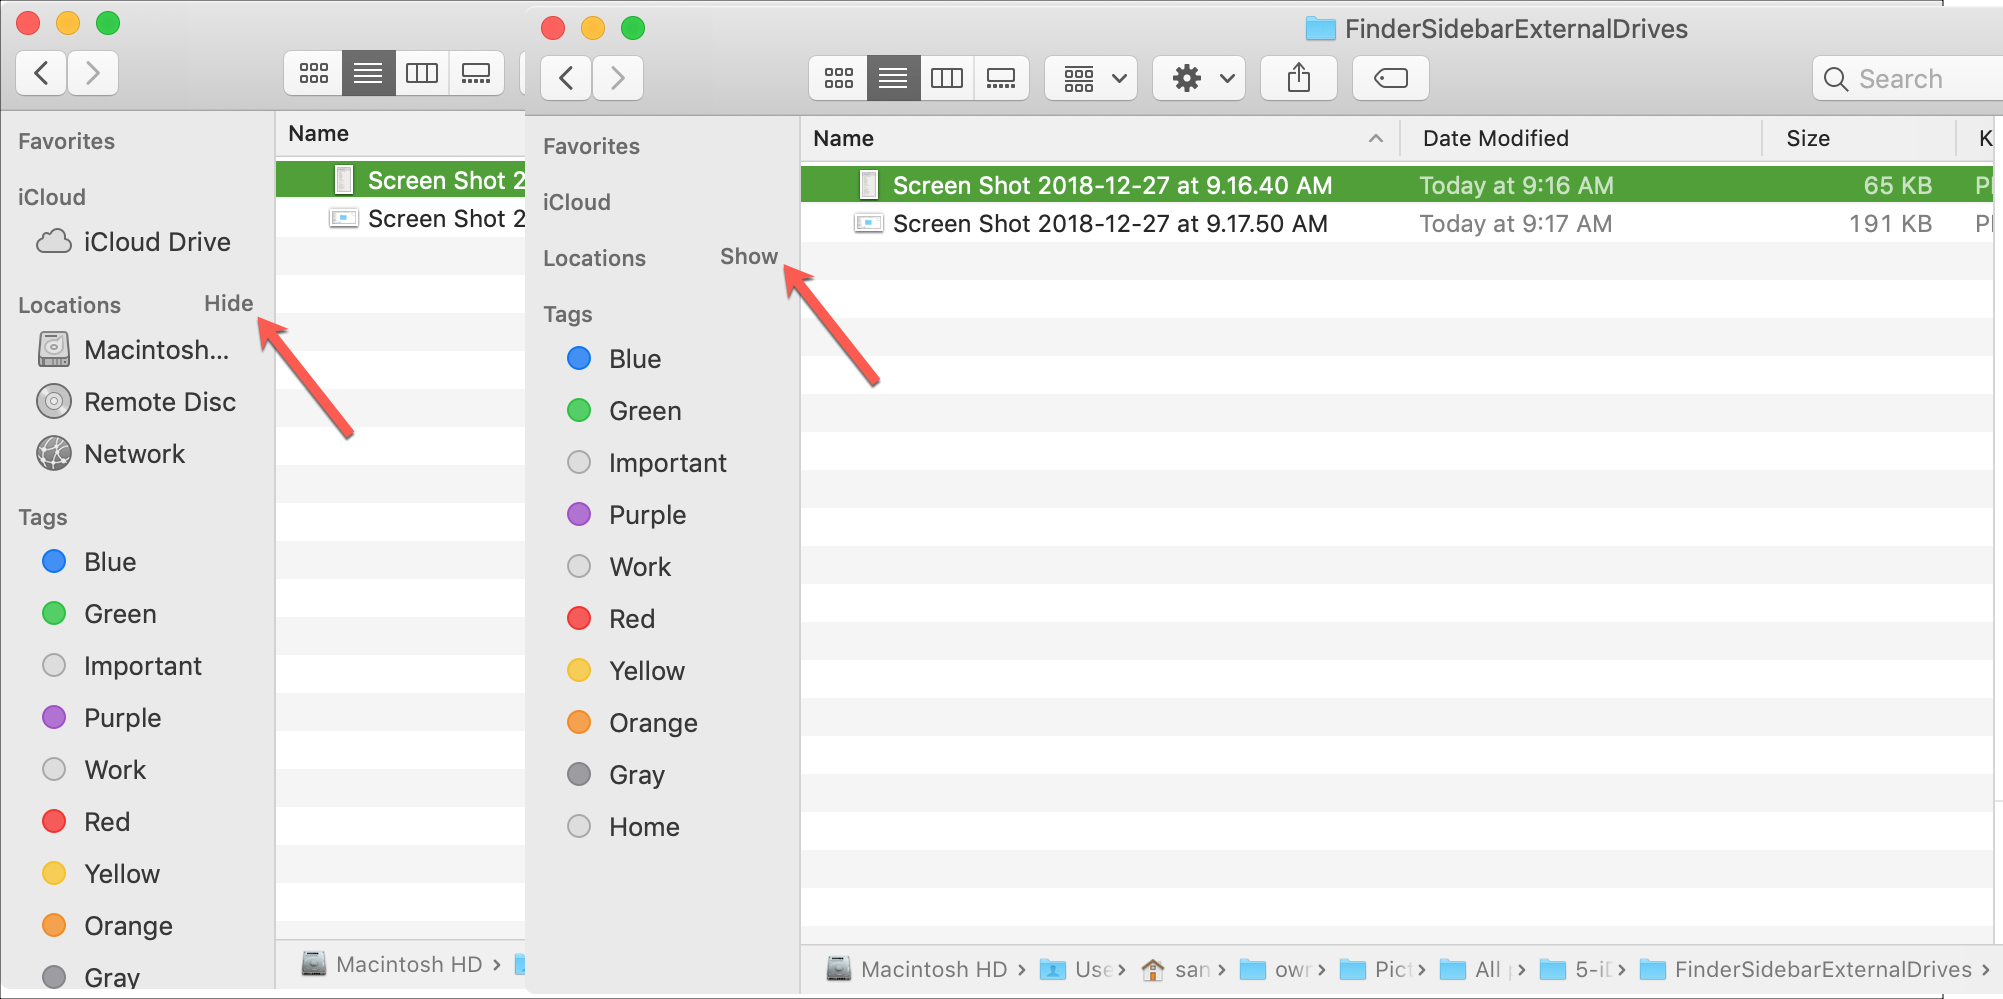
And to save viewing space in your Sidebar, remember that you can hide (collapse) the groups of items anytime. Mouse over a group title like Favorites, iCloud, or Locations and click the arrow icon or Hide when it appears. Do the same thing and click the arrow icon or Show (expand) to see them again.
The Finder Sidebar is a terrific tool for quickly accessing everything you need on your Mac. Do you spend time customizing your Sidebar? If you have tips or suggestions you’d like to share, just leave a comment below.
More Finder tutorials: