

The Importance of White balance
White Balance is one of those controls that I think a lot of photographers don’t think about or don’t make use of enough. Many just leave it on automatic and don’t worry about it. Yet a poorly chosen white balance can probably affect your photos as much as an improper exposure, and when many people complain about certain cameras having “bad colour” in many cases this can be attributed to the white balance.
It used to be that people were thought to always set white balance manually, either by setting a specific value or by using one of the presets (daylight, shade etc). This is the way that I learned, and it made sense as I was coming from a film world, where the white balance was effectively baked into the film. While automatic white balance has come a long way, I still prefer to manually set mine for a number of reasons:
Firstly, the automatic white balance can still produce errors, even on the cameras with the best auto functions. Secondly, if you’re shooting in an area where the cloud cover is patchy, your white balance may be constantly changing, as the cameras attempts to compensate. This can be a pain to fix later. Thirdly, the auto white balance often does not reflect what I want to achieve. In particular, it often tries to warm up the image in cloudy conditions, often too much so. I personally prefer a cooler image in overcast conditions, as it more accurately reflects what I see with my own eyes. Of course, these are just my preferences, and if auto white balance works for you, then that’s fine too.
However if you do find that you’re not happy with the colours that your camera is producing, then it’s possible that the white balance is one of the culprits. (The other culprit, especially if you’re shooting RAW and processing with Lightroom, is often poor calibration by Adobe or a poor quality profile. )
Most cameras will let you make changes to the white balance in-camera. I’m not just talking about switching from daylight to shade, but tweaking the actual colour temperature and tint of these settings, making them warmer or cooler. You can often dial in an offset to the auto white balance too. Of course, you can always tweak your white balance in RAW too.
Another thing to bear in mind is that the result of selecting a certain white-balance value may not the same on all cameras. Different manufacturers have their cameras calibrated differently, so often, a value that might give you a certain result on one camera might give you a completely different result on another. This can also be an issue when working with RAW files. Here the scale of white balance adjustments can also vary from camera to camera, so what might be a minor adjustment on one, might be a bigger adjustment on the other. This difference between camera to camera makes it difficult to use white balance presets, as they will only really work properly for a specific camera. It’s also important to understand that white balance can also be a creative tool. You can use it to achieve different effects in an image.
Let me give you an example of how all of these things can come together:
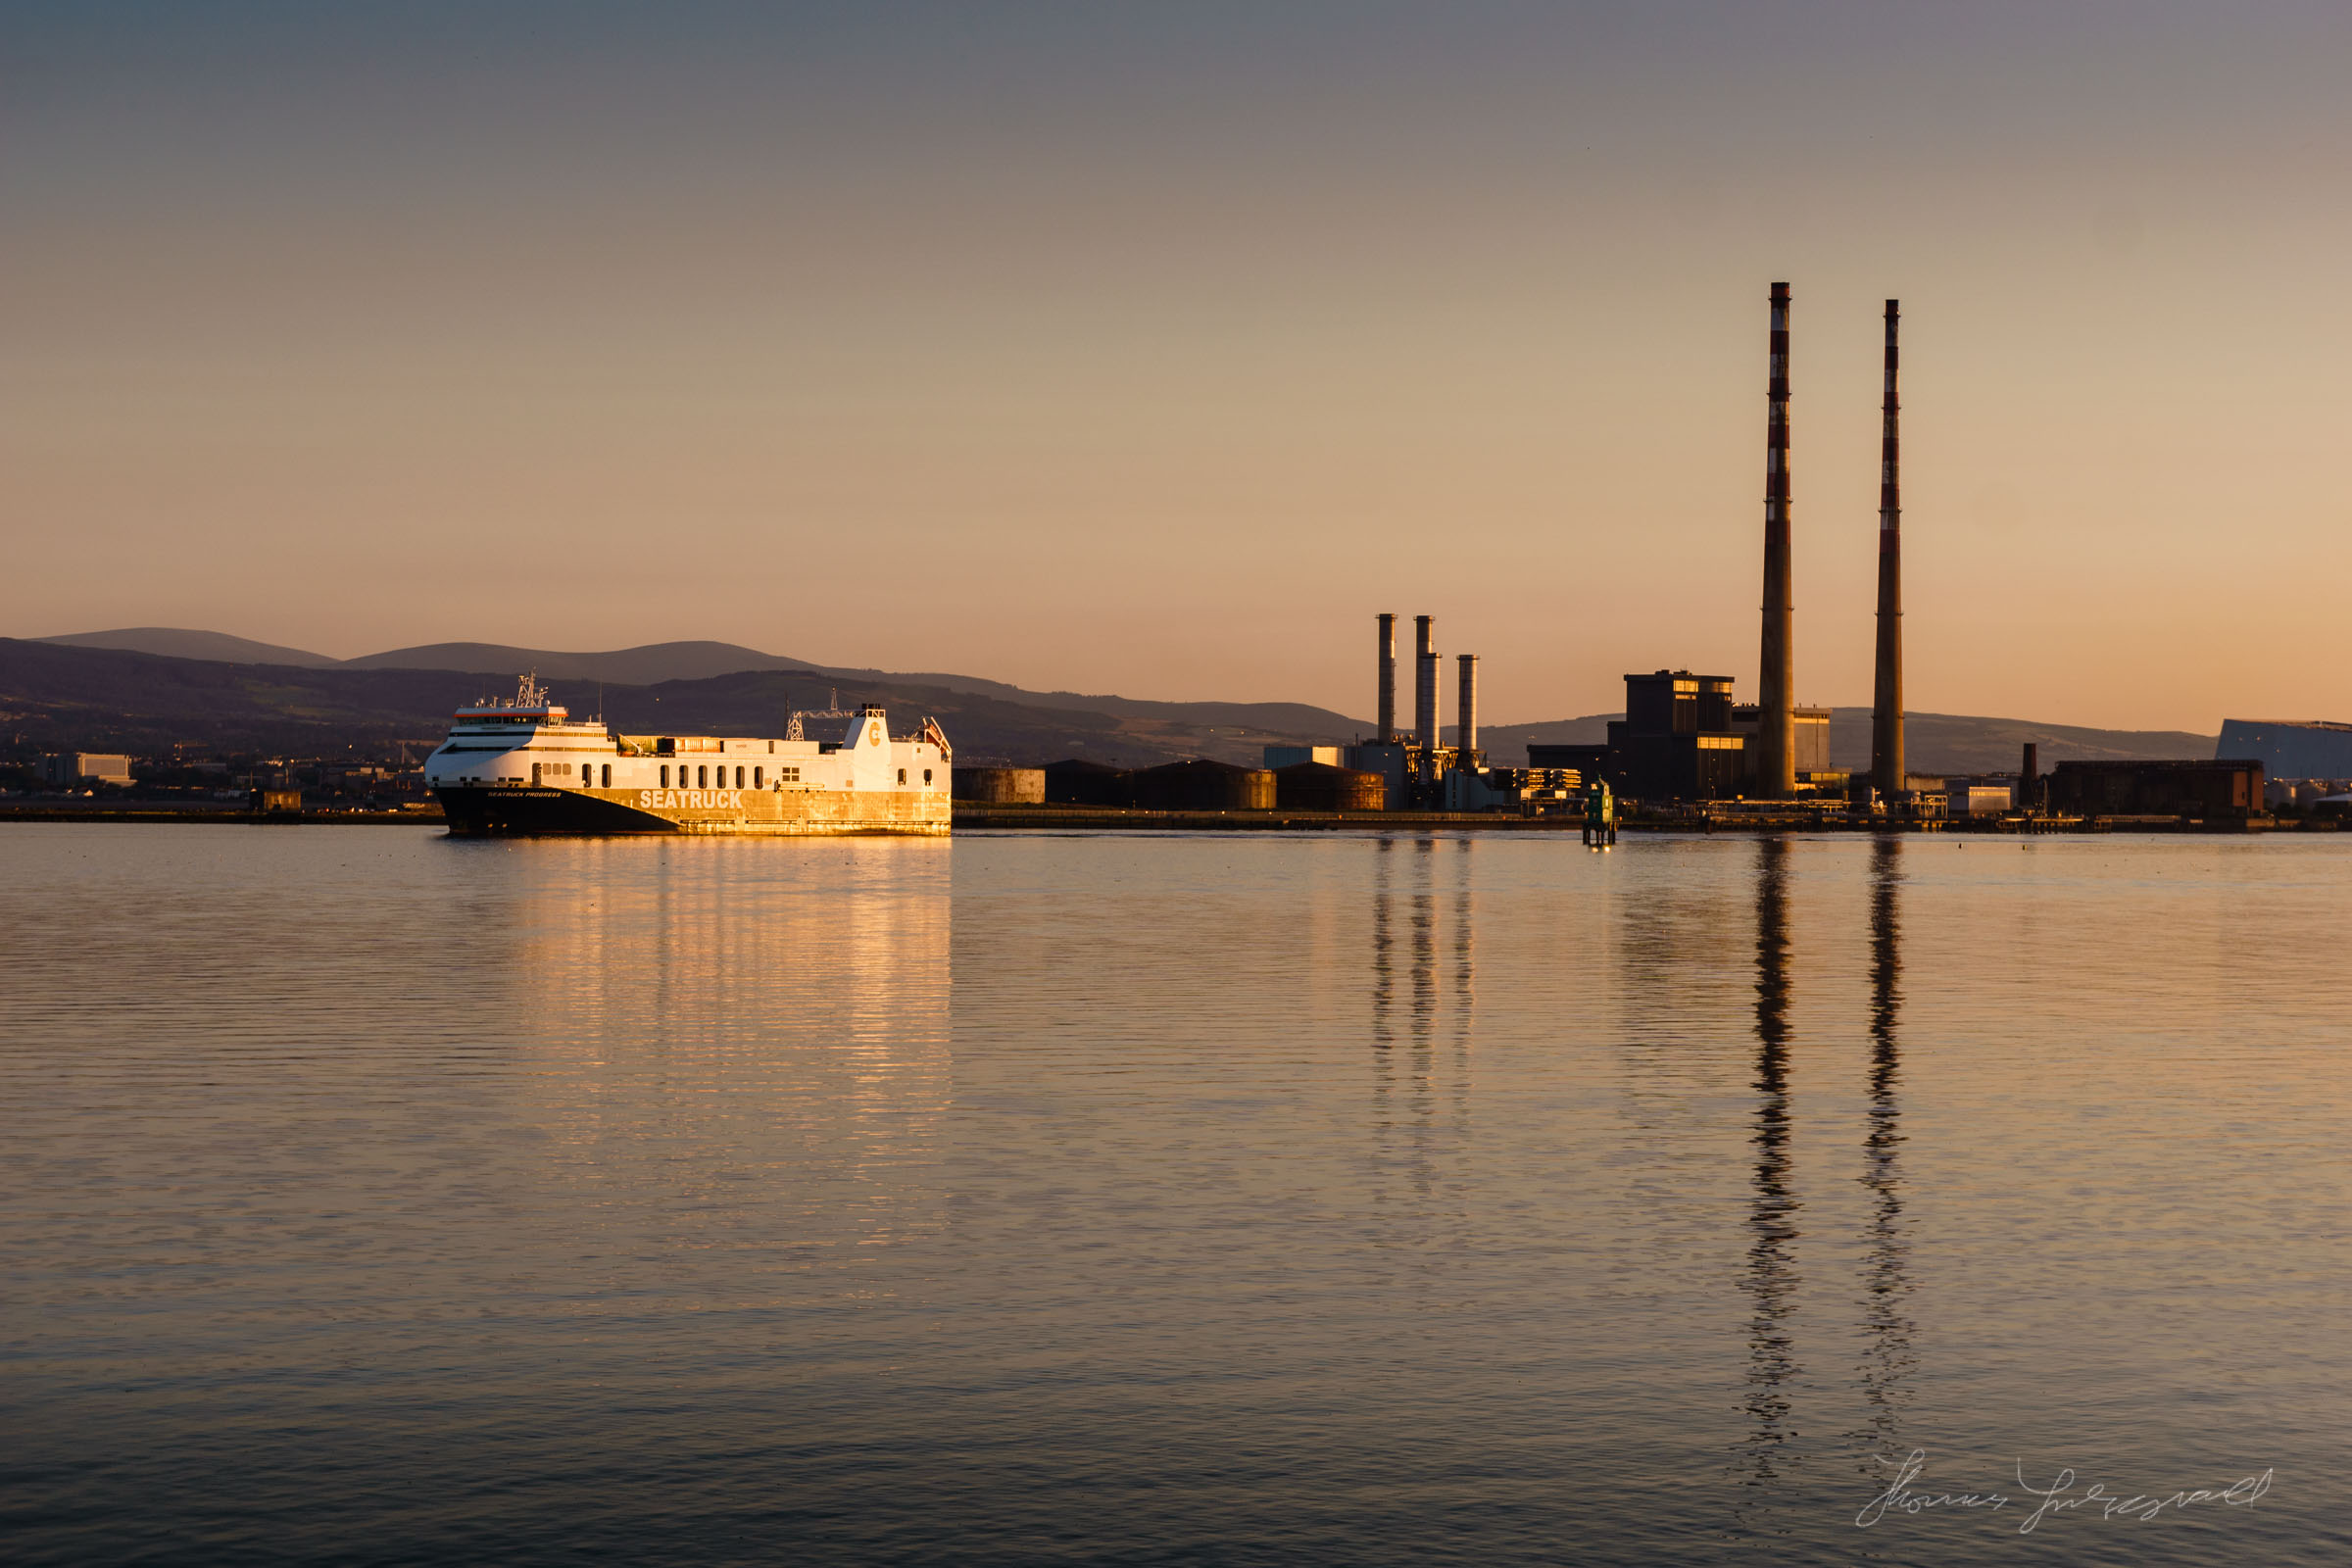
A couple of weeks ago I was out shooting in the north of Dublin, at sunset near Dublin bay watching the ships leave the port for the UK. I had two cameras with me, my Sony A6000 and my Canon G7X. While both were set to manually, the Canon was giving me much warmer colours than the Sony, which was much bluer with a hint of yellow. The Canon colours looked more like what I saw at the time and looked more 'right' to me.
Before Editing: Canon G7X Left, Sony A6000 Right
It would be tempting to think that the Sony is just bad, and the colours form the camera are as poor as is Sony’s reputation. But, luckily, I knew that wasn’t the case. I knew from experience that it was just a white balance issue, so using Lightroom’s “reference” tool in the develop module, I loaded one of the canon images as the reference photo and the Sony into the editing side. I then tweaked the white balance until it matched the Canon. I then saved this as a preset (as I was only going to be applying it to the Sony images) and using this preset, I could quickly correct the other images. While the outcome isn't exactly the same, it's much better.
Sony A6000 Image after editing
So what’s the moral of the story? Well, it’s this: don’t underestimate the importance of white balance. Even a small change can make a big difference. Spend some time getting to know how your camera performs under different conditions. Try taking it off auto, and try adjusting the defaults in camera. When working with raw files, make small adjustments, as even a small amount can make a big difference. And don’t just adjust the temperature too, also work with the tint control. In the example above I had to adjust both the tint and temperature to get the desired result.
Help Support the Blog
This blog is pretty much my day job now and I work to bring you my own take on photography, both tutorials and tips, as well as inspiration from my own art. I support this work, and my YouTube channel entirely either via sales of my eBooks and Lightroom presets, or the kind support of my readers. (I also have one affiliate ad). Running all this isn’t cheap, and so If you like what you see and you want to help keep this all going, there are a number of ways you can do so:
You can support me on Patreon. If you like what I do here and find the information useful, then you can help by subscribing to me on Patreon. As well as helping keep this blog going with even more useful news, tips, tutorials and more, members also get special Patreon only feed, which gives you behind the scenes content, as well as monthly downloads (for the top tier), for only €2 or €5 a month Stop by and check it out.
Buy me a coffee / Tip Jar. If you want to support the blog but don't want to sign up for Patreon, you can buy me a coffee via PayPal with a one off donation to my PayPal tip jar.
You can also show support by buying something from my from my Digital Download Store where I have Lightroom Presets, and e-books available for download. If you're a Fuji X-Trans shooter and Lightroom user, check out my series of Fuji Guides. For Sony Alpha shooters I have a guide with tips on how to get the best from processing your A6000 Images in Lightroom.
If you like this post then you can see more of my work on Instagram, Twitter and Facebook. I also have a YouTube channel that you might like. You should also check out my other Photography Project: The Streets of Dublin. If you want to get regular updates, and notices of occasional special offers, and discounts from my store, then please sign up for the Newsletter.


