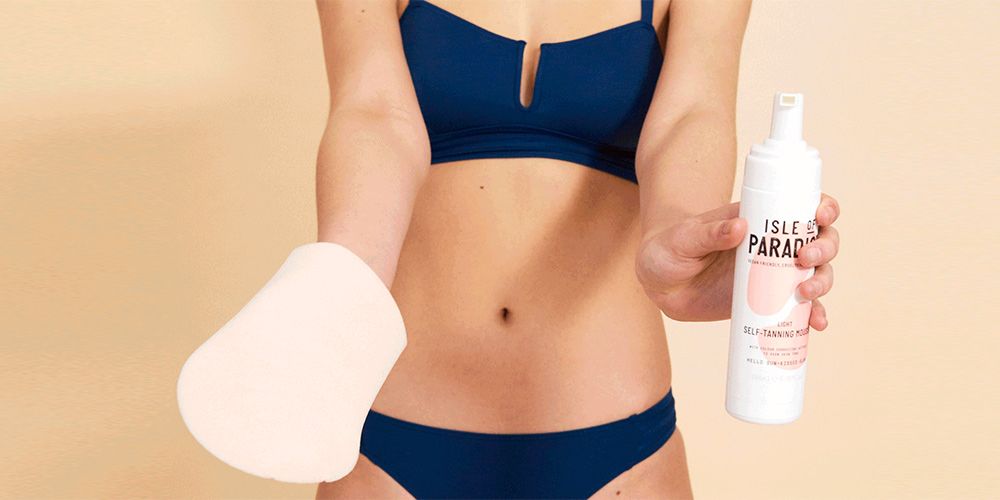
If you’re yet to master a DIY glow that’s not obviously faux, the arrival of spring is the perfect time. As is the birth of new self-tanning brand Isle of Paradise, newly launched into Boots. The brainchild of celebrity tanner Jules Von Hep, the organic range harnesses colour corrective technology and is both vegan and cruelty-free. Given his vast experience in the sun-kissed skin department, we asked Von Hep exactly how to get that real-looking tan at home. Using the Isle of Paradise Self-Tanning Mousse, this step-by-step guide in gifs demonstrates his top tips, from tanning prep to tidy-ups and everything in between.
Essential self-tan prep
“On the day of your tan application, don’t moisturise your body as it will act as a barrier for self-tan absorption,” Von Hep advises. “Do however moisturise all dry areas of skin directly before self-tan application.” These include your hands, elbows, knees and feet as well as any other dry patches, “including anywhere you may have eczema or psoriasis," he says. “Not only will the moisturiser act as a barrier, but also as a blending agent therefore reducing the chances of these areas going too dark.”
Self-tan application, step-by-step
If you’re a beginner, use a product with a guide colour (such as the Self-Tanning Mousse we used here) to help show you where you have and haven’t applied it.
Using a tanning mitt, “it’s important to work in lengthways motions, applying the product in clean sweeps each with equal pressure to insure a uniform finish,” Von Hep instructs. “Circular motions can unevenly distribute product around the skin and leave you at risk of steaks in your final colour.”
When it comes to applying the tan to your torso, “work with your natural contours, sweeping the mitt over the skin with the shape of your body.” The back? “Flip the mitt back to front and you’ll find it easier to reach those hard to get areas.”
For hands, “use any residual product on the mitt and sweep it over the hand in a claw shape just once”, he says. “Trust me, that will be enough.”
While Von Hep applies two coats of tan on the body, he recommends only one for the face. To get your visage perfectly natural-looking, “try mixing half a pump of self-tanning mousse with a 20p piece sized dollop of moisturiser on your applicator mitt, pressing onto the face and sweeping together to blend.”
Self-tan tidy-ups to avoid telltale signs
Naturally, you want bronze hands without stained palms, so stay away from the sink and try the pro trick.
“Take a face wipe and remove the tan from your palms, in between your fingers and your nails. It’s important to think logically here – this tan from a bottle is to mimic what it looks like when you’ve been on holiday – think where the sun would bronze the skin and more importantly where it wouldn’t. If you have dry skin add micellar water to the wipes to really take the tan off.”
To tackle any further telltale tanning signs, the expert says to “add some aloe vera-based moisturiser to the bottom of your wrists, knuckles, outer thumbs and outer little fingers. Take a dry face cloth or flannel and lightly buff the cream into these areas to slightly lift the tan’s colour.” No streaks to see here.
To know how long to leave your self-tan to develop before washing, follow the specific instructions on the packaging as this will differ from product-to-product. When you do wash the guide colour off, avoid hot water temperatures and then pat–don't rub–your skin dry to avoid breaking up the flawless finish.
Make-up by Natasha Stone
