
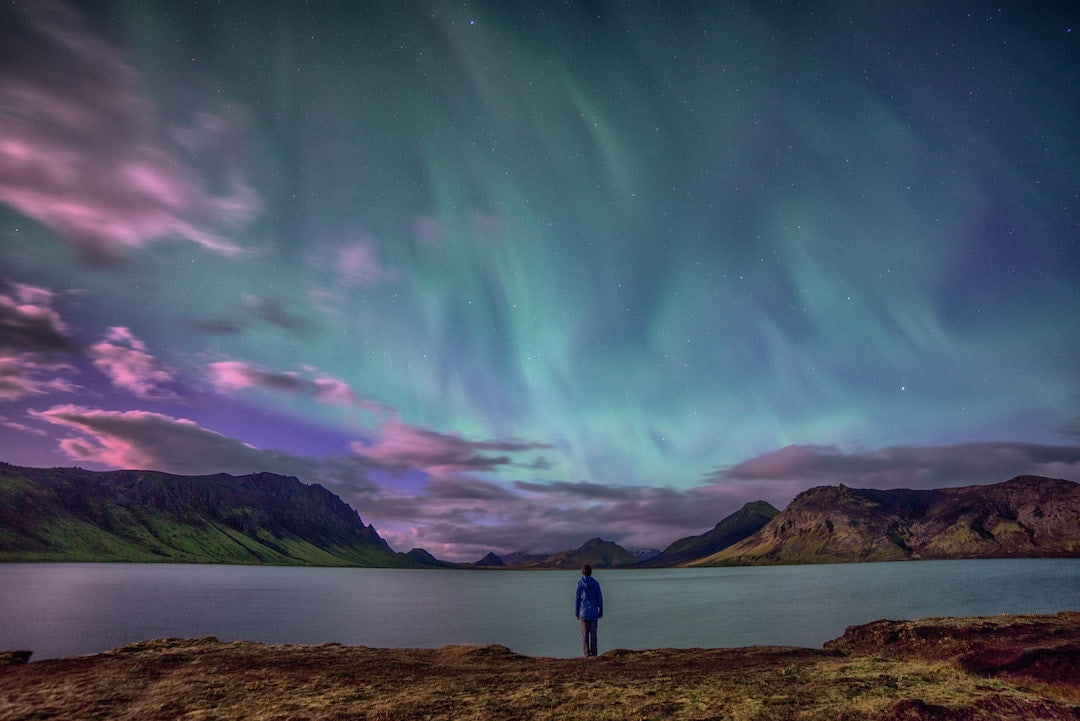
Iceland, the land of fire and ice, is every adventurer’s dream destination for an epic tour. Ask any globetrotter about their wishlist, and you will surely find out that Iceland is on there, probably at the top! Volcanoes, glaciers, black volcano-sand beaches, and the northern lights are all teasers to the start of all great adventures. That being said, if you do your research and follow these essential tips for where to take the best photos in Iceland, you’ll end up with incredible photos that you will cherish for a lifetime.
iPhone/Smartphone apps for northern lights photography
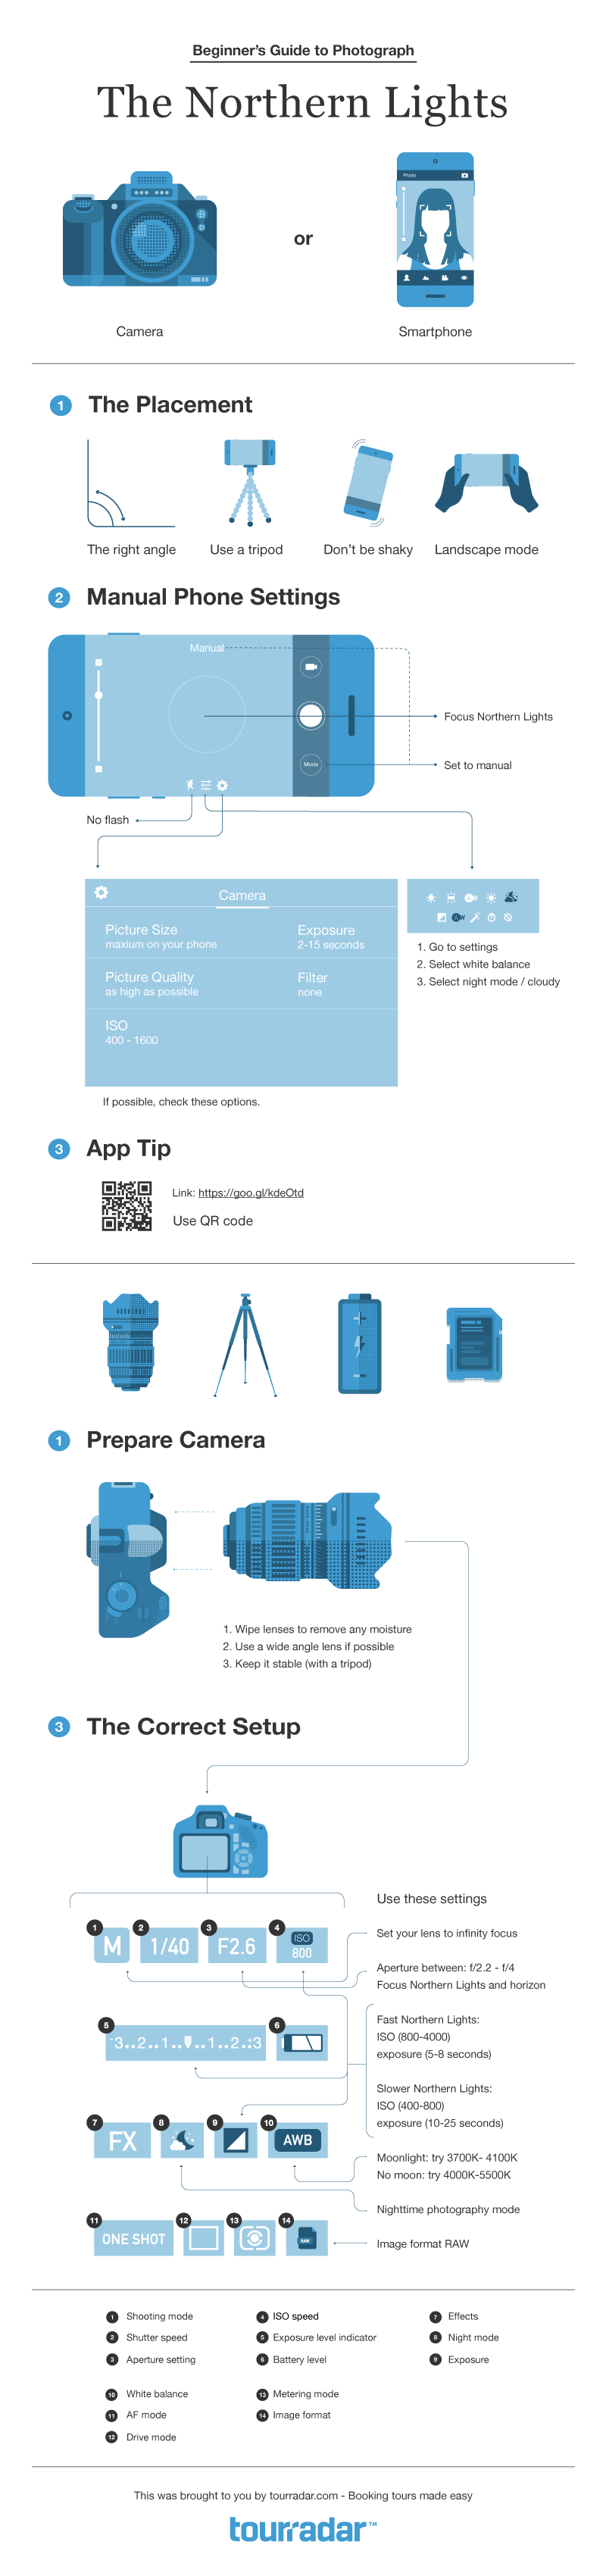
Iceland Northern Lights photography tips
If you are aiming to take professional photos, regardless of what you are using, you need to have at least a few basic pieces of equipment at hand during your solo travels or multi-day tour. Remember, poor weather conditions will influence the quality of your photos, so you need to make sure that, once again, you take all the necessary safety measures.
#1 Tripod
As you’ll witness the northern lights during nighttime, long exposure shots are a must; the camera needs to stay still for quite some time. This is the moment when a tripod will come in handy. Add the freezing temperatures into this equation, and there is no room left for doubt that a tripod is a must! A quick tip: stay away from the carbon fiber tripods, as they break easily when temperatures are low.
#2 Digital camera, DLSR, or smartphone
Whether it is a DSLR camera or a smartphone, with the right settings adjusted accordingly, you will be able to take astounding shots of the northern lights.
#3 Lenses
The wider the lens, the more of the sky you can capture. Don’t forget to bring a wipe to take off the moisture and frost from time to time. It might sound like something extra to pack or worry about, but trust us, it’s worth it!
#4 Batteries
You will need spare batteries or a portable power bank. Store these in a warm place, as they tend to discharge much faster at cold temperatures. Ideally, you want your camera or phone to be fully charged when you reach your destination, but those few spare batteries or power banks could save not only your evening but your entire trip. After all, we’d hate for you to go to all this effort just to then lose power on your batteries. You might not win any awards shooting the Aurora Borealis with your iPhone or Samsung Galaxy, but you can definitely document the experience as I did with my iPhone 6s. Again, you’ll need a tripod or mount of some kind to keep your phone steady for the needed long exposure. Try using an app like Slow Shutter or Cortex Cam to get a long exposure time. I am hopeful the new camera upgrades with the iPhone 7 will make the results even better. – Jen Pollack Bianco, My Life Is A Trip
Northern lights photography with a camera
Chasing Aurora Borealis with your camera is the ideal way to take stunning captures. First, you need to apply a few basic photography settings so that your device will adapt to darkness and successfully establish a focal point.
Set the focus
Since the northern lights are at a huge distance from us, the first thing you want to start with is setting your camera’s lens focus to infinity. Sometimes, this may not be enough, so you will have to bend over the limit a bit.
Avoid wasting precious moments when the spectacle descends and handle these preparations in advance during the day. You’ll also want to find the best place to see the northern lights in your Iceland adventure and let your camera work its magic.
Use the ‘Live View Mode’ of your camera and zoom in. Focus on the most distant point in your composition, as this is how you will know that you’ve set your lens to infinity. Make all the final adjustments manually and start testing your camera by taking a few shots with an aperture of f/8-f/11. Should you find that your test photos are below your expectations, simply repeat the previous steps.
Once you’ve got that right, make sure that you keep the settings in place.
Set your camera
Now that you have set your focus start working on how to best adjust your camera settings.
Depending on how bright the Aurora is and how fast it is moving, the settings range from 30 seconds at f4 ISO 800 to 5 seconds at f4 ISO 5000. To minimize blur, increase the ISO and open up for only a few seconds. – Sean Scott Photography
#1 Image format
First, make sure that the format of the image is raw. Then, choose a metering mode suitable for nighttime photography. You will discover that every type of camera holds a suitable match.
#2 White balance
Adjust the balance of white at the moment of shooting the northern lights. As you are photographing them in a raw image format, after processing the photos, you should expect some changes in the quantity of white. Set the ideal values in the K mode somewhere between 2800 and 4000.
#3 Aperture
When it comes to night photography, setting the aperture is quite easy. A suitable level is f/2.8. Anything above this value will only make it harder for you to capture a good landscape shot at night.
#4 Exposure & ISO
These two go hand in hand together, and they both depend on the speed and the brightness of the Aurora Borealis. Are the lights moving too fast? Then, a 5-7 seconds exposure will work. Are they moving too slow? Try a 25-30 seconds exposure time.
As far as the ISO is concerned, start setting it from 400-800 and work your way up from there. Increase the value as you go until you reach the quality you are aiming for. Don’t go above 1200, though; otherwise, you will seriously damage your photos.
Selecting the best shutter speed will depend on how fast the aurora is moving. If they’re dancing in waves across the sky you need to keep the exposure time shorter to avoid a big blurry green mess in the sky. If the aurora shows up as a glowing green sky, or if you’re taking photos of stars, take a longer 30 second exposure to illuminate as much details as possible. – Lisa Michele Burns, The Wandering Lens.
Regardless of the device you are using, keep one thing in mind – to handle all of the technical preparations beforehand. While you are there, take a moment for yourself just to gaze at the beautifully colored sky of Iceland. Start photographing Iceland’s northern lights and capture the magic.
For me, the key to capturing the northern lights is patience and appreciation. There are nights I go out and don’t see anything. But often, after all the other cars have left and I’m about ready to give up, I start to see a dim light rising above the mountains. I jump out of my car and click the camera into action just as the sky explodes in color, dancing around, showing me what I’ve been patient for. – Emily Landeen
General tips for capturing the Northern Lights
Anticipation is the key
Whether you carry a camera with you or just your smartphone, there are a few aspects you need to keep in check. One thing to remember: northern lights are extremely volatile and unpredictable. This means that you need to do everything in your power and take precautionary measures to increase your chances of seeing and, most importantly, photographing them.
Don’t ever be too focused on what camera you are using. The aurora is always different shapes, colors and size – making it a challenge and spontaneous shooting every time so you need to have some core principles to remember. The most important elements of an aurora photograph is the composition and foreground. – Jamen Percy
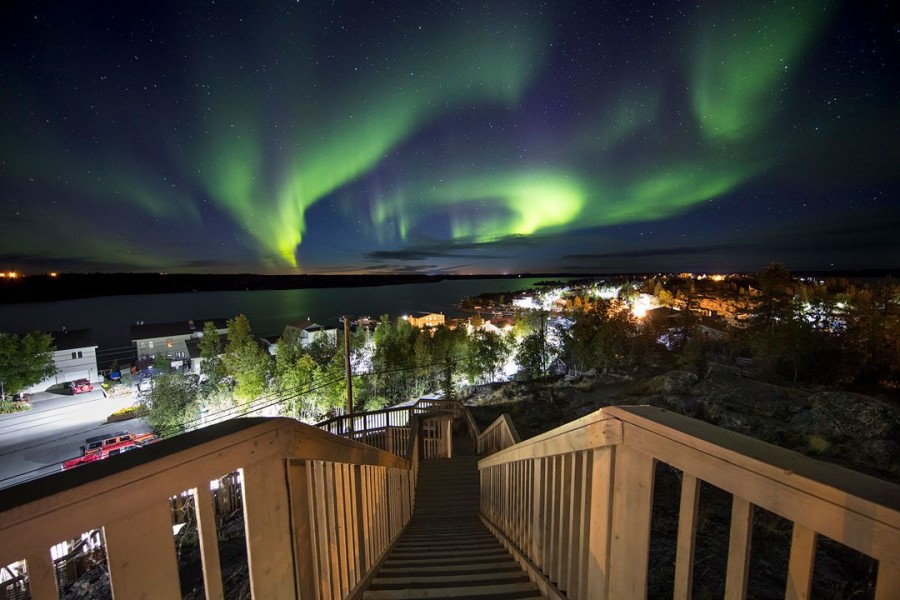
Best place and time to see the Northern Lights
Due to its proximity to the Arctic Circle, Iceland is considered to be one of the best places on earth to chase the northern lights. Triggered by solar flares crashing into the atmosphere, the best time to see the northern lights is from September to April. However, because of their unpredictable nature, there are times when they won’t even show up. Finland or inland Canada could be other options, while Norway may suffer from volatile coastal weather. And don’t even think about seeing them around any cities; Northern lights and light pollution don’t get along at all!
Check the Northern Lights activity
It goes without saying that the first thing you want to do is check if they are active in the area you are located in. To do so, run a quick Google search, and you will find yourself opened to a multitude of websites and mobile applications specialized in northern lights prediction.
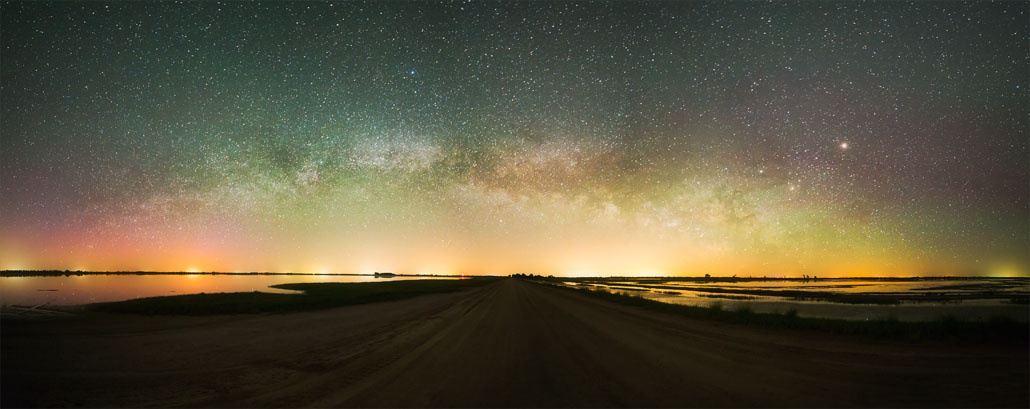
The camera can capture the aurora before the naked eye can. So the key to photographing them, especially from locations further south, is to shoot north and see what you get! You can photograph some beautiful aurora’s without ever seeing them with the naked eye. – Mickey Shannon, Mickey Shannon Photography
Check weather conditions
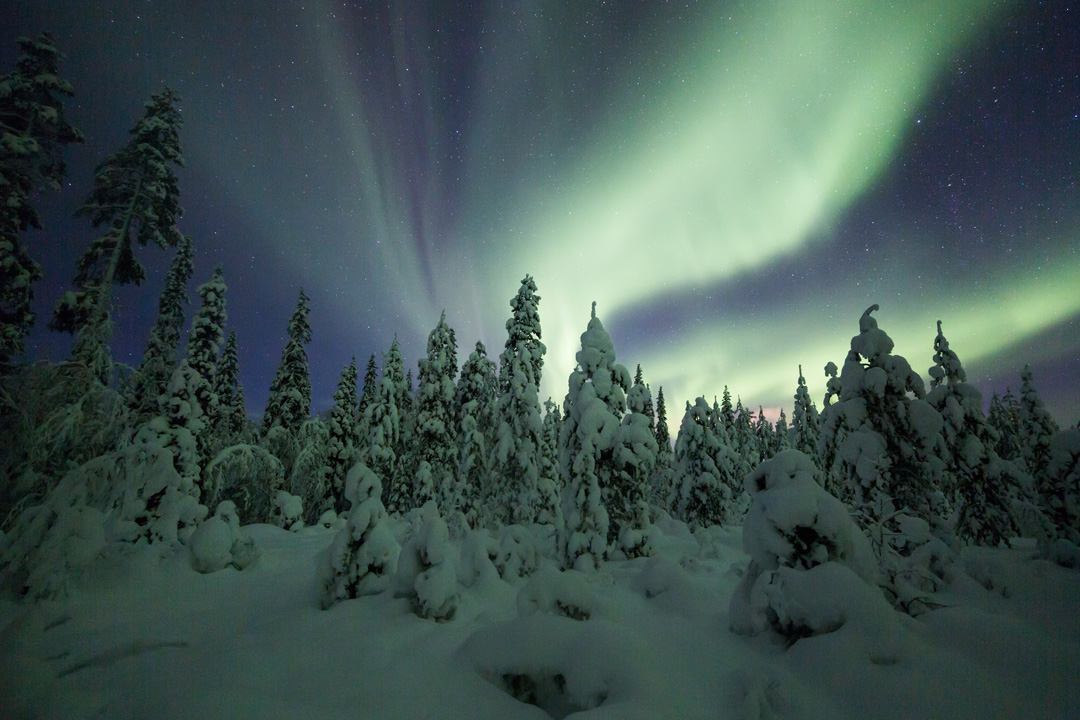
Northern lights are best to be seen on clear skies and in the cold crisp air. This means that the chances of catching them are the highest in winter.
Make sure you check the weather forecast several times throughout the day. A sky covered in clouds could put an end to your hunt or push you towards other areas during your Icelandic adventure where the sky might be a bit clearer. The good news is that sometimes, even a partly clouded sky could be a scene for dancing northern lights.
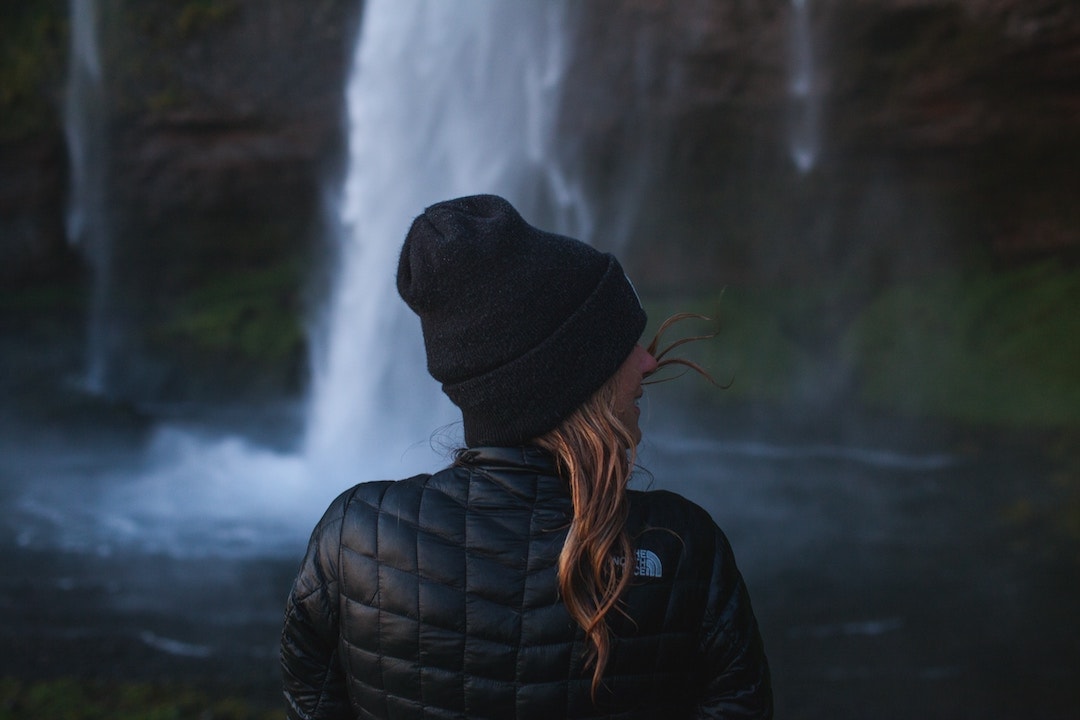
Wear warm clothes
Known for its cold temperatures, Iceland is the perfect scene for northern lights. As they are visible only when outside is freezing, make sure you’re fully prepared. Warm, comfortable clothes are indispensable since you will be waiting out in the cold for a while. No one can fully predict the moment when they will appear, meaning you could be waiting outside anywhere from a few minutes to a few hours.
Most importantly, don’t forget to grab a pair of gloves and mittens with you to avoid having your hands freeze onto your camera.
Visiting Iceland and the northern lights
The country is full of unique sights that should not escape your camera. Embrace Iceland and immerse yourself into the world of northern lights photography, or capture the ethereal volcano landscape, and don’t forget to document your walk on the Black Sand Beach from the shore of Reynisfjara. Iceland truly rewards those who are organized and those who are prepared to explore the country from coast to coast, searching for incredible photographs.
Searching for more inspiration? Take a look at our collection of the best articles in Iceland.
- Best Northern Lights Tours & Trips
- Camping in Iceland: Rules, Packing Tips, and Everything You Need to Know
- Where to Take the Best Photos in Iceland: As Told By a Photography Expert
- Iceland Vs. Greenland: Which Remote Island is Calling Your Name?
- Visiting Iceland in Summer Vs. Winter
- Northern Lights VS Southern Lights: What is the Difference?
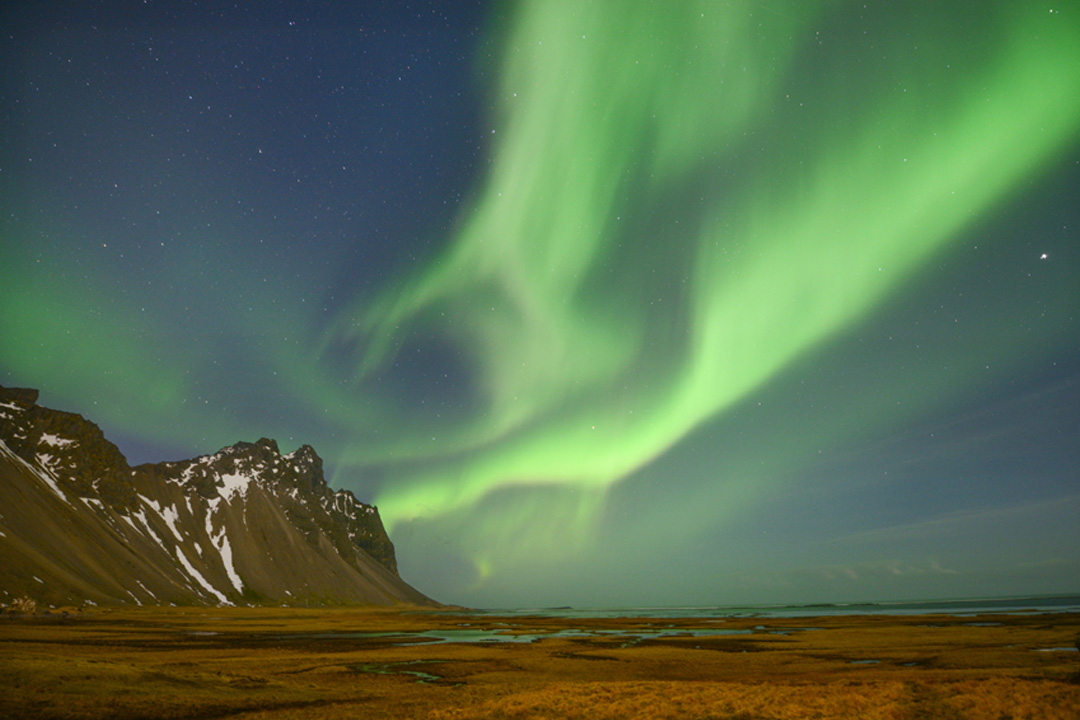
What are the Northern Lights?
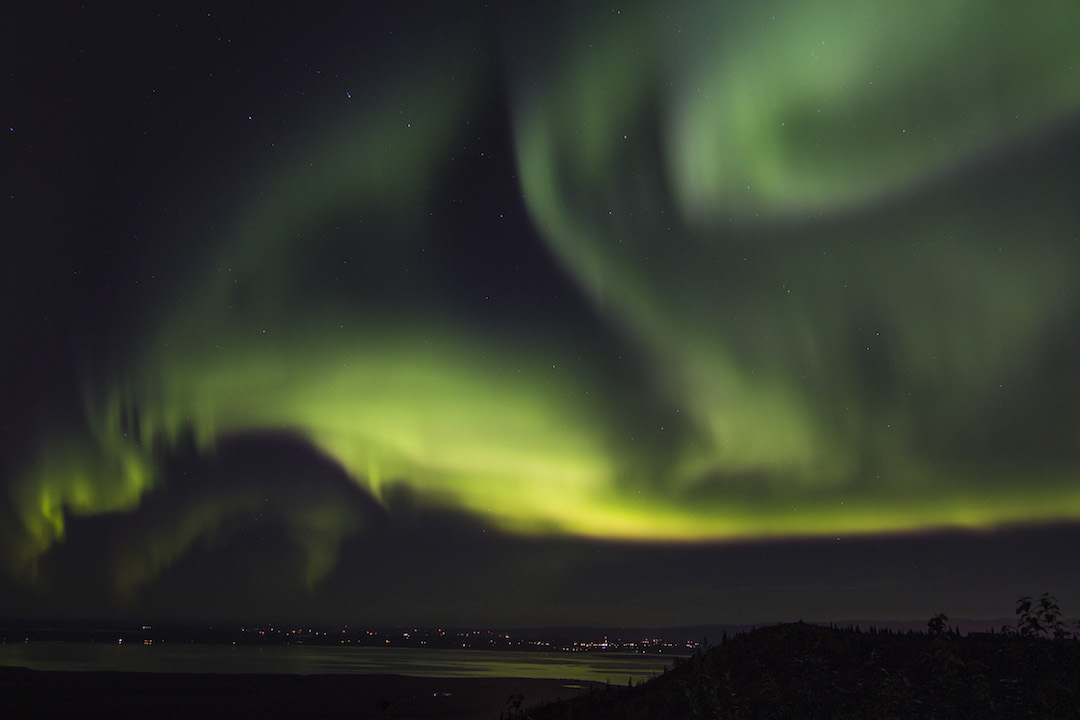
The northern lights, or aurora borealis, are a natural phenomenon found in the Northern Hemisphere, especially the closer one gets to the North Pole. The light effect happens when the sun drives solar wind away from itself, causing high-energy particles to strike the Earth’s magnetic field. When these particles collide with oxygen in the Earth’s atmosphere, they produce red or green lights; when they collide with nitrogen, the light produced is green and purple.
How to photograph the Northern Lights with an smartphone?
Apart from your smartphone, of course, you’ll need a tripod, a portable charger, and a wipe that comes in handy as well.
What are the best countries for seeing the Northern Lights?
What is the best time for seeing the Northern Lights?
The best time to travel to see the northern lights in Iceland is between September to March. The lights are most clearly visible when there is little to no external light, so cold, dark winters are perfect. Chances of seeing the lights are slightly slimmer in September and November, but for travelers who don’t deal well with extreme cold, it may be the best option. In general, while you can never predict when you’ll see the northern lights with 100% accuracy, visiting in December, January, and February gives travelers the best chance – just be sure to dress warmly!
