Wine Recipe Made Easy – Wine making is often thought to be a complicated and time consuming exercise, left only to the master vintners of the world. The real truth is though, that while there is a great deal of pretense attached to the wine industry and to the associated Sommeliers, it is in fact, very easy to make wine. As with most things in life, the flavour and “likability” of anything is a relative judgment, and every person will have a different opinion of any given product. All of that being said, if your goal is to make a reasonable and enjoyable glass of your own ‘plonk’, then the techniques necessary are almost laughably straight forward, and is what we will outline in this article.
One of our team spent a long time living overseas, where there was no easy access to wines or other drinks – there was, however, a substantial body of knowledge about how to make wine from nearly everything you could think of. This “wine recipe made easy” is a technique for making wine that requires only the most basic ingredients and equipment, and is very inexpensive. The time to prepare it is minuscule, the results are definitely enjoyable, and it certainly has the necessary potency that adds to its enjoyment.
Wine Recipe – the Expat Technique
If you are looking for a no-nonsense “wine recipe made easy”, then this is for you. It is perfect in its simplicity, and makes an excellent choice for off grid, simple living, or those who just want the most straight-forward and easy way to create an eminently drinkable and enjoyable wine.
Braii Meister – Wine Recipe Made Easy
An enormously easy, inexpensive, flavorful and full-bodied wine to enjoy with any occasion
Makes : 18 Liters
Prep time: 30 Minutes
Aging time: 30 Days
This recipe requires little effort, and in total will take no more than 30 minutes to make. Once all the ingredients have been placed into the container, all you have to do is wait. The wine will be ready for enjoyment after around 30 days of aging.
Ingredients
– 18 Litres of Grape Juice (un-sweetened Red or White Juice works just fine)
– 1 Teaspoon of Yeast (any yeast will do, even bakers yeast, but if you have wine yeast, it is always better) Don’t add more yeast than this, or it will make the wine taste somewhat “yeasty”, obviously.
– 1 kg of regular sugar
– 1 Tablespoon of fresh lemon juice
[/recipe-ingredients]
[recipe-directions]
Preparation
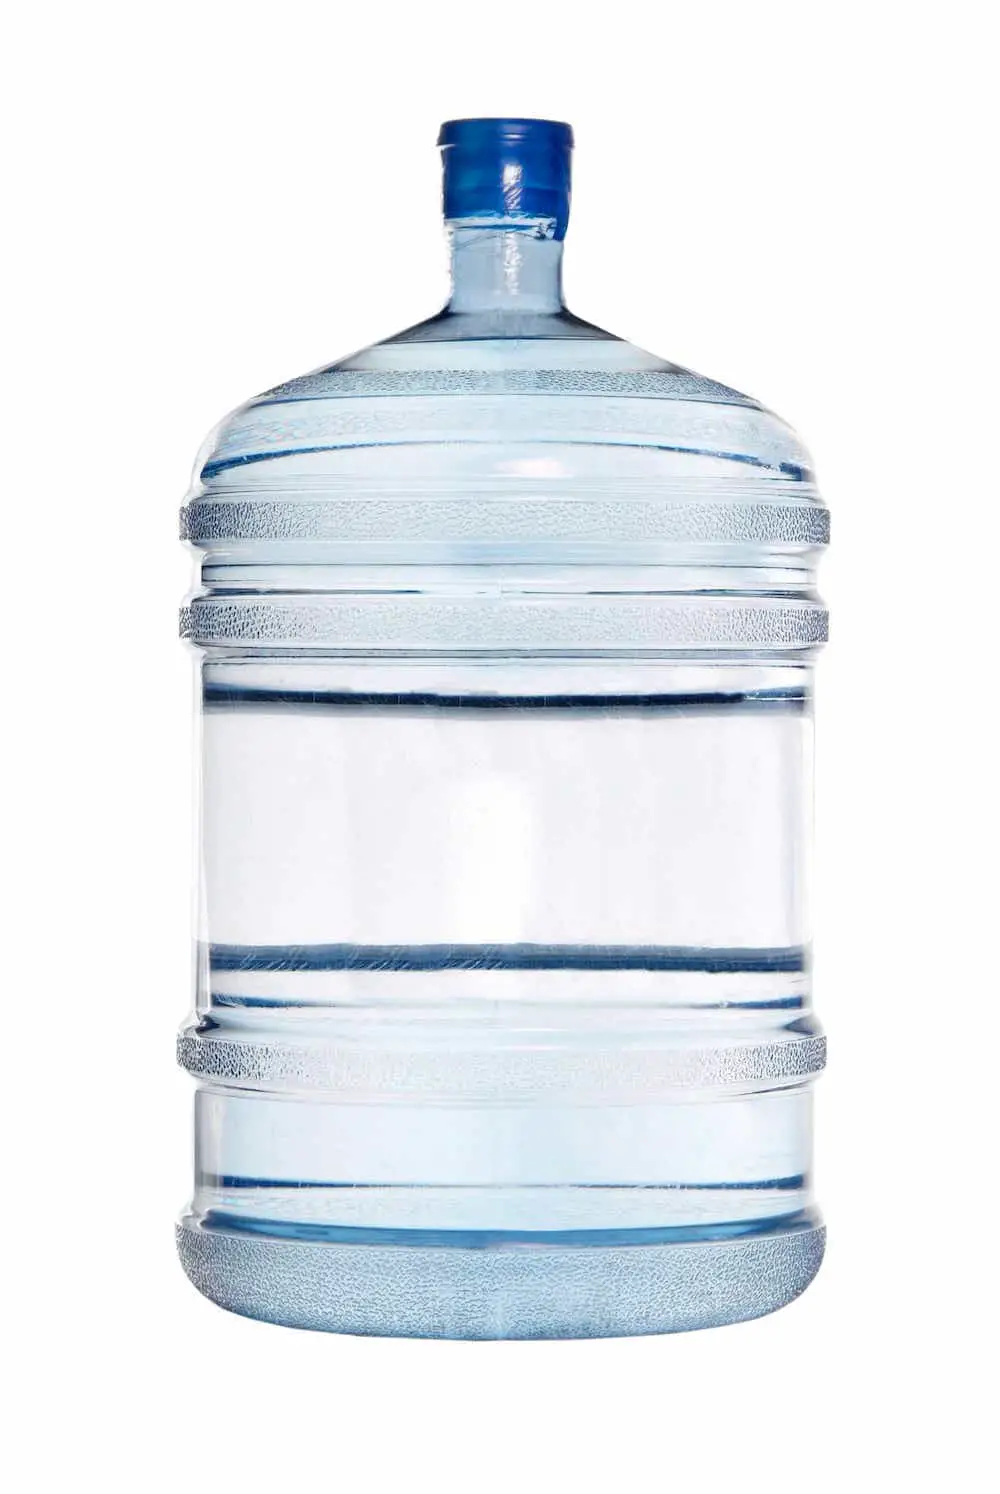
1. In a large container (preferably a large 19L water bottle) pour in all 18 liters of grape juice. It is best to use a glass container, though it can be done with the standard plastic water bottles without any issue.
2. Add 1 kg of sugar
3. Add 1 Tablespoon of Sugar
4. Let sit for 5 minutes
5. Add yeast slowly to top
6. Poke a hole in the top of the condom (Use a pin or a paper clip – you can make two holes, or even three, but don’t go overboard – they should just be pin-pricks)
7. Unroll and place the condom over the top hole of the container/bottle
8. Place container in a cool area, and away from too much light or activity
9. Wait 30 days – the wine will bubble and burb and do it’s thing over time. You will notice some bubbles/foam at the top during the process, which is normal. By the end of the 30 days, it should be basically looking normal, with the top being smooth, and few if any bubbles rising to the surface. The condom will ‘rise’ during the fermentation process, and though it will reduce, it will likely always remain ‘up’ slightly, even when 30 days has passed.
Racking/Bottling
10. Use a hose to ‘rack’ the wine into containers/bottles (we use regular 1.5 L plastic water bottles, but you can use whatever is suitable for you)
11. Place the jug/carboy at a higher level than the bottles you will fill – be careful not to move it around too much, as you don’t want the sediment at the bottom to be disturbed and make the wine cloudy. Simply suck the hose until the wine starts flowing/syphoning, and place the other end of the hose into the bottle to be filled. Gravity will do the rest of the work for you. When one bottle is filled, just crimp the flowing end, or use your finger to block the flow, and transfer the hose to a new bottle, release the block/kink and continue until you have filled all your bottles. It is recommended that as you reach the bottom, you leave the last centimeter or so, as this will have too much sediment , and will just make a cloudy and ‘not so tasty’ drink if you use this last portion of the jug.
12. Cap your bottles, and then place them for storage. They are perfectly drinkable now, so you can drink it happily.
13. Clean the carboy/jug – use a shower head and spray inside to get any of the remaining debris from the bottom out. Once it is done, fill it completely with water and baby-bottle cleaner, and let it sit for 30 minutes, drain it and rinse – it will be ready for your next batch. We recommend starting your next batch on the same day as you do bottling. This will ensure you have a consistent and never-ending supply for your enjoyment.
Your wine is now ready to be enjoyed, and I’m sure you’ll be quite happy with the result. This is a very simple technique, and while it isn’t going to be something a Vintner will give a high grade, you will be more than pleased with the flavours and effects of this great recipe.
General Notes:
- It is very important to keep everything very clean, both prior to and during the process. Ensure you have washed and sterilized the bottle/container well. You can use any baby bottle cleaning products, or whatever suits, but be certain there is nothing left to chance, and ensure things are well cleaned.
- Don’t leave the container/bottle uncovered, and make sure you place the condom overtop after finishing.
- The condom will be ‘limp’ for a short time, but after some hours the yeast will begin working its magic, and it will begin ‘bubbling’ slightly and the condom will rise as the gases are released.
- The smell from the winemaking process is minimal, though if you are making any more than a single container, this will increase. It is recommended that it is placed in a location where the effect of scent is minimized – behind a closed door, or in a closet etc.
Check out more of these great wine making products!
So, that’s it in a nutshell – as easy as 1-2-3
Summary – Wine Recipe
The basics are easy to follow, the prep time is short and simple, and the results are really great. If you like this idea, check out some of our other great food and cooking ideas.
Let us know your thoughts, we love to hear from your experiences, and try to respond as quickly as possible! If you have any questions, or comments, please feel free to leave some feedback below in the comments. To stay up-to-date on all our articles, tutorials, product ideas and inspirations – subscribe to our newsletter and stay in touch!
