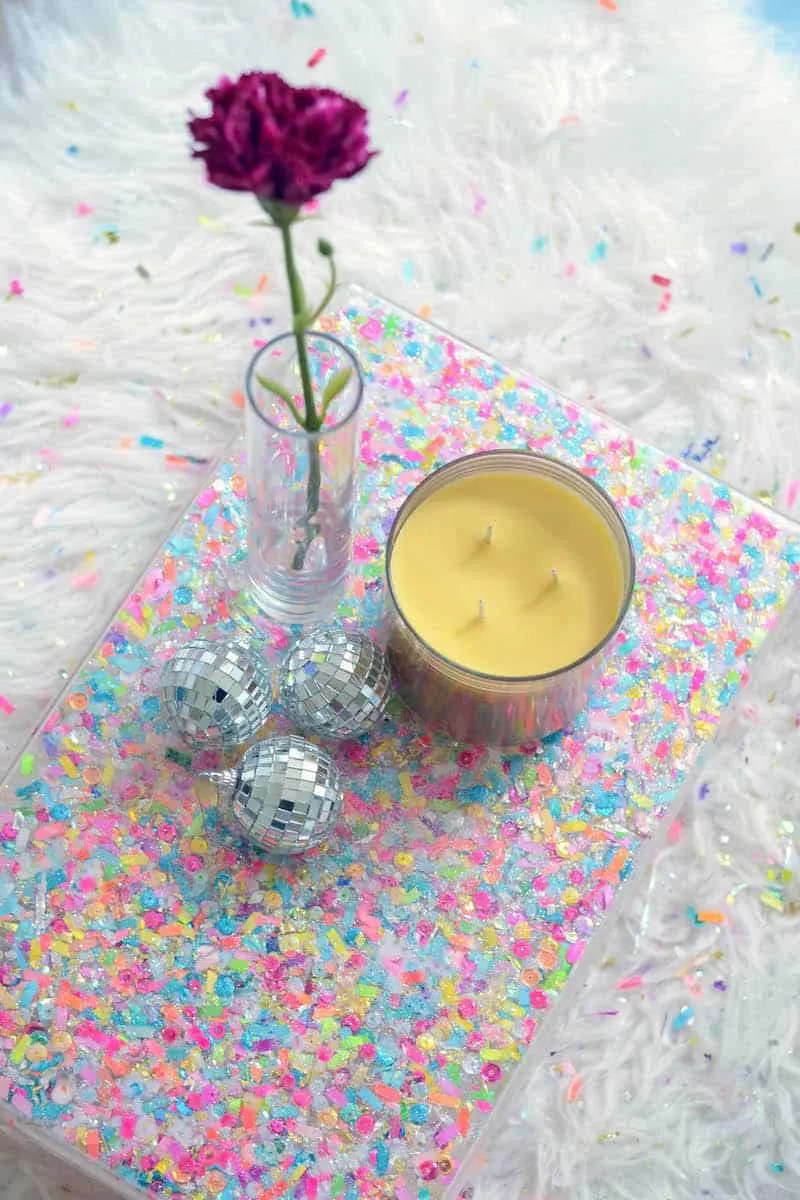
Ready to party?? You can decorate a clear acrylic tray with confetti and Mod Podge. This confetti tray is easy and perfect for a celebration or home decor.


Hey there! Jessica here from The Confetti Bar, the coolest confetti shop on the block, where we believe happiness should be celebrated!
I love creating fun confetti-fied items to decorate my house, and this confetti tray is my new obsession! Not only can it be used for home decor, but it can be used for parties as well. Leave it out with eats and trust me . . . you’re going to get compliments.
(for more confetti crafts click here!)
DIY Confetti Tray
Gather These Supplies
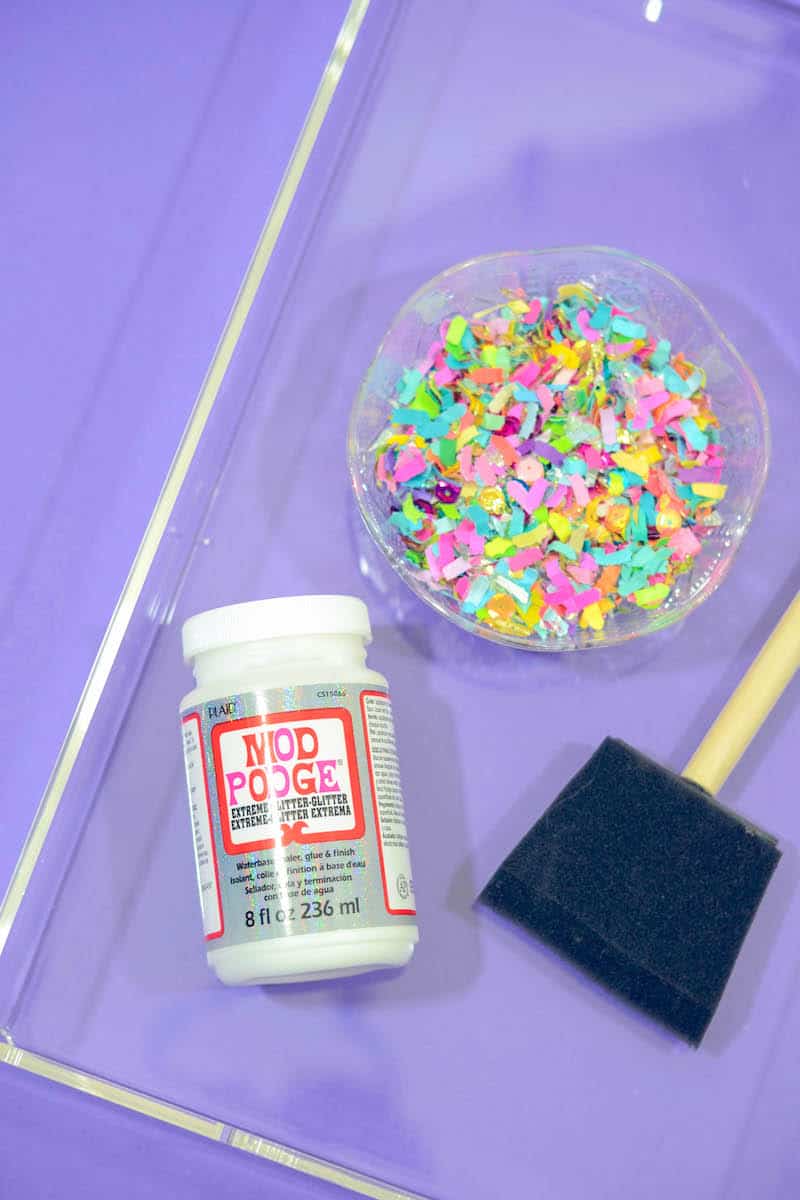
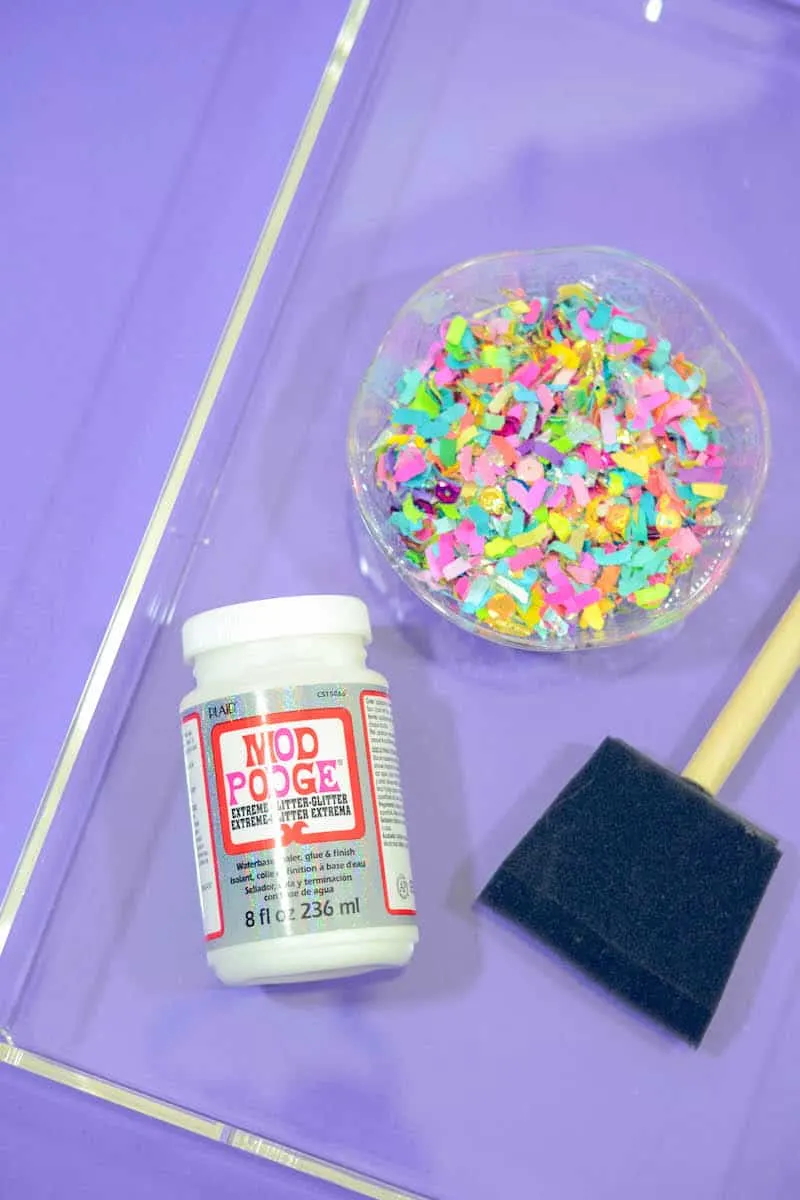
- Clear acrylic tray
- Confetti!
- Mod Podge (You can use any kind, really, but if you want to get extra fancy, try some Extreme Glitter Mod Podge!)
- Sponge brush
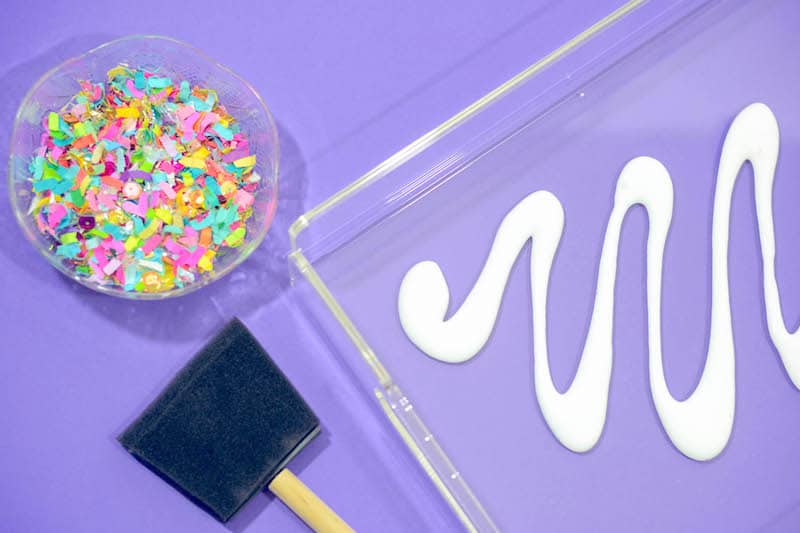
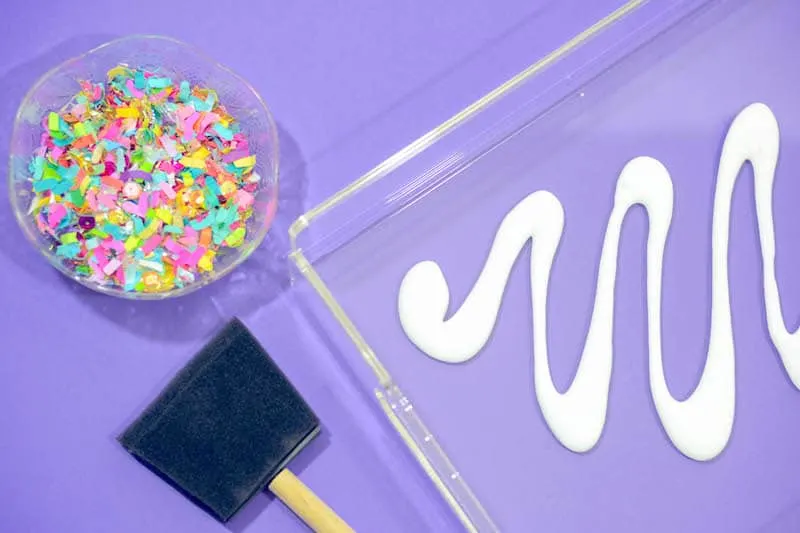

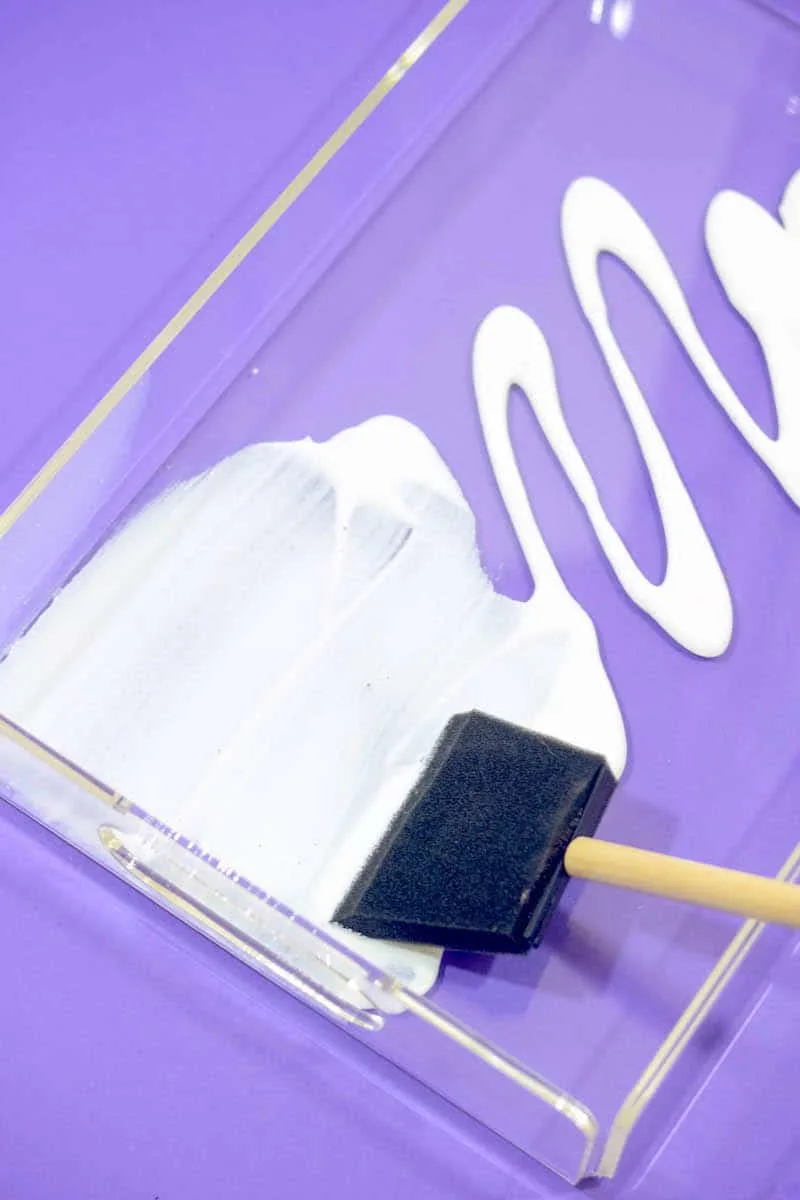
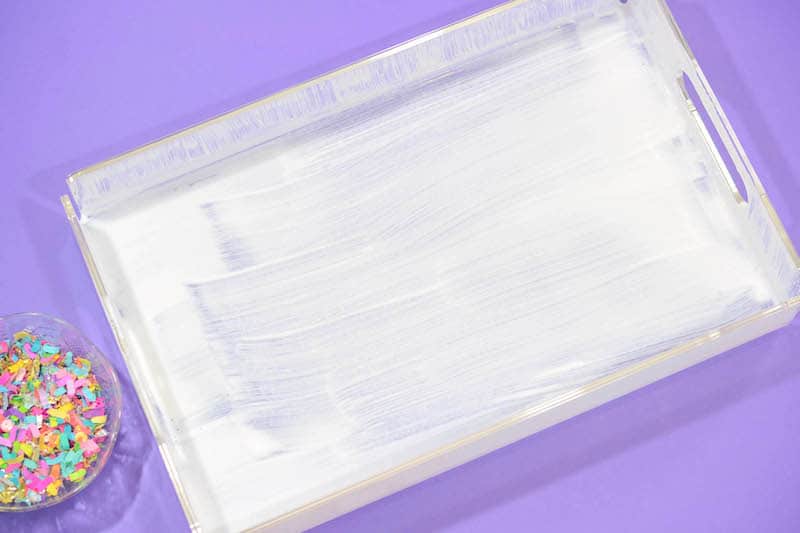
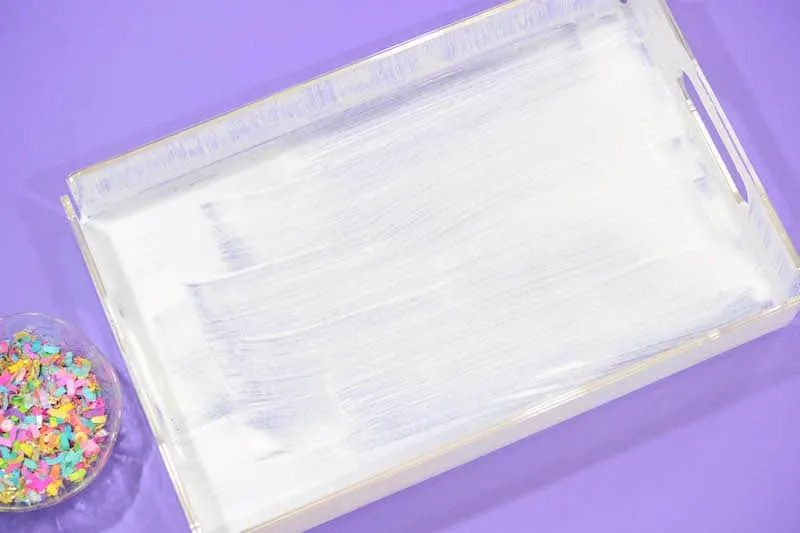
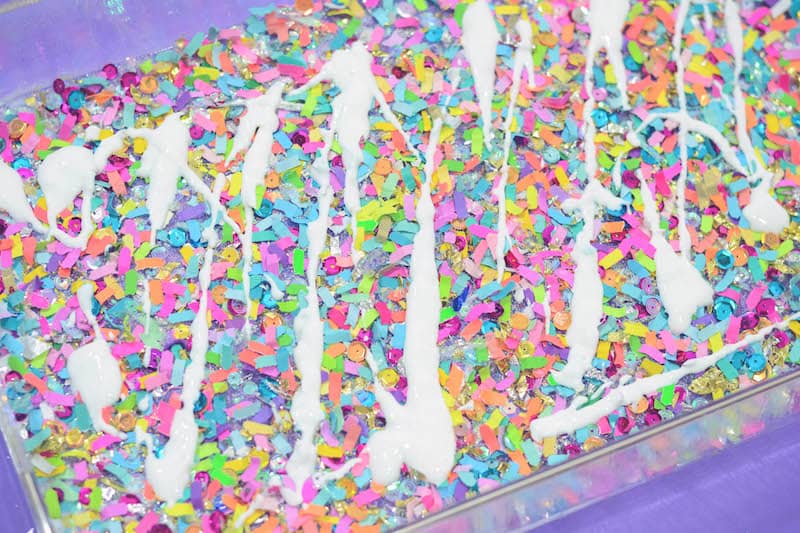
Start by adding some Mod Podge to the bottom of your tray and evenly spreading it out. You don’t want it too thick that it won’t dry properly, but you also want it thick enough to hold onto the confetti!
(*I personally chose to also Mod Podge the sides of the tray so they would be sparkly with glitter, too, but you can choose to just do the bottom!)
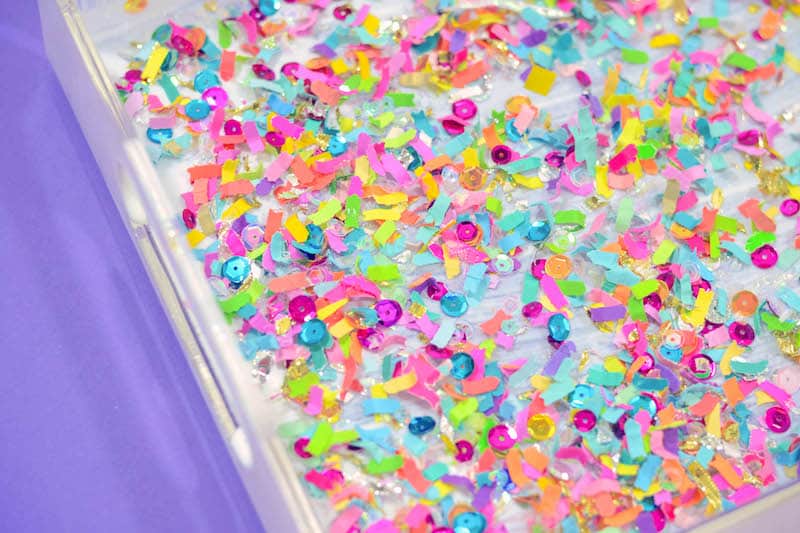
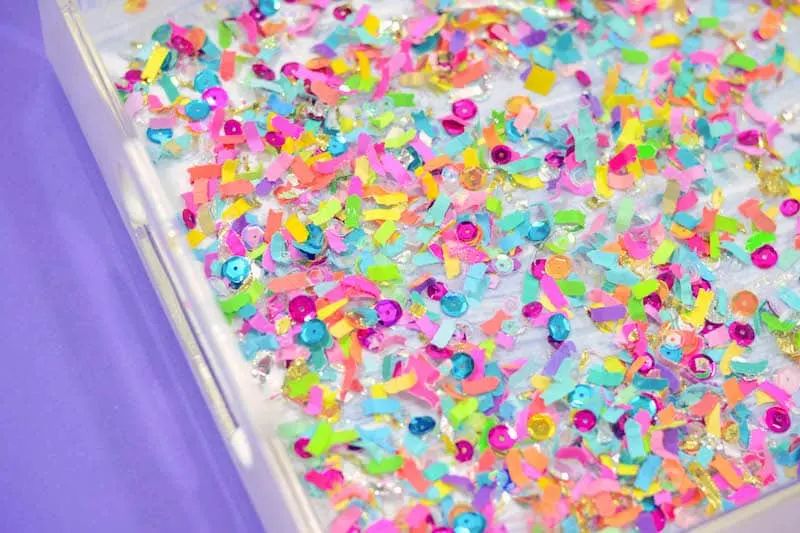
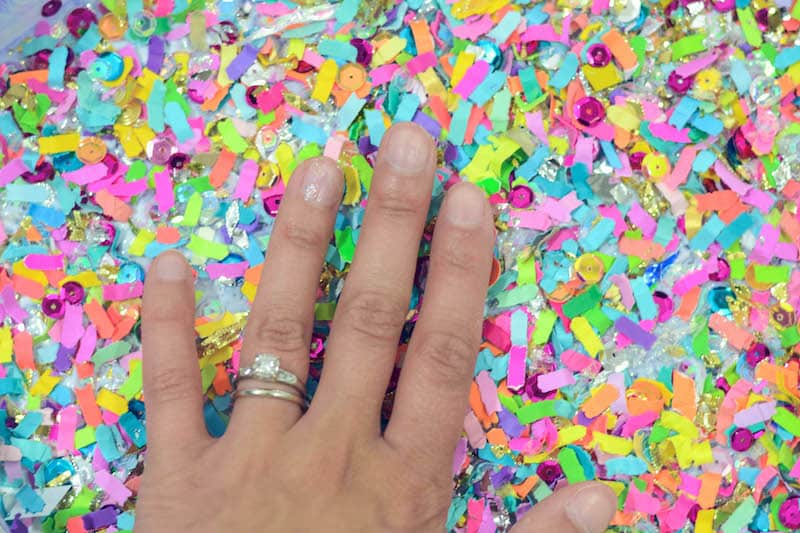

Sprinkle on some confetti in an even and full layer (use your fingers to press down so it is as flat and even as it can be.) Let dry for a few hours, until the Mod Podge is no longer white.

Tap off the excess confetti and go back in for a second coat of Mod Podge.
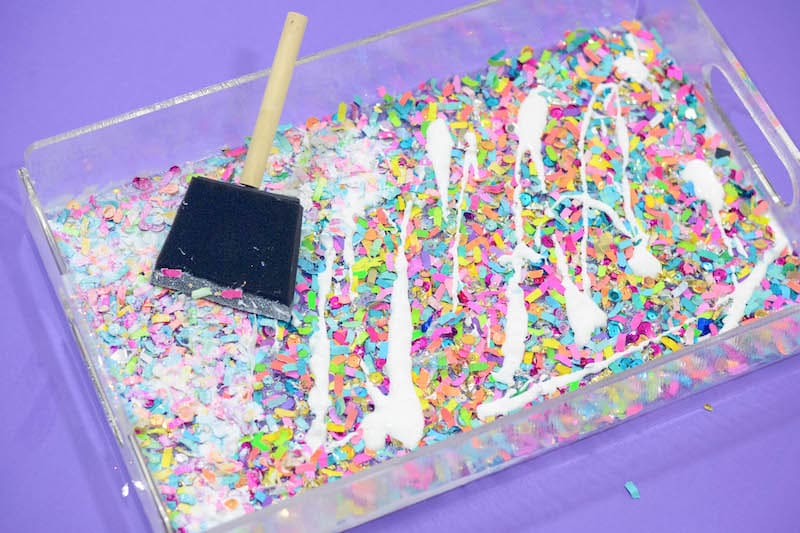
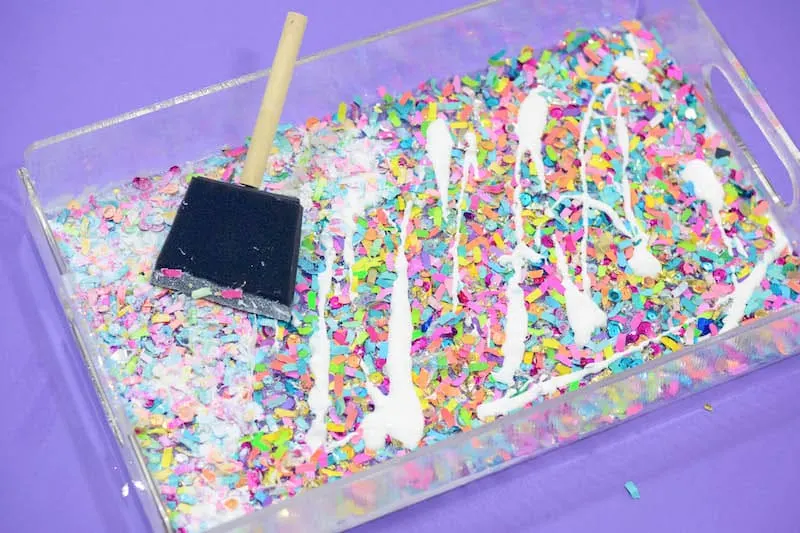
Use your sponge brush to make sure it gets in the nooks and crannies!
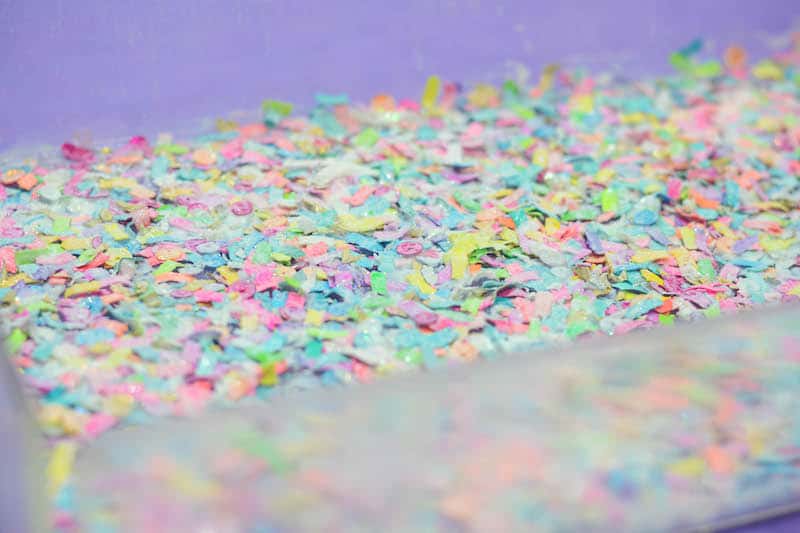
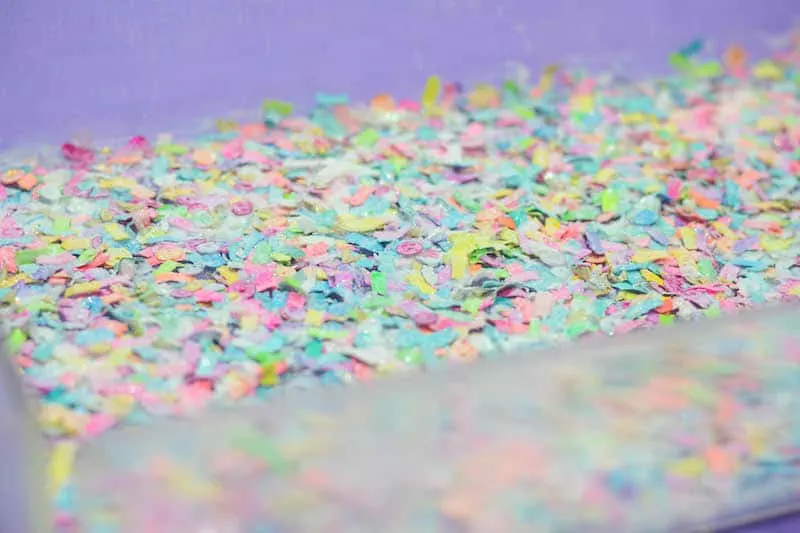
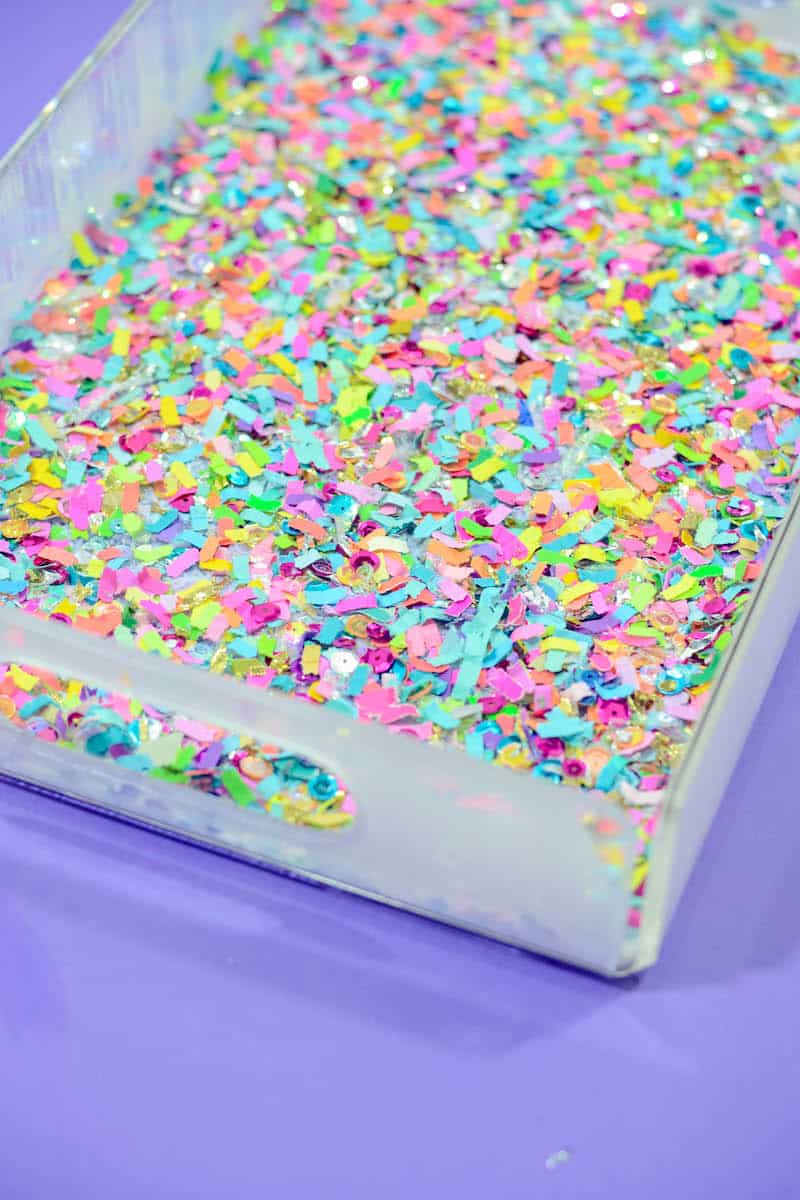
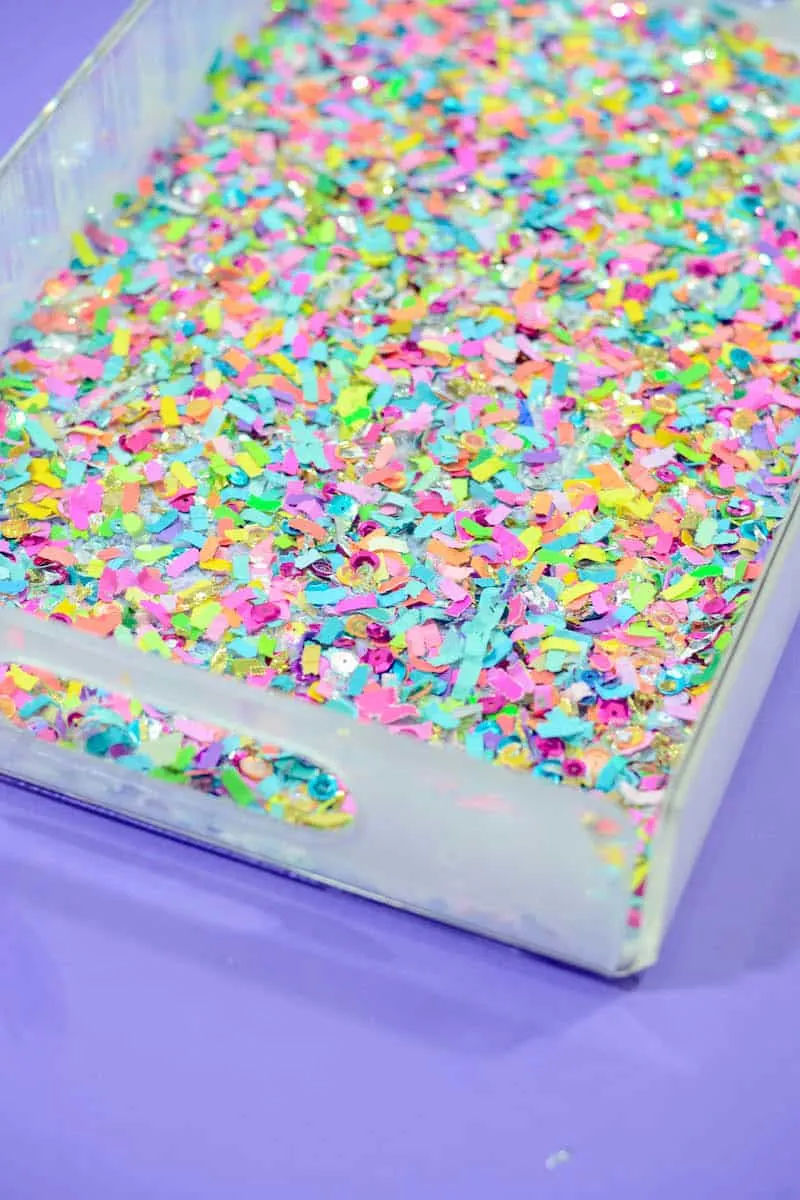
Again the goal is to get it as flat and even as possible. Let your confetti tray dry completely (I like to let it sit overnight.)
*Once this layer is completely dry you can leave it as is, or, if you’re really ambitious, go back for a final layer using Mod Podge Hard Coat).


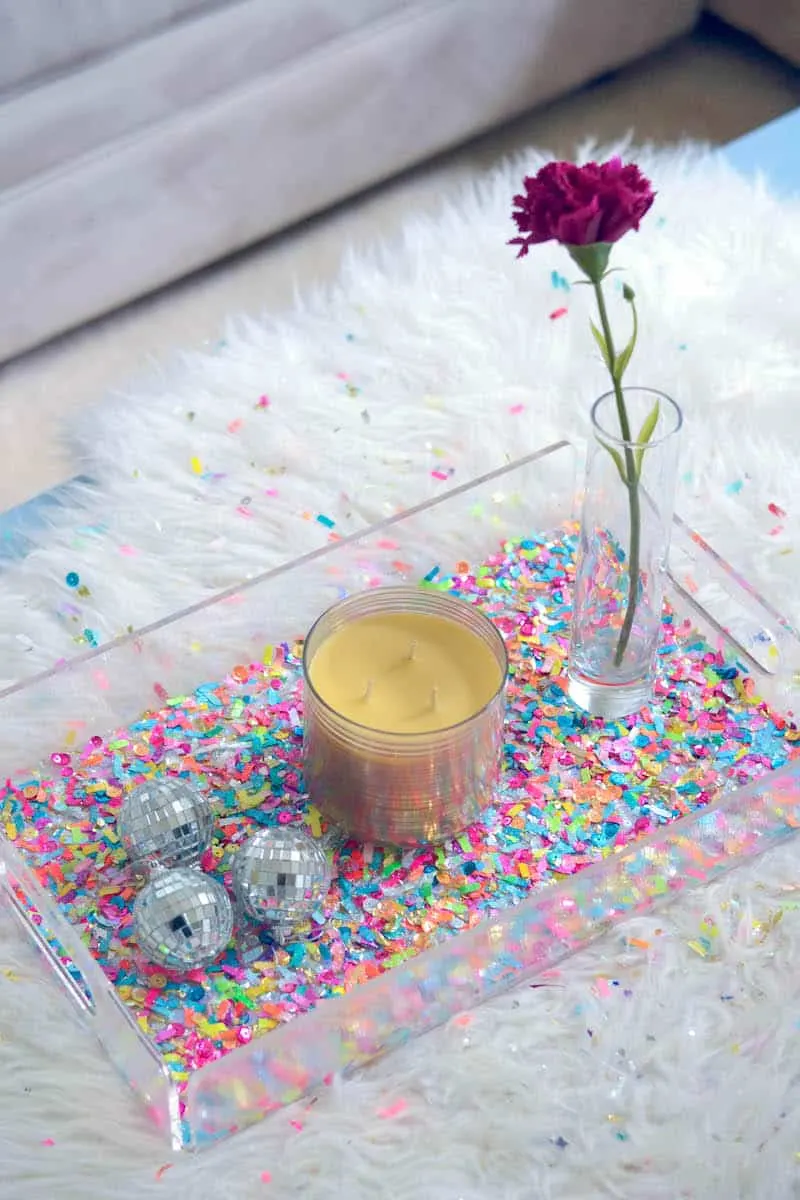
Use your confetti tray to display little knick-knacks on your coffee table, or serve up some magical breakfast in bed!
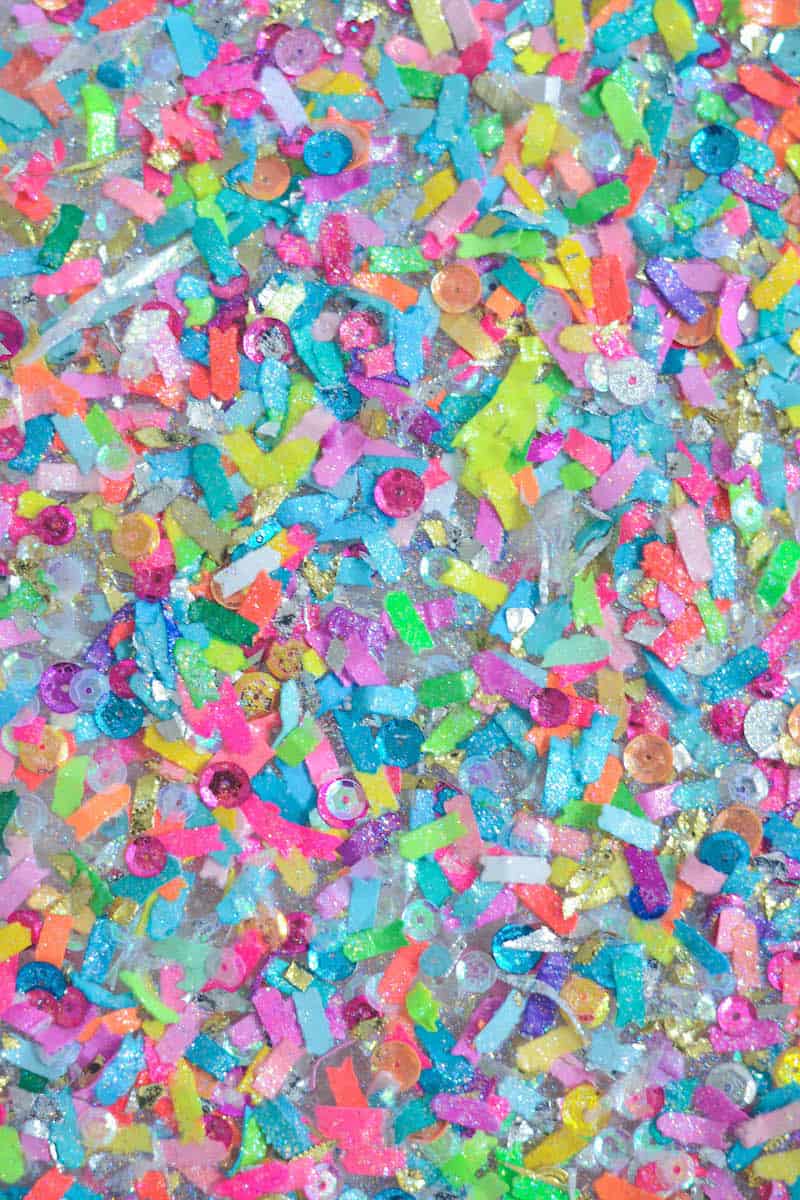

I love the look of the Extreme Glitter Mod Podge mixed with the colorful confetti!

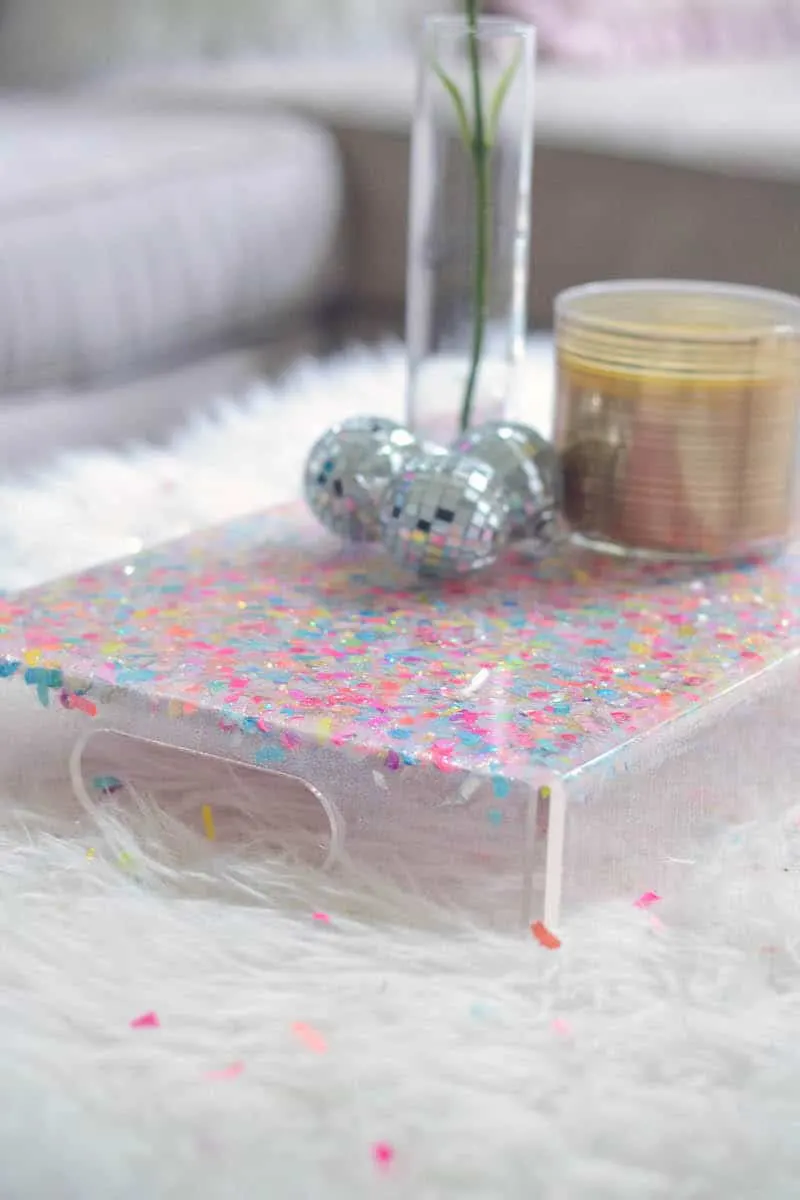


Bonus: You can also flip the tray over so you have a perfectly flat, raised surface!


Which look do you prefer? Both ways look fab to me! If you enjoyed this craft idea, I’d love for you to check out these other trays and confetti crafts:
When choosing the perfect colors for your tray, remember we have tons of pre-made confetti options in our confetti shop, but if you want something extra cool we specialize in custom confetti! You can also check out our blog for more fun (like these über magical confetti geodes!).
Wanda
Sunday 20th of February 2022
Just a quick question. How hard would it be to use a brayer to push the confetti into the mod podge? I am sure thinking about this that maybe in the corners it might be a little tough depending on the brayer, but they are easy to clean.
Amy
Monday 21st of February 2022
Hi Wanda! Yeah it's hard to get a brayer in the corners due to the sides of them. I would use a credit card or old membership card you don't want to use again! That makes it easy :)
Creative Khadija
Tuesday 18th of July 2017
This looks so pretty. I really love the way you decorate it. Glitter is always the best. I think the idea of fliping the tray is very cool. Also what about if you can fill a thin layer of Mod Podge Dimensional Magic in tray? Thanks for the idea. Can't wait to try for any small tray!
Have a great day! Khadija https://creativekhadija.com/