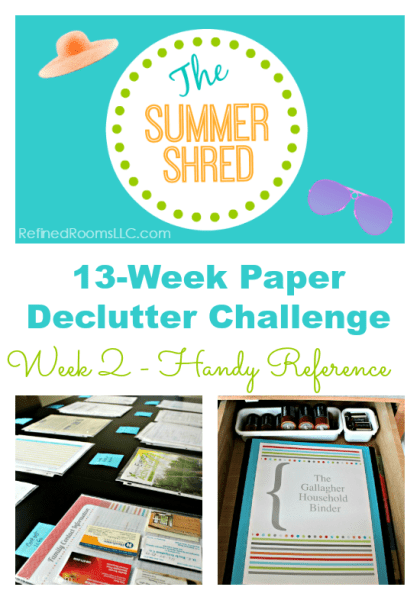
Organizing handy reference papers. Sounds like fun, right?
In Week 1 of the Summer Shred Paper Declutter Challenge, we established a home and a process for managing the mail, as well as managing the more general category of action papers (those that require you to perform some sort of action associated with the paper). For the next two weeks, we’ll turn our attention to the other main category of paper that you’ll find in your home…reference papers.
Reference papers don’t require any action on your part. These are the papers we save because we might need to refer to the information contained on the paper at some point in the future. Reference papers can be further categorized into those that you rarely/never need to refer to (e.g., old tax forms) vs. those that you need to refer to on a fairly regular basis (e.g., the school lunch menu).
Professional organizers use a variety of names for frequently referenced papers, including Quick Reference and Fingertip Reference. I prefer the term handy reference papers, since these papers need to be easily accessible for one of two reasons:
- You need to access them frequently;
- You need to access them fast when they’re needed
This post contains affiliate links for your shopping convenience (which means if you make a purchase after clicking a link I will earn a small commission, but it won’t cost you a penny more)! Click here to read my full disclosure policy.
This week, we will zero in on organizing your handy reference papers. You’ll begin by gathering all of them together. You’ll typically find these papers in random paper piles in your kitchen and home office, as well as covering the refrigerator, since they haven’t been assigned a permanent home.
Sometimes they have been assigned a home, but it’s not an easily accessible one. For example, you might have emergency-related documents that are tucked away in a remote file cabinet, along with the long-term reference papers, or business cards filed in a old Rolodex in an out-of-the-way desk drawer.
HOW TO CREATE A HOUSEHOLD BINDER
Gather Supplies
In order to create your awesome new household binder, you’ll need the following:
- Three-ring binder (I recommend 1 inch size)
- Tab dividers (I recommend oversized tab dividers as page protectors will obscure your view of the regular sized ones)
- Page protectors (regular size and ones designed to hold business cards if necessary)
- Sharpie Marker
- Post-It Notes
- Label Maker (optional)

Find a large, flat surface to sort your stack of papers into categories that make sense to you. Use your Post-It notes and Sharpie pen to create temporary labels to identify the various paper categories. You can download my Common Household Reference Binder Categories printable to assist you during the sorting process.
As you sort, be on the look out for papers that do not belong in the binder:
- Papers that are outdated and/or no longer relevant
- Long-term reference papers (file in the “To File” folder in your action file)
- Papers that require you to act on them (file into appropriate folder in your action file)
Build Your Binder
This is the fun part! (Am I the only person who thinks creating binders is fun?) Use either a fine-tip Sharpie marker or a label maker to label your tab dividers with your paper categories. If you anticipate having to tweak your category names, you may decide to delay permanent labels and instead, use mini post-it notes to create temporary labels.
Insert your papers into page protectors and insert the page protectors into the binder within the appropriate tab. Voila!
Curious to know what categories I have in my household binder? Here’s the list:
- Emergency Information
- General Contact Information
- Meal Planning (e.g., weekly menu planner, list of meal options, etc.)
- Household Maintenance (cleaning schedule, spring checklist)
- Local Events (Parks & Rec schedule of events, day camps, theater performance schedule)
- Church Information
- School (separate tabs for each child)
- Kids’ Sports
- Scouting (Girl/Cub)
If you want to go from purely functional to Pinterest-worthy, conduct a simple Google search on “free household binder printables” to find a fun binder cover insert and printable forms to include within the various categories (you can create the same binder cover and inserts that I use by clicking here).
Here’s a glimpse inside my Contact Information section, which includes various business cards for medical professionals, and service providers that we frequently contact.
Even though most of our household maintenance schedules/tasks are managed via HomeZada, I still like to keep a few homegrown checklists in paper form, as well as various cleaning schedules/checklists that I use throughout the year.
Designate a Home
You’ll need to find a permanent home for your new binder…one that is convenient for everyone to access and that is near your Inbox/action file. For most people, the logical choice is (you guessed it) the kitchen. Mine lives in this kitchen desk drawer–the same desk that is home to my Inbox and action file.
Once you’ve created your binder, be sure to host a 5-minute family meeting to orient the other members of the household to this new paper organizing system. They are likely going to be referencing the papers in the binder as often as you are!
Maintain It
As with any organizing system that you put into place, you’ll need to devote continuing attention to it in order to keep the system in good working order. In the case of your household binder, your job is to keep the papers in it current and relevant. In order to accomplish this, be sure to remove older papers when you are adding new ones (e.g., remove the winter swim practice schedule when you insert the summer schedule).
Establish a routine for thoroughly reviewing the contents of your binder in order to remove outdated papers.
How often you’ll need to conduct such a review depends on your stage of life, as well as the number of people in your household. For families with kids, aim to perform a review/purge at the beginning and end of the school year. This is what my recycle pile looked like after I performed my end-of-school binder clean-out session last week:
If you have not yet read the overview of the challenge, do that first before proceeding to this week’s assignment.
Your Assignment for Week 2: Organizing Handy Reference Papers
1. Gather all “handy reference” papers
2. Establish a household binder for these papers by:
~ Gathering the necessary supplies
~ Sorting your papers into categories that make sense to you (purge outdated papers)
~ Placing papers into page protectors & insert into binder by category
~ Labeling tab dividers with paper category names
~ Designating a central location to store binder
~ Giving household members a quick overview of binder contents
~ Establishing a regular time to purge outdated papers
Drop me a line in the blog comments to celebrate your progress in the Challenge so far!
——————————-
This post is part of the 13-Week Summer Shred Paper Declutter Challenge
Just discovered the Challenge? I invite you to read the Challenge Overview post first. You can then begin to work your way through the weekly Challenge assignments below:
Week 1: Mail
Week 2: Handy Reference
Week 3: Long-Term Reference
Week 4: School Papers
Week 5: Kids’ Art
Week 6: Memorabilia
Week 7: Manuals & Warranties
Week 8: Catalogs & Magazines
Week 9: Receipts
Week 10: Business Cards
Week 11: Lists & Notes
Week 12: Recipes
Week 13: Coupons
~ Happy paper decluttering!
- Printables for Organizing Home & Life: The ULTIMATE Organizing Printables Vault! - November 28, 2023
- Clipboard Wall Organization for Papers: Easy DIY Paper Storage! - September 4, 2023
- How to Plan a Graduation Party to Remember: The Ultimate Graduation Party Planner - May 9, 2023
Leave a Reply