Who doesn’t love a pretty picture? Last week I talked about the importance of custom brand photography for your business. My photos have been one of the biggest assets of my brand. I can’t tell you how many people have complemented my photos saying, “Your Instagram account is so cohesive, I can definitely tell you have a strong sense of branding.”
So for all who are interested in conducting your own brand photo shoot, I’m getting into all the nitty-gritty details on how I set up mine and how you can do the same!

1. Know your brand
I made the mistake of having portraits taken of me before I had finalized my branding. I almost wore hot pink, which would’ve completely clashed with my new brand palette (luckily I decided on teal). While I got a ton of great photos from my photographer, unfortunately, a lot of them don’t flow with my brand.
If you don’t have a firm brand foundation, a custom photo shoot will be a waste of your time. You’ll need to redo them once you’ve completed your brand style or might be tempted to use photos that aren’t aligned with your look and feel.
Before conducting a photo shoot, make sure you have a solid brand palette in place, your logo, brand personality and style. You should have a cohesive mood board depicting the look & feel you’re aiming for. You should have a color palette that’s been tested in various forms (such as social media graphics and with your logo). Once you have your brand foundation established, then and only then should you proceed with your brand photos.
2. Choose a Photographer
The next big step is to figure out who will be taking the photos… Will you be shooting the photos yourself, hiring a local photographer, or hiring someone online? Since this post is all about producing your own photo shoot, I’ll focus on the prerequisites for that approach.
- Do you have photography experience?
- Do you have a DSLR camera with a good lens? Do you know how to use it (not on Auto)?
- Do you have editing software or programs such as Lightroom and/or Photoshop?
- Do you have the accessories needed for the shoot?
- Do you have the time to conduct the shoot and edit the photos?
If you answered “no” to any or most of those questions, you may want to leave this to a professional. Lucky for you, I interviewed 5 brand photographers in my last post that would love to take custom photos for you! Check it out here.
For all the “yes” people… congratulations, you’re on your way to a fun and exciting brand photography experience!


3. Find a Location
Location. Location. Location! I can’t stress this enough! Unless you’re doing flat lay over a white surface, you need to find a location that fits with your brand (see why #1 is so important?)! Take a stroll around town, do some Google searching, or post your mood board on Facebook and ask your friends for location suggestions to match. I happened to have an “aha” moment at church one day. I was walking through the lobby and thought, wow, this space goes so well with my brand style. For me, it just clicked and I knew I had to shoot my photos there!
Make sure the location has plenty of natural light (unless your brand uses darker tones and dramatic lighting).
Once you find the perfect location, make sure you get permission to shoot there! You’ll want to arrange a date with the owner and discuss any contracts or legal issues that might be involved (you’d hate to take the photos there only to have the owner request their logo watermarked over every image you post online)!
Not sure where to shoot? I’ve got a list of location ideas in my DIY Photo Shoot guide, which you’ll find below.
4. Select a Date
Give yourself at least a month to plan. I think I spent about 2 months purchasing accessories (slowly, a few at a time). If your shooting venue is flexible on when you can use their space, give yourself a deadline so you will take action and get it done.
If you have a specific date you want to start using your new photos by, make sure you shoot at least two weeks beforehand so you’ll have plenty of time to edit (or to re-shoot in case something didn’t turn out the way you envisioned it).
Start the photo shoot early and don’t plan on doing any other work that day – you’ll thank me later!
5. Gather Your Equipment
It’s better to be over prepared than under prepared. If you don’t have some of this equipment, see if you can borrow it from a friend, or rent it online.
I suggest bringing the following with you:
- DSLR camera – I have a Nikon D700, but almost any DSLR will do
- Lens with a fixed focal length and wide aperture. I used my 35mm for pretty much every shot
- Reflectors – a white poster board or even a reflective windshield sunshade will work if you don’t have an official reflector. But this is so important for helping send light to shaded areas
- External flash with diffuser – While natural light is preferred, sometimes an external flash with a diffuser can really light the shot perfectly (please, please, don’t use the built-in flash). Diffusers disperse the light so you don’t cast deep shadows on your objects. I have a jumbo diffuser, which can reflect light off the ceiling or poster board to light up the entire space with pretty natural-looking light.
- Tripod – can make for more stable camera and crisp photos (and you can take multiple photos with the same exact framing, just switch out the object)
- Extra batteries & memory cards for your photos – you would hate to run out of memory or battery power part way through after you’ve put so much work into the planning & setup!
Make sure you test out your equipment beforehand so you’re not fussing over settings the day of the photo shoot!
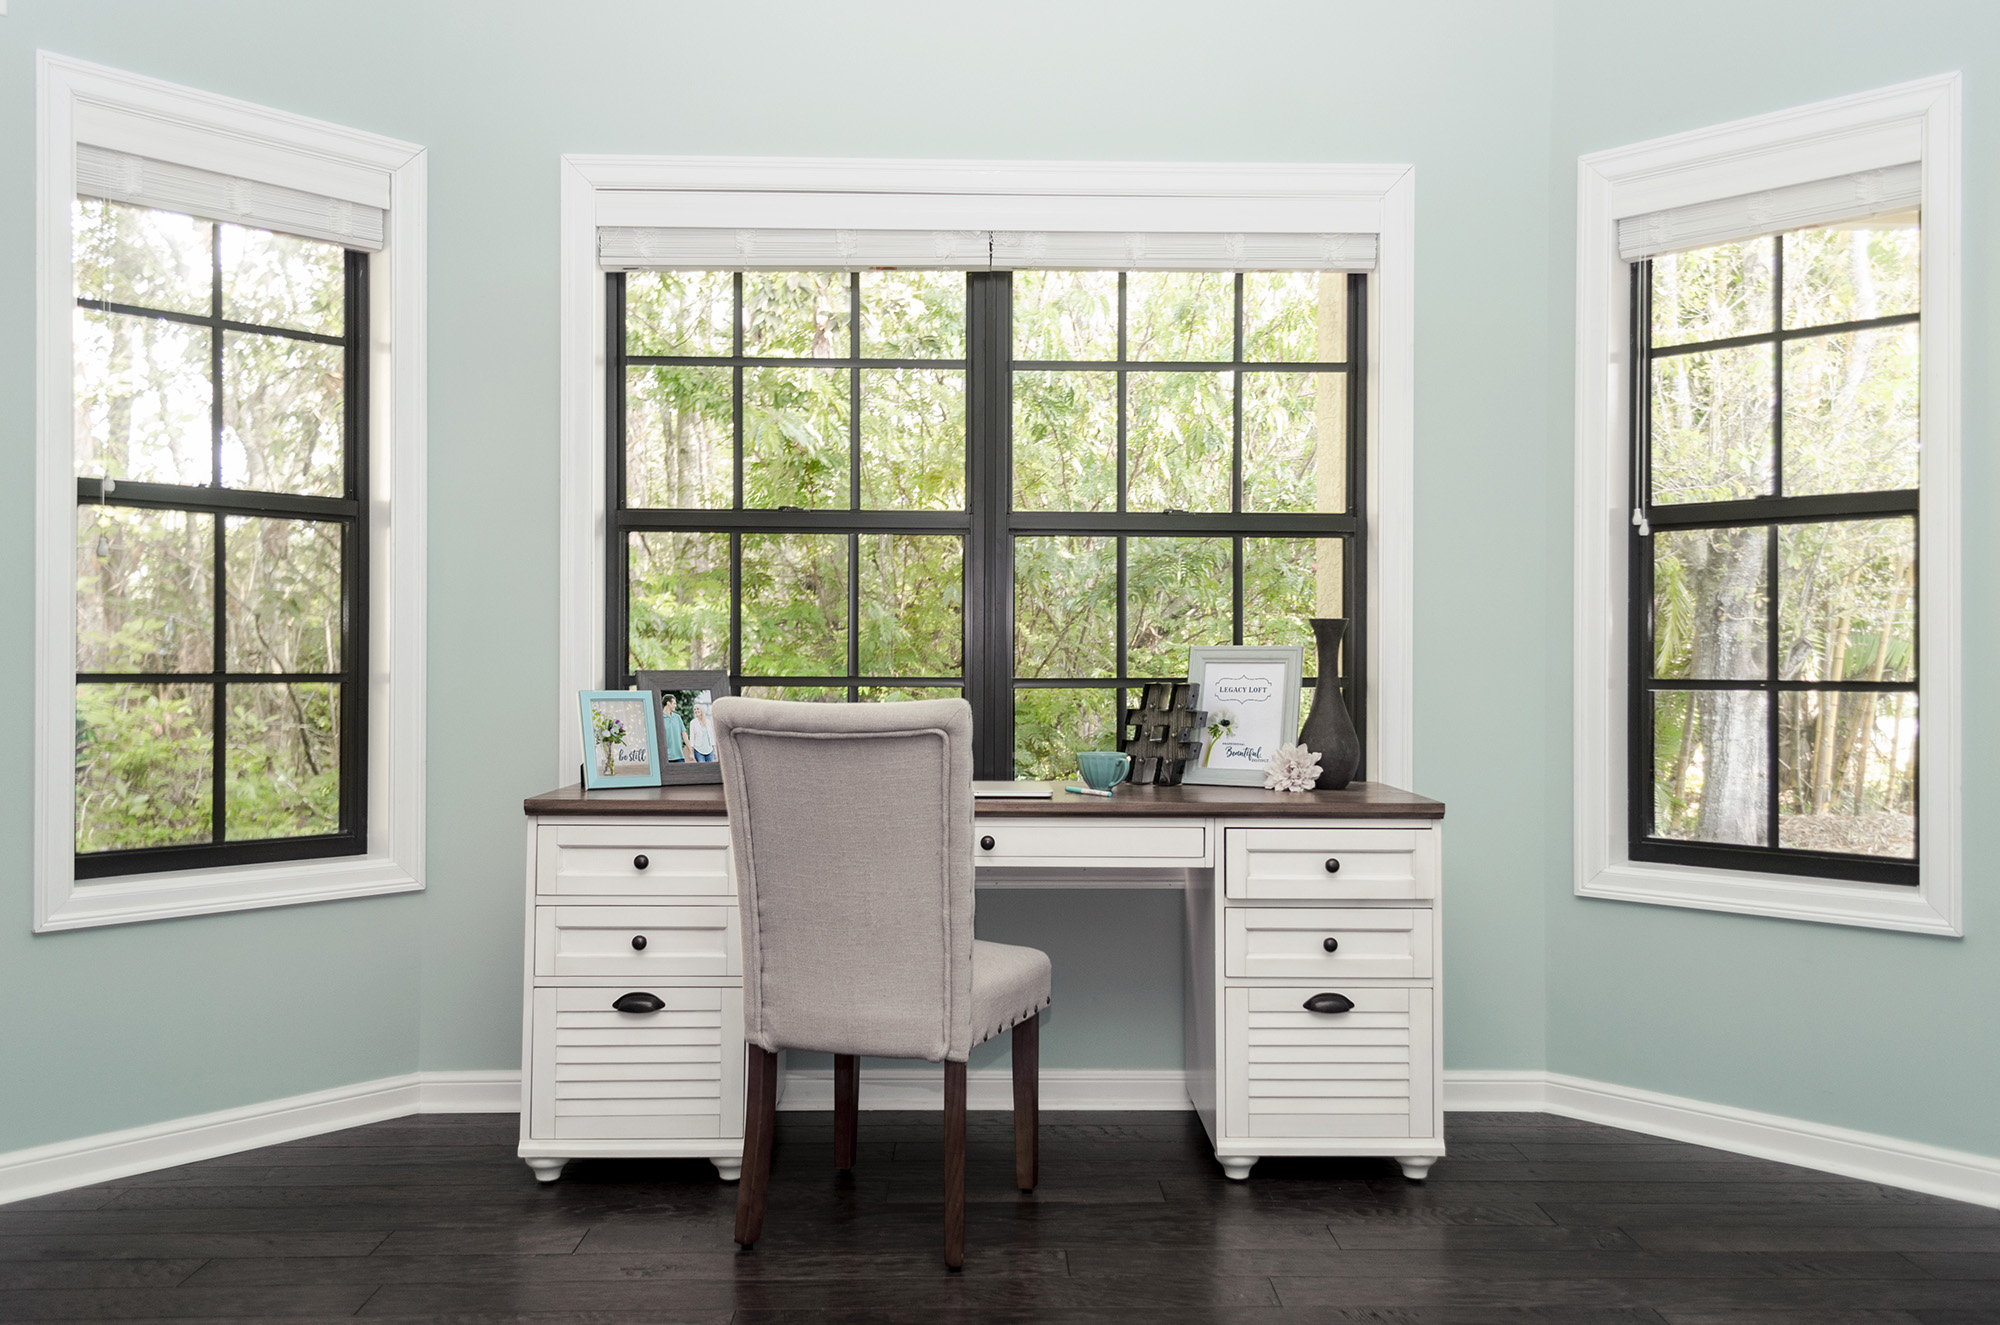
Don’t be fooled by the windows, this desk shot was taken with my diffuser, even bringing light to under the desk.
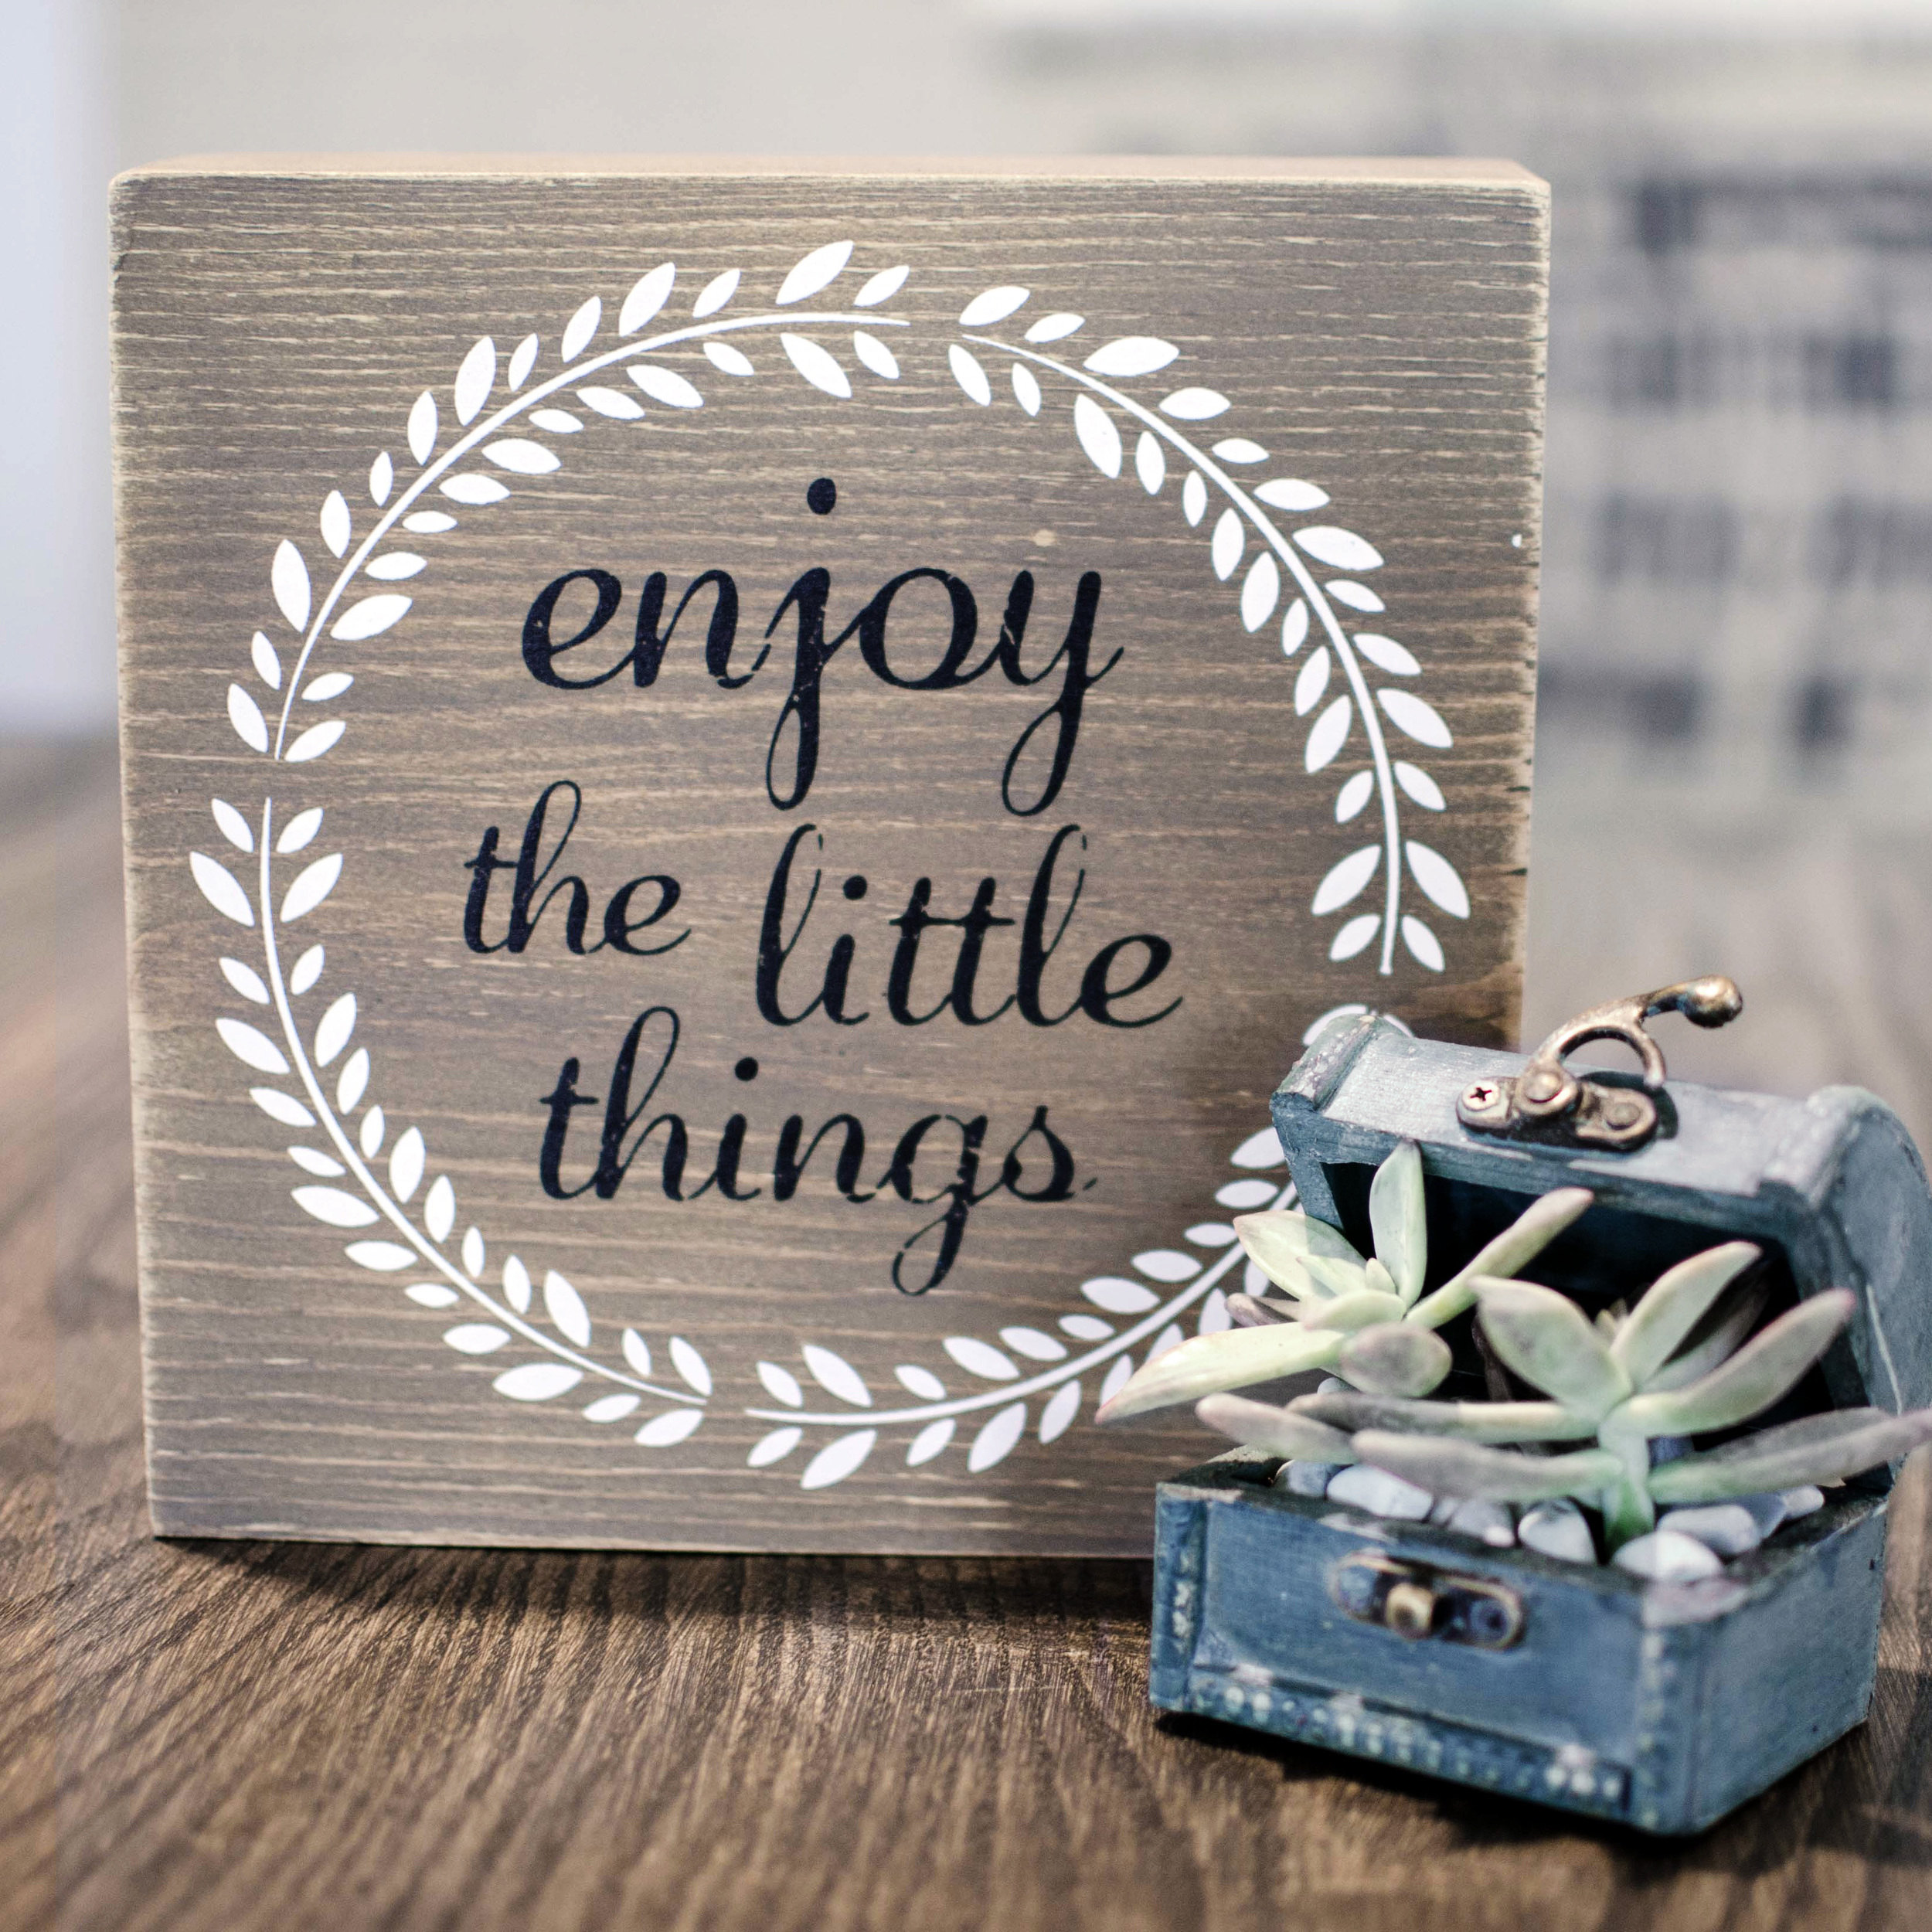
6. Accessorize, Accessorize
This is the fun part – gathering your accessories! I spent a couple months looking for items. Any time I’d pass a TJ Maxx, Target, HomeGoods, Bealls Outlet or craft store, I’d stop and browse for items. A cute mug here, a picture frame from there, some candy and lots of branded goodies in between! I crept through my attic for some white icicle lights and scavenged my house for books and decorations.
I also purchased some floor tiles from Lowes to create surfaces for taking photos on (see the fake-wood and the fake-marble tiles… I didn’t want classic marble and also loved the rustic wood look).
And my biggest purchase was my floral arrangement. After calling around, I met with a local florist that really seemed to grasp my vision. I sent her images of what I was looking to create and she curated a beautiful arrangement to match my style. In the end, I think the loose stems made for the best photos, so I would probably forego the $150 arrangement next time, but you live & you learn, right?!
Oh, and don’t forget your laptop, iPad, phone and other items related to your biz!
Need suggestions for items? I have a whole list of ideas in my DIY Photo Shoot Guide, which you’ll find below!


7. A Helpmate

I couldn’t have done this photo shoot alone! My mom is one of the most creative people I know, so she made for the best brand stylist during my shoot! She would arrange some items while I shot another set, then we’d switch! It made the process go much faster since I didn’t have to style everything myself… and we could be working simultaneously! My mom also doubled as my assistant, holding poster boards up to block reflections on the iPad screen or to cast light onto shadows under my items. She was also moral support when I got tired and cranky. And if you’re shooting in a public place and need to use the ladies room, you can entrust your partner to watch over your equipment!
8. Fuel
I made the mistake of not packing and food or water besides the blueberries and rollos I’d be using for the shoot. Since it took much longer than expected to take all the photos I wanted, I lost steam half way through. My poor mom snuck a few blueberries and was a very good sport even on an empty stomach (which I later filled with pizza after the shoot)!
9. Camera Settings
I shoot “raw” so my images are not compressed and have much higher resolution and editing flexibility. It’s amazing how much color and lighting correction you can do on a raw photo compared to a JPG!
I also shoot in manual mode so I have full control over my images. The only alternative to that might be aperture priority, but it may not always deliver the exact result you’re desiring.
I like using a fixed lens (my fav. is my 35mm) — it has no zoom capabilities, but has a wider aperture, making it better for low-light situations and a softer focus. The wide aperture setting (something around 3.5) will allow you to shoot with the prominent item in focus and the background blurred, which creates a more realistic depth of field and professional look. It also allows for a faster shutter speed, so you won’t be battling motion blur. I kept my ISO around 200 so the photos wouldn’t be too grainy, though if you don’t have as much natural light, you could probably bump that up to 600.
And if you have no idea what ISO, aperture, manual or raw means, you may want to take a photography course first or hire a pro to take your photos. You’d hate to spend all this time planning and prepping, just to have so-so photos that hurt your brand rather than help it!
10. Post-Editing
I imported all of my photos into Lightroom straight from the camera and immediately deleted all of the obviously bad shots… the ones with poor angles, awkward setup or that were out of focus. Then I started editing the photos, saving my settings as a preset to easily apply all adjustments to other photos from the same batch. You’ll want all of your images to have consistent coloring, lighting & editing.
I exported any ready-to-go images as JPGs and any that needed further customization or deeper editing as Photoshop files. I grab the Photoshop images as-needed, to place screen shots of my work or quotes inside the computer/ipad/phone screens and the picture frames.
Bonus Tips
If taking pictures of your laptop, phone or other screen, open a blank white document so you can later Photoshop in various content. To get your camera to focus on the white screen, place a piece of painter’s tape or a sticky note where you want the focus to be. I also suggest taking a few angles of each styled setup so you can be sure to land a view you like — and if you like them all, you’ll just have extra pics to use! Make sure you take a variety of layouts – horizontal, vertical and plenty of shots that can be easily cropped to squares for Instagram!
Time to Shine!
Now you can show off your beautiful new custom photos on your website and social media platforms! Let your personality show and make a deep impression on your clients!