


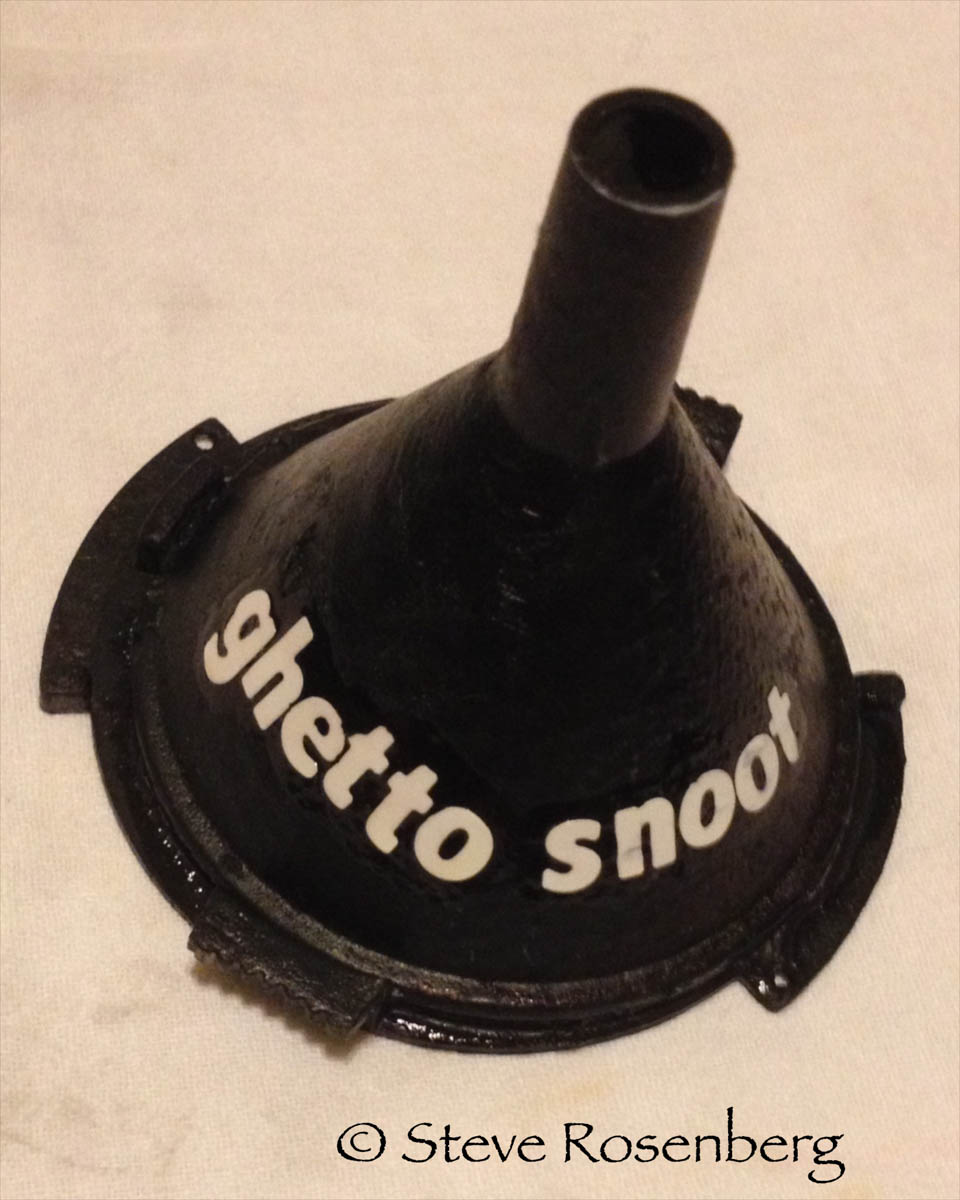
A Snoot is simply a device that attaches to the end of a strobe to narrow the beam angle from the light source. Its purpose is to provide a photographer with more control over the illumination of the subject. There are companies that make snoots to be used with a number of different strobes on the market. However, snoots can be made very inexpensively from a variety of household items. They can be constructed very easily from a number of items that you can find at the hardware store or local grocery. My favorite snoot is simply a plastic funnel glued to a diffuser that is made for my Sea & Sea Strobes. A friend aptly nicknamed my creation the “Ghetto Snoot” based on its very intricate design.

The concept of the snoot is pretty simple. The idea is to narrow and concentrate the light from the strobe, so you can project the light exactly where you want it. Picture the effect of shining a spotlight on a performer in the middle of a stage, keeping everything else in the dark. The narrow beam of light isolates the performer, drawing everyone’s attention to the focus of the spotlight. Many photographers use creative lighting to illuminate a subject against a black background. The easiest way to achieve this effect is to use a snoot. Using a snoot can also eliminate unwanted backscatter from your picture.

Whether they are used for creating black backgrounds, spotlighting, or for directional lighting, there’s no doubt that snoots can be very helpful tools for creatively lighting underwater subjects. However, as useful as they are, they can be (and often are) very difficult to use. The process of aiming a snoot for macro photography can be very difficult at best. The use of snoots requires patience, practice and luck. However, if you are willing to spend the time and follow a few helpful tips, using snoots can be fun and very helpful in in creating dramatic results to your library of images.
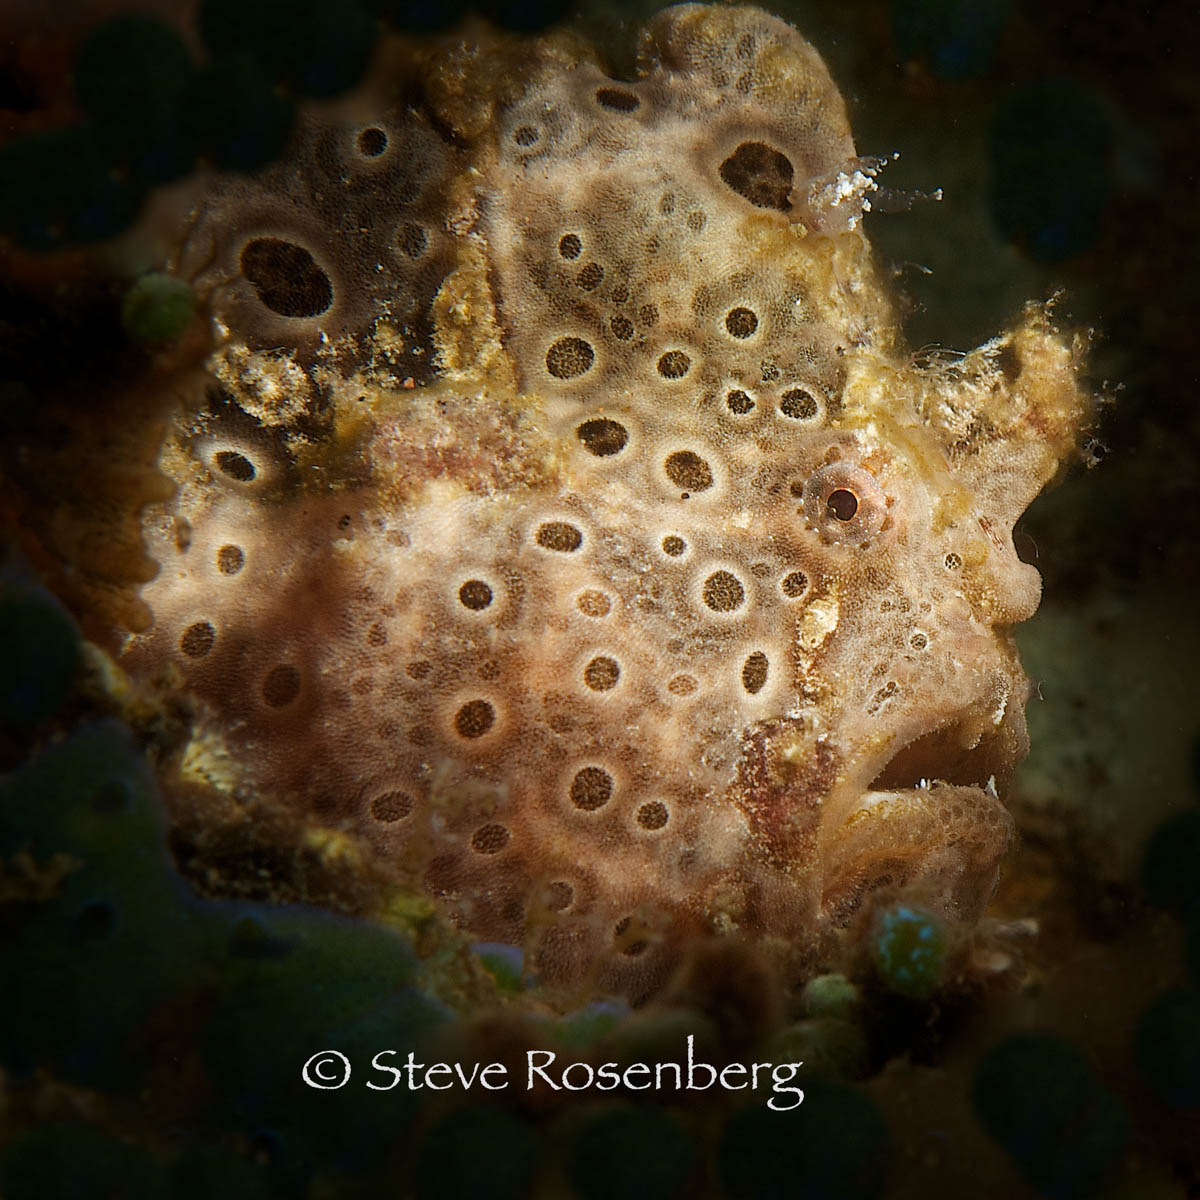
Lets face it; the hardest part of using a snoot is pointing that narrow beam of light where you want it to go. The easiest way to do this is by using a strobe that has a built in focusing or modeling light. You simply turn on the light and position the strobe so that the beam hits your subject where you want it to, also paying attention to the direction of the light source. If you don’t have a modeling light, this may become a very frustrating process. Obviously it is easier to use a snoot with a very slow moving or stationary subject. Frogfish, small scorpionfish and virtually any type of weighted plastic marine life will work very well. If your subject is going to stay in the same place you can mount your strobe on a tripod and take the picture. If the angle or placement of the light is a bit off, you can reposition the strobe and take another image.
I prefer using manual settings to control the amount of light from the strobe. You can increase or decrease the amount of light on the subject by changing the shutter speed, ISO or aperture settings or positioning the strobe a bit closer to your subject. If you are using a small aperture, the light from the strobe will stop action, so you can use a slower shutter speed to change your exposure. If you are using manual settings to control your exposures, remember that you can add or detract light by changing any of these controls, but it is important to remember that changing your aperture, will alter your depth of field. If you use a higher numbered aperture, that will increase the depth of field and if you use a lower numbered aperture, that will decrease the depth of field. You may find that using the highest output from your strobe will offer many benefits. If your strobe has a spotting light it will be easier to orient the strobe angle and you will get a more defined spotlight effect on your subject.
Some photographers like to hand hold the “snooted” strobe. I find that this is an option if you have a great deal of patience. It certainly allows much more flexibility to change the angle of the light. However, because every minor change in the strobe position will also change your ability to keep the beam of light on your subject, this can be extremely frustrating. My preference is to either use a tripod or, even better, a snoot Sherpa. Several of my dive buddies have patiently hand held my strobe, putting up with my excessive snootiness over the years. I have found that if you are going to shoot a moving subject, that this is a necessity unless you are extremely lucky.

Finally, it is much easier to aim the snoot if it is really close to the subject. The farther away you hold the snoot, the dimmer the illumination from the modeling light. Of course, the light from the snoot will also be more concentrated and have a tighter beam the closer you hold the tip of the snoot to the subject. You may find that snooting on night dives is simpler because the light from the snoot is easier to see. Keep in mind that a snoot is just one of many tools in your bag of tricks for creative lighting. The thing for you to really focus on is that all of these suggestions are merely that, suggestions. Go out and have fun, and don’t hesitate to try new things.


