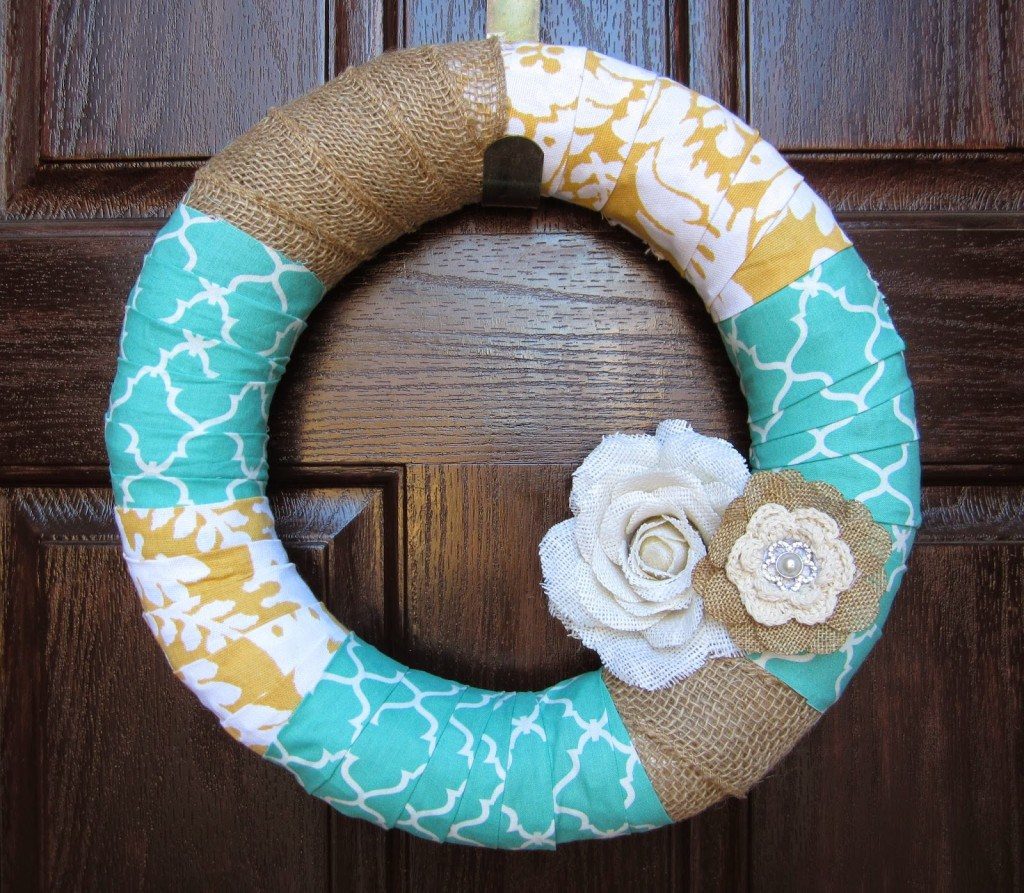
 A few months ago I decided that my boring, brown front door needed a face lift for the spring/summer season. I didn’t want to spend a fortune on a floral wreath, so I browsed online for creative ideas. Of course, I found a hundred different styles of wreaths, and in the end, I was inspired to pull a few ideas together to make a shabby-chic fabric-wrapped wreath. It was easy, and very inexpensive! I think if I do this again, I’ll be able to do a better job, but for my first go at it, I’m pretty happy.
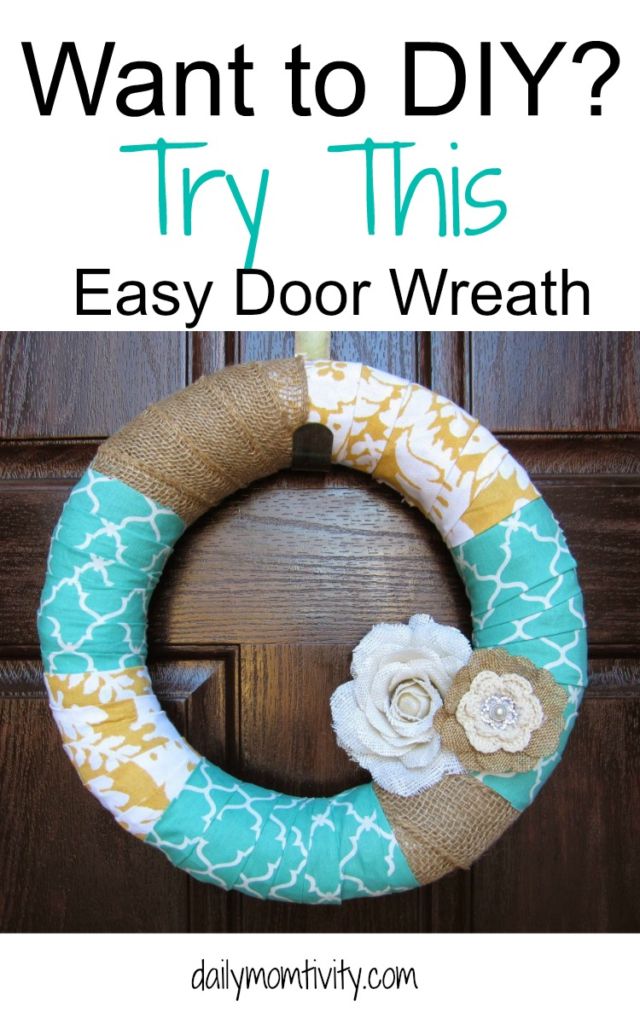
Below, I’ll share with you the supply list you’ll need to make your own fabric-wrapped wreath, along with a few tips for success.
Shabby-Chic Fabric-Wrapped Wreath
- 18″ straw wreath form ($5.99 at Hobby Lobby). These usually come wrapped in plastic, and that’s fine. No need to unwrap it. It’s actually helpful, because the straw doesn’t get in the way.
- 1 spool burlap ribbon – at least 3 inch wide, or wider.
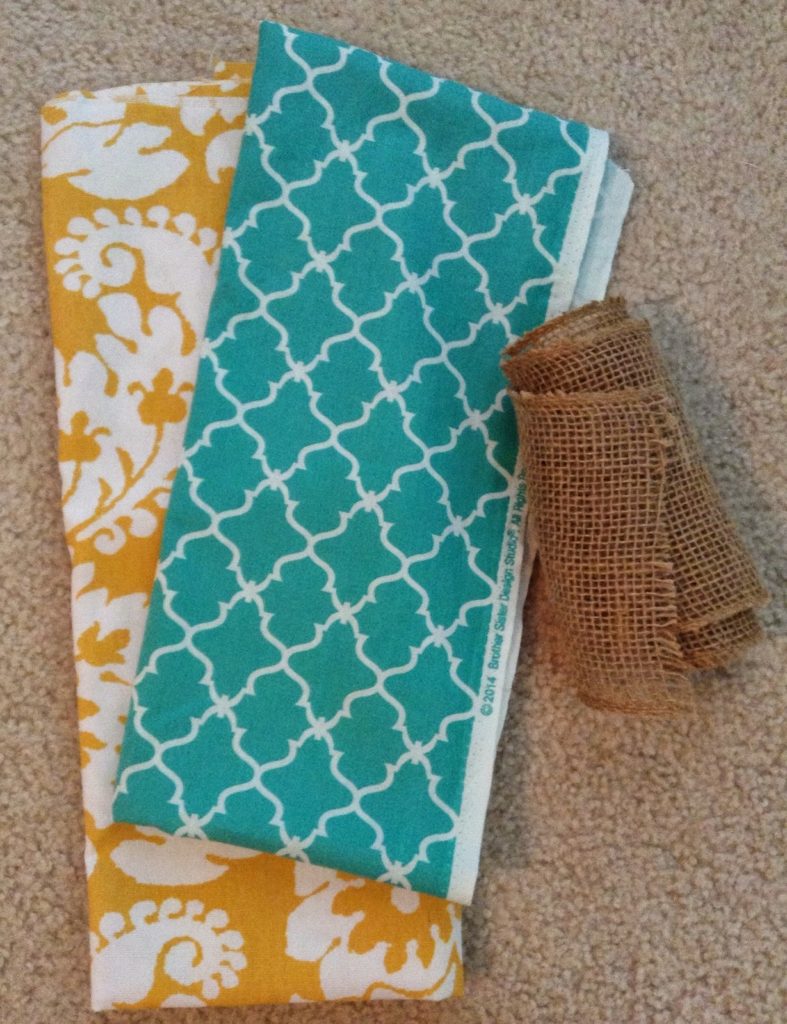
- 2 yards of fabric – choose your favorite designs. Although I purchased 1 yard each of 2 fabric designs (for a total of 2 yards), I only used about 1 yard total between the 2, because I opted to also incorporate the burlap ribbon. I’m always worried about not having enough fabric if I make mistakes, and because it’s fairly inexpensive, I would still recommend 2 yards total. You’ll probably have leftovers (for another project!)
- Embellishments – your choice! The flowers I attached were purchased at Hobby Lobby. 1 of them was a hair clip from the accessories department (I removed the clip) and the other was a stemmed flower from the floral department (I removed the stem). You might consider a monogram letter, or a rustic cross, or jewels, or a small picture frame with a monogram letter inside… So many possibilities.
- Hot glue gun/glue sticks. If you don’t own a glue gun, just purchase the little $2.99 ones from Hobby Lobby or Wal-Mart. They work great!
Tips
- Wrapping your wreath is pretty self-explanatory, but I do want to offer a few helpful tips. First, cut your fabric into 5 inch wide, 2 feet long strips. Not all of the fabric, because you probably won’t need all of it for the project…just cut a bit at as you go, until you’re finished.
- To start wrapping, take your first strip of fabric and fold it in half. This will make the edge nice and neat, and will also double up the fabric so that can’t see the wreath form through it.
- Using your hot glue gun, place several dots of glue on your wreath form and attach the first strip of fabric vertically. Begin to wrap around, overlapping the previous wrap with each rotation. When you finish a strip of fabric, hot glue the end of it to the form.
- It’s up to you how much of each fabric you want to use before switching to the other design. Also, you may or may not wish to alternate with the burlap ribbon, as I did. If you prefer to use another style of ribbon, or just fabric only…that’s great. I chose the burlap to add texture and additional visual interest.
- Wrap, glue, wrap, glue, wrap, glue… And then hot glue your embellishments to the wreath (do you have any glue marks or mistakes that you can cover with them?).
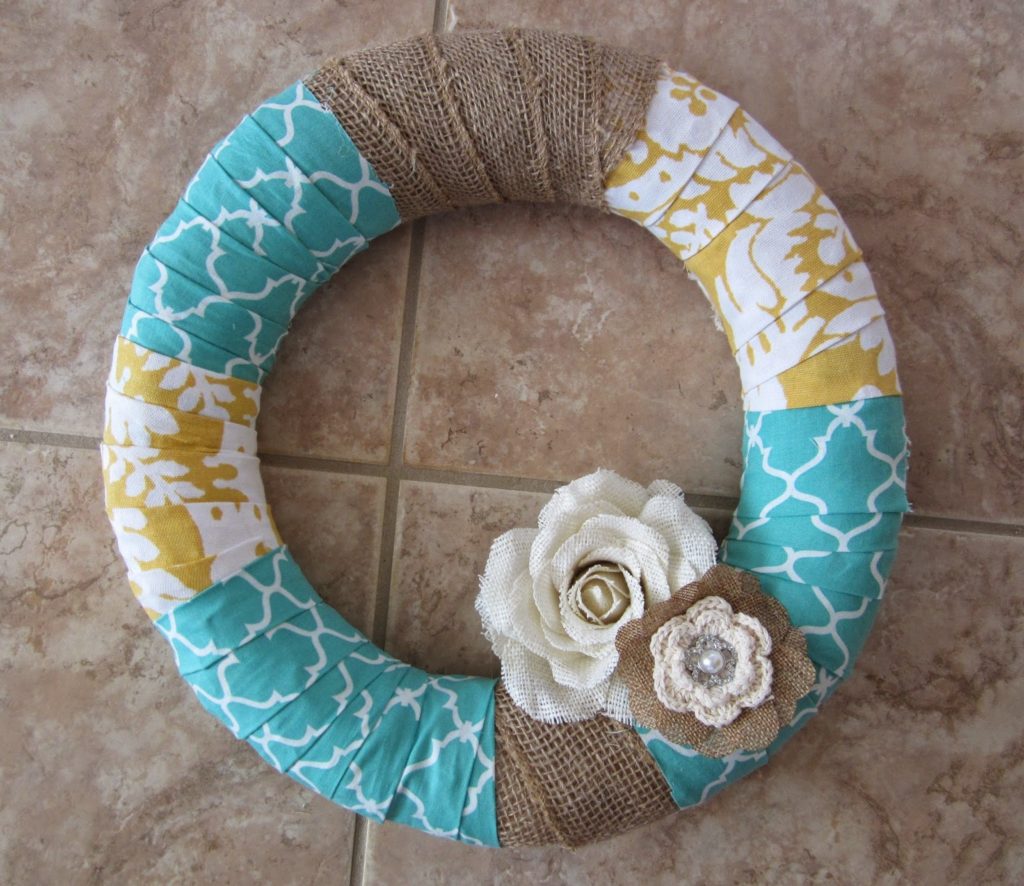
Finished! All in all, pretty inexpensive DIY, so if by the end of the summer the weather has taken its toll on your cute fabric-wrapped wreath, you can just peel away the fabric and start again with something fresh.
The spring and summer months are a great time to do something fun and sassy on your door! Save the traditional wreaths for fall and winter.
Nicole

That's so cute! I need to update my front door for spring. This looks easy and quick yet absolutely adorable! (PS Found you on the Coffee and Conversation Linkup.) =)
ok I love this. You have seriously inspired me and I have to make one!
This wreath is gorgeous and so summery. And I think I might even be able to make it by myself with my limited craft skills. Thanks for sharing! Found from Share the Wealth Sunday.
This is so cute! I want to try this with some leftover fabric that I have.
Thanks for linking up on Share the Wealth Sunday. I'm going to share this on my Facebook wall this week!
How cute! I love the fabric you used! Thanks for sharing! #SmallVictories