It’s 10:30 am on a gorgeous sunny day and you are finally on the plane.
You’ve navigated all the typical stresses—packing, travel to the airport, parking, checking your bags, the endless list of do’s & don’ts at security, finding your gate, boarding—and you are on your way.
As you fly over the crater of Mt. Rainer, you marvel at its majesty. Looking south you see the snowy peaks of the other giants in the chain. For the life of you, you can’t remember which one is Mt. Adams, or Mt. St. Helens, or Mt. Hood, but decide not to take on the task.
Instead, you settle back in your seat and eagerly open the novel you’ve saved for this very moment.
All is well.
Within a few minutes, you realize that all is not well. You are sleepy and can’t concentrate on your novel. “Maybe it’s the altitude,” you think.
Then your tummy rumbles. Suddenly it becomes very clear: In all the hustle, bustle you forgot to eat breakfast.
You are ravenous with hunger and don’t have anything with you except the coffee you grabbed at the gate. It’s only a two-hour flight, so there won’t be any food service on the plane.
Visions of pastries dance in your head. Knowing how difficult it will be to resist the sugary carbs on the route to baggage claim, you panic.
Getting Un-Panicked
Fortunately the story doesn’t end with you downing every doughnut in sight. Not with your knack for learning from your experiences.
You decide that it’s worth it to invest a little time and effort to make eating on the road healthy, easy, and convenient. Before the plane has landed, you’ve figured it all out.
You need a Feel Great Travel Snack Kit and a step-by-step strategy for using it.
The Feel Great Travel Snack Kit
Step #1—Commit to packing your own snacks
This step is about committing to staying focused and feeling great every moment of your trip. Packing your own snacks gives you peace of mind. If your plane is late, the food line is too long, or nothing is open, you’ve got it covered.
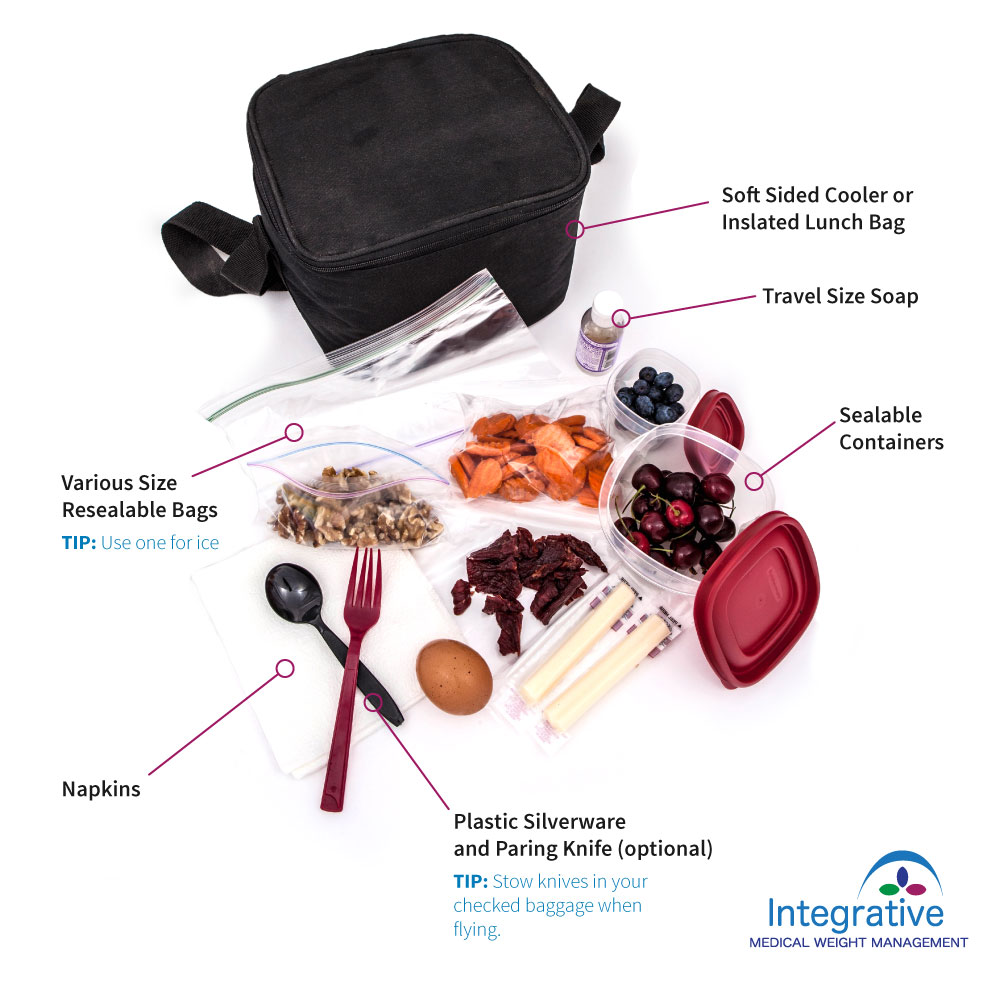
Step #2—Assemble your Feel Great Travel Snack Kit
A Feel Great Travel Snack Kit is a self-contained kit that makes it easy to carry healthy snacks.

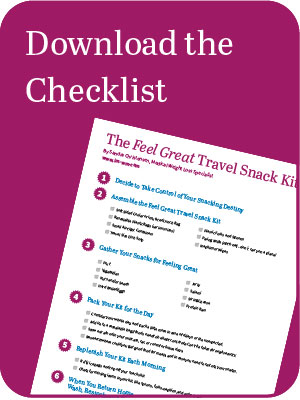
Download my full Feel Great Travel Snack Kit guide
Decide to take control of your snacking destiny... while staying healthy!
Send My Free GuideKit Contents
- A small soft-sided cooler and/or insulated lunch bag
- Resealable plastic bags in various sizes for storing food and making ice bags
- Small airtight containers with lids for foods that might get squished or leak
- A small bottle of dish soap
- Paring knife (optional)**don’t carry on a plane; only pack in checked baggage
- Plastic forks and spoons
- Napkins
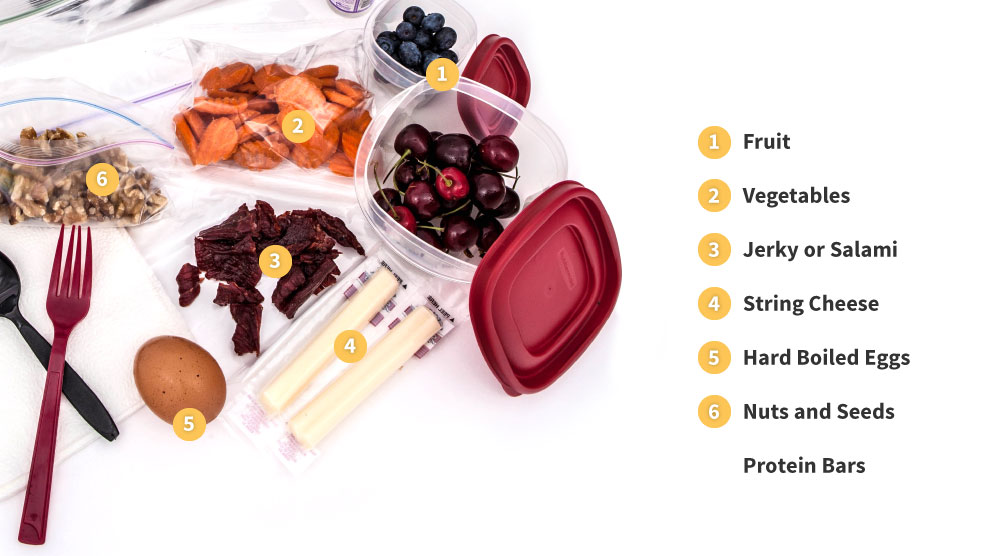
Step #3—Gather your food
Nutritious foods that travel well are:
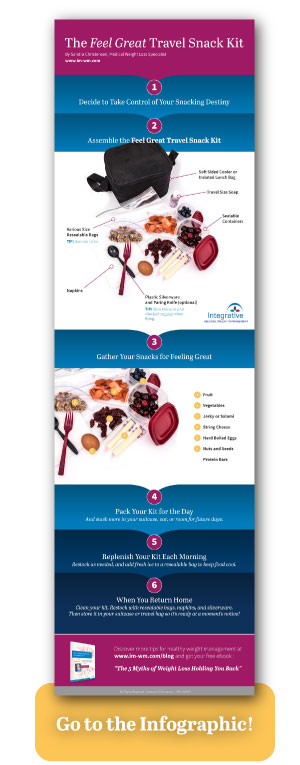 Step #4—Pack your kit

Fill the bags and containers with snacks for your first day of travel. Then tuck them into your bag or small cooler.
If you have items that need refrigeration, include ice in one of the resealable bags to use as a refillable ice pack.
**Ice can’t be taken through airport security. After you’ve made it through, get some ice and put it in a resealable bag.**
Be sure to pack extra non-perishable food such as nuts, jerky, and protein bars in your luggage so that you have a supply for the entire trip.
Step #5—Use your kit
Restock your day-bag every morning so that you are set for the day, restocking on food and supplies as needed so that you never run low. Use the cooler or bag for foods that need to stay cool if there is no fridge available where you are staying. Being prepared means you can always have fresh foods with you.
Step #6—Store your kit
When you return home, clean the containers and restock the kit. Store it in your suitcase or travel bag. That way, every time you open your suitcase to pack, it will already be ready. You can be ready to travel healthy at a moment’s notice.
Traveling with Confidence—Putting the Feel Great Travel Snack Kit into Action
As soon as the plane lands in San Francisco, you take matters into your own hands. You are determined to stay focused on healthy eating on this trip. (Step #1)
After picking up your rental car, you drive straight to the nearest store to purchase your Feel Great Travel Snack Kit items and some food. (Steps #2 & 3)
Once settled in your hotel room, you fill your bags and containers with an assortment of cheese, salami, and fresh fruit and pack them in your day-bag. You toss in a protein bar just in case you are out longer than planned. (Step #4)
With your Feel Great Travel Snack Kit in hand, you head out for Golden Gate Park. (Step #5)
You arrive at the park, get your bearings, and head for the Hoover Redwood Grove. Along the way, you spot the long lines at the concession stands. Sailing past them, you march straight to the trees.
 Standing at the base of these sturdy giants is an experience you’ll never forget. As you munch on your fruit and cheese, you feel grounded.
You pat yourself on the back and dream about what’s next—the DeYoung Art Museum and the concert—and then Big Sur. You are well on your way to having a magnificent trip.
Now that you’ve mastered the Feel Great Travel Snack Kit, you are ready for more.
Upcoming articles in my Feel Great Travel Series will provide practical tips on navigating other travel situations like planes, hotels, events, and being a houseguest. Get on the email list to get them as soon as they are released!
I’m eager to hear about your experiences with the Feel Great Travel Snack Kit. Share them in the comments, on social media, or send me a message.
And please share this with your friends and family so they can travel healthy and feel great, too!