Baking involves a fair amount of skills to pull off successfully. There are many techniques you need to master. Thankfully, I had my mom to hold my hand through the learning process.
I first started “baking” when I was about 7 years old. My mom would let me knead her bread dough, and I was so proud of my accomplishment. By the time I was about 10 or 11, I had graduated to being allowed to bake cookies from scratch all by myself. As a teen, I enjoyed trying out new baking recipes on a weekly basis.
Over the years, I picked up some tips and tricks that help me to bake more successfully, or just make my life easier. Let me share my favorites with you!
1 - Read through the recipe first
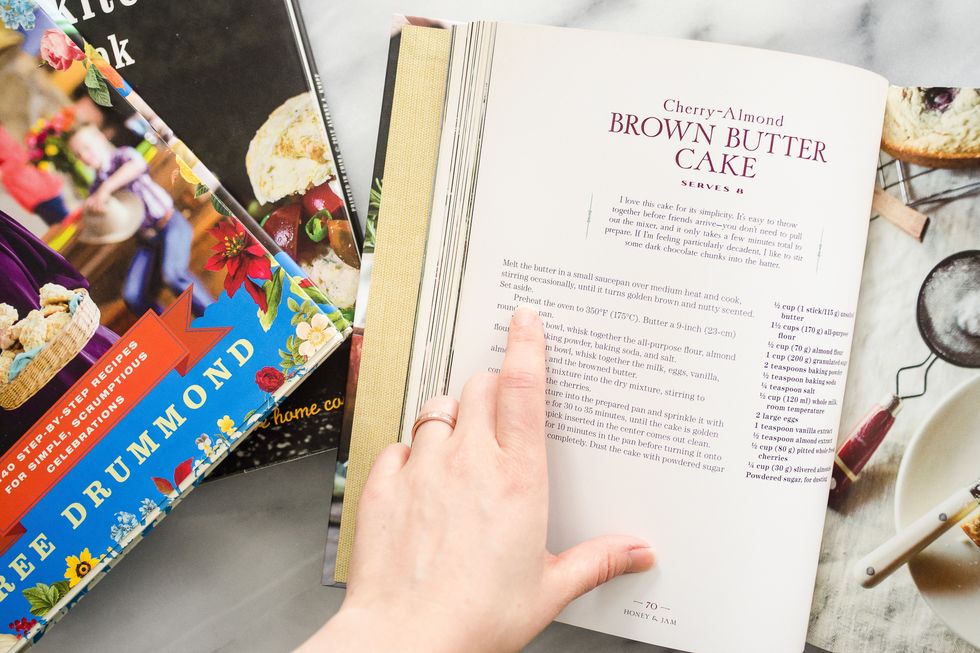
Before you even begin to prep your ingredients, take the time to read the recipe all the way through. You’ll get a feel for how the recipe is supposed to come together. Sometimes recipes need to be wordy to explain a more complicated process. If you’ve already read and understood those instructions, you won’t have to stop in the middle of making a recipe and puzzle over it.
Scan the ingredients list to see if anything needs to be chilled or at room temperature. Check the instructions to see if there are any steps that will take extra time (such as chilling dough before rolling it). That way you won’t be surprised by anything.
2 - Measure flour correctly
Flour is one of the more difficult ingredients to measure properly. Whatever you do, don’t shake your measuring cup to level it! This packs the flour into the measuring container and you’ll use more flour than the recipe developer intended. And don’t use a liquid measuring cup!
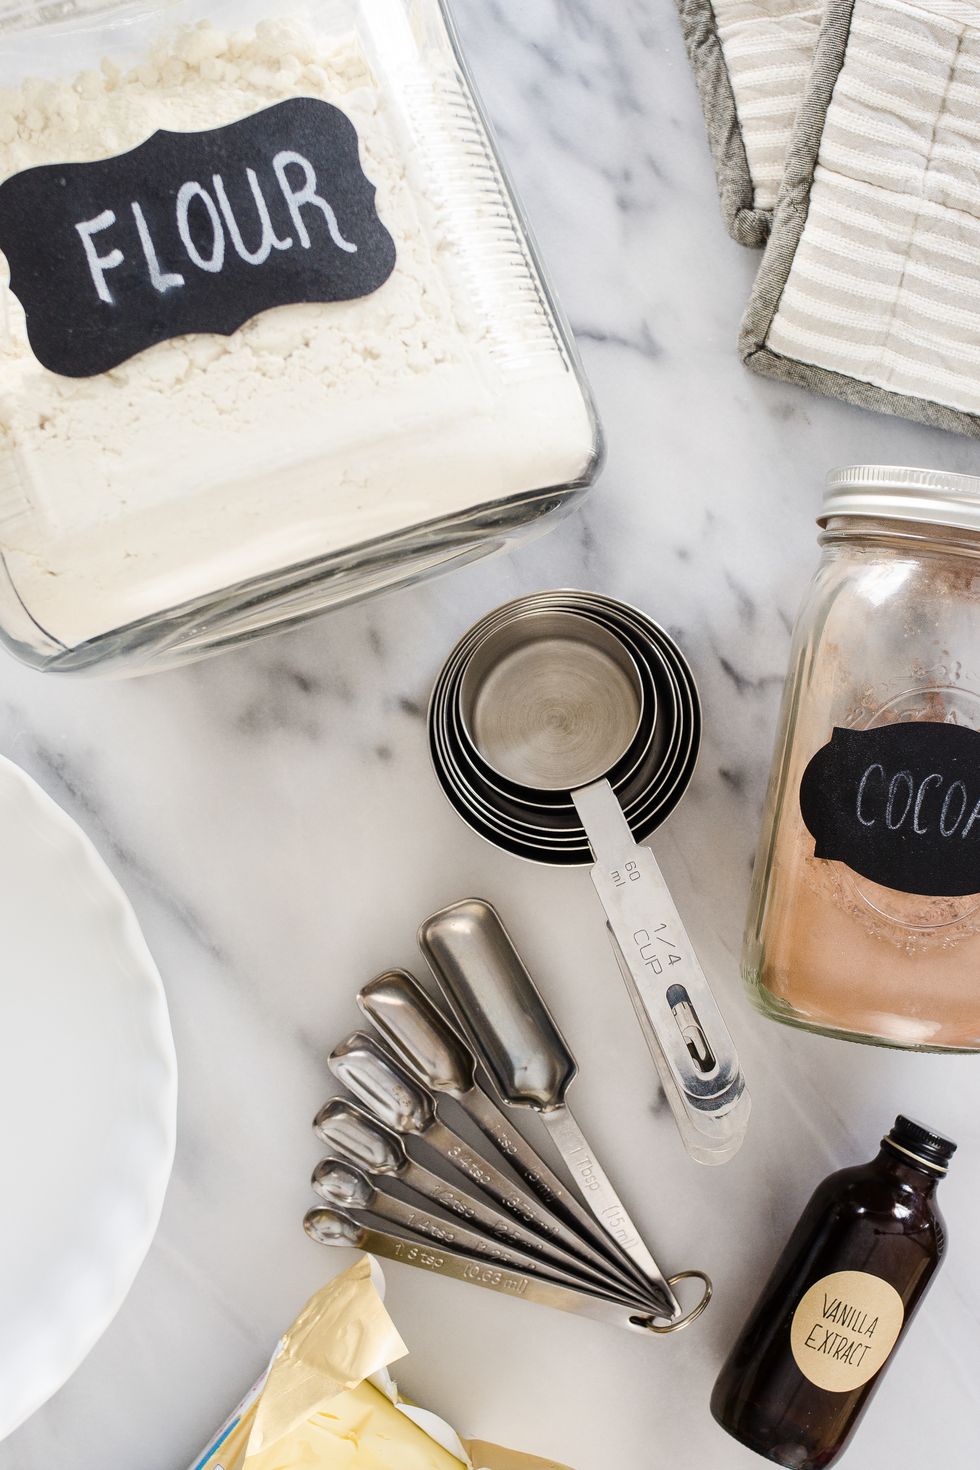
To properly measure flour, there are a couple of methods you can use:
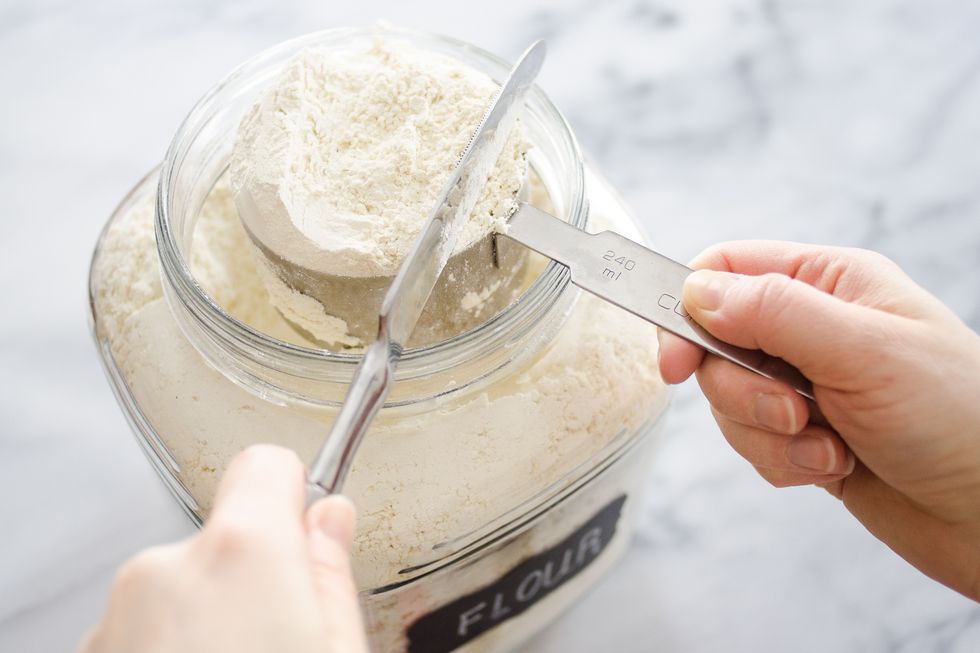
The first is the “dip and swoop” method. Lightly fluff up the flour in the jar. Take a big, heaping scoop of flour with your measuring cup. Using the flat side of a butter knife, scrape off the excess flour, making sure to rest the edge of the knife on the top of the measuring cup.
To be honest, sometimes I get lazy and level the measuring cup with my fingers. Don’t tell the baking police!
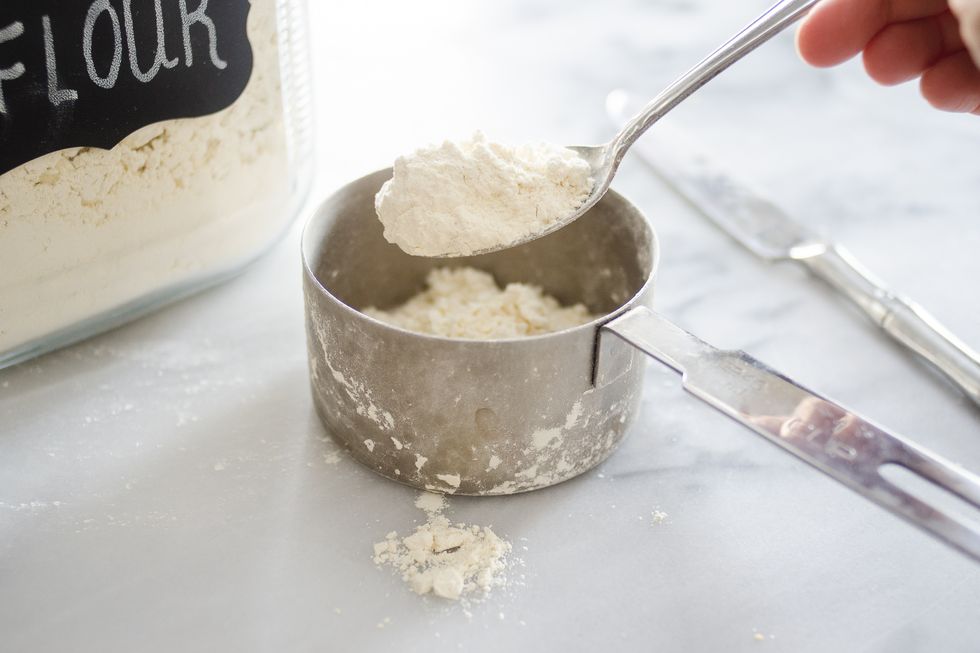
You can also gently spoon flour into the measuring cup until it’s piled high. Then scrape off the excess as described above. This method will be slightly more accurate than the dip and swoop method.
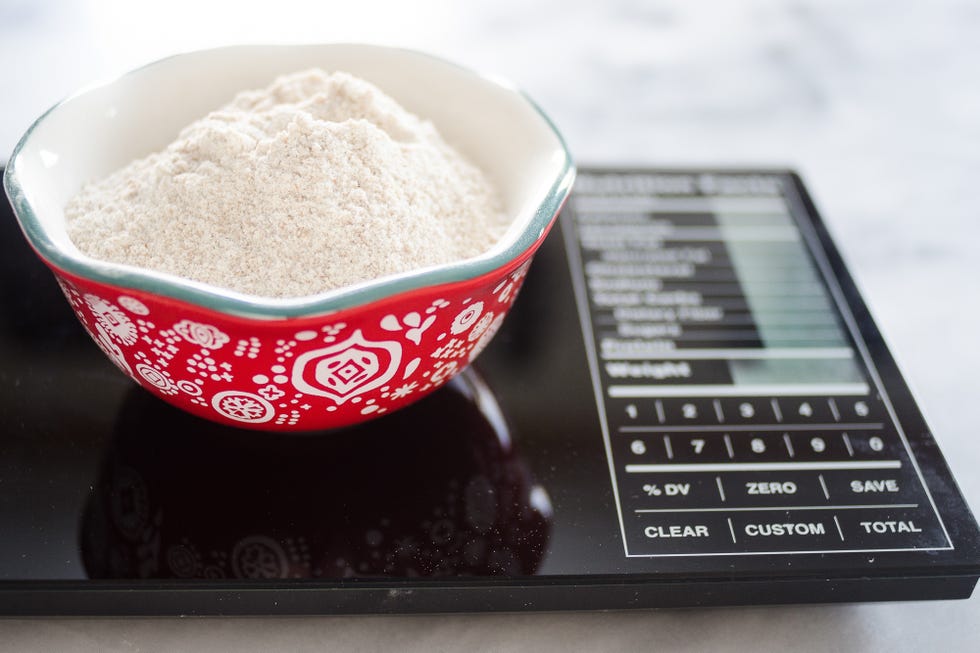
To get the most accurate measurement, you can also weigh your flour. This is most important for freshly milled flour. When you grind your flour, it’s more “fluffy” initially, and it settles out and gets more “dense” as it sits.
To weigh flour, place an empty bowl on the scale and set it back to “tare” or zero. Slowly pour in your flour until you reach the specified weight.
Opinions about how much a cup of all-purpose flour should weigh vary greatly: anywhere between 4.25 and 5 ounces! If you want to measure your flour by weight, it’s easiest if you choose a recipe that gives the ounces or grams as well as the cup measurement.
3 - Squat to measure liquid ingredients
No, I’m not trying to make you work out while you’re baking. Though that might make you feel less guilty about baking a cake…
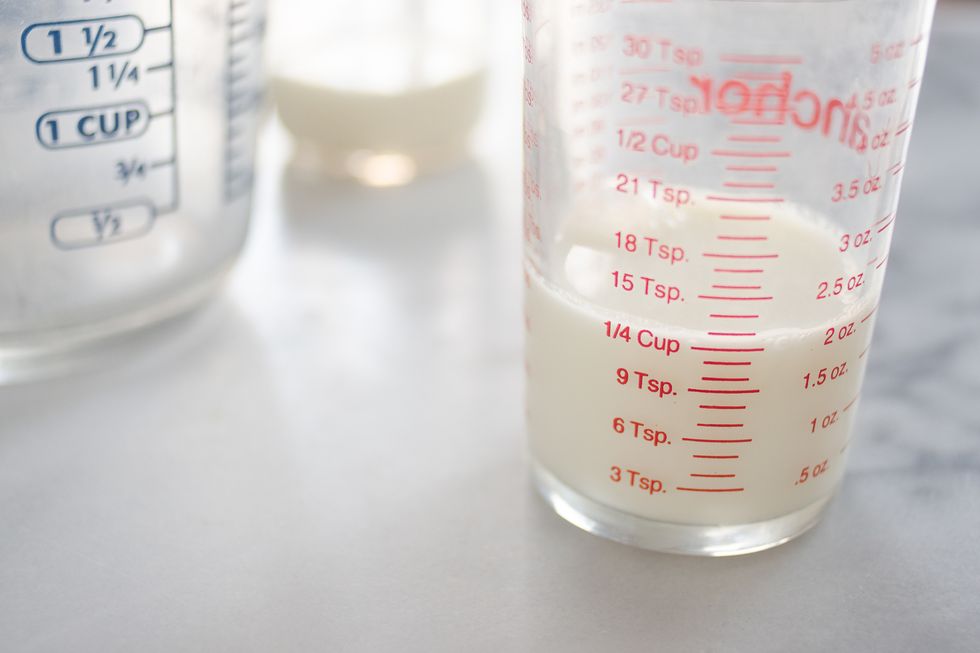
When measuring liquid ingredients, it’s best to squat down so your eyes are on the same level as the measuring cup. You can get a much different measurement from above vs. on the same level as the measuring cup. Try it for yourself and you’ll see the difference!
4 - Know your oven
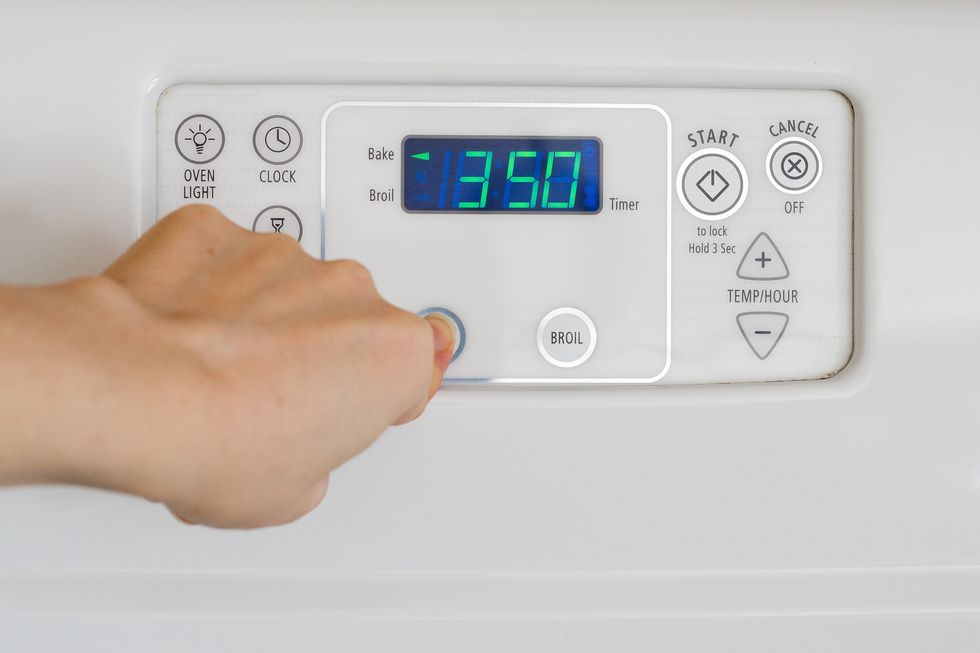
If only all ovens heated at the same rate! Sadly, this isn’t the case. The oven that a recipe tester used could be much different than the one you use in your home. Get a feel for how your oven behaves. Check to see if something is done baking 5–10 minutes before the recipe says.
My oven happens to be pretty average—it seems to bake things in a similar time frame to most recipes. But yours might run a little hot or cool. You can adjust your oven temperature accordingly.
You can also purchase an oven thermometer if you’d really like to dial in an accurate temperature.
5 - Make sure butter is at the proper temperature
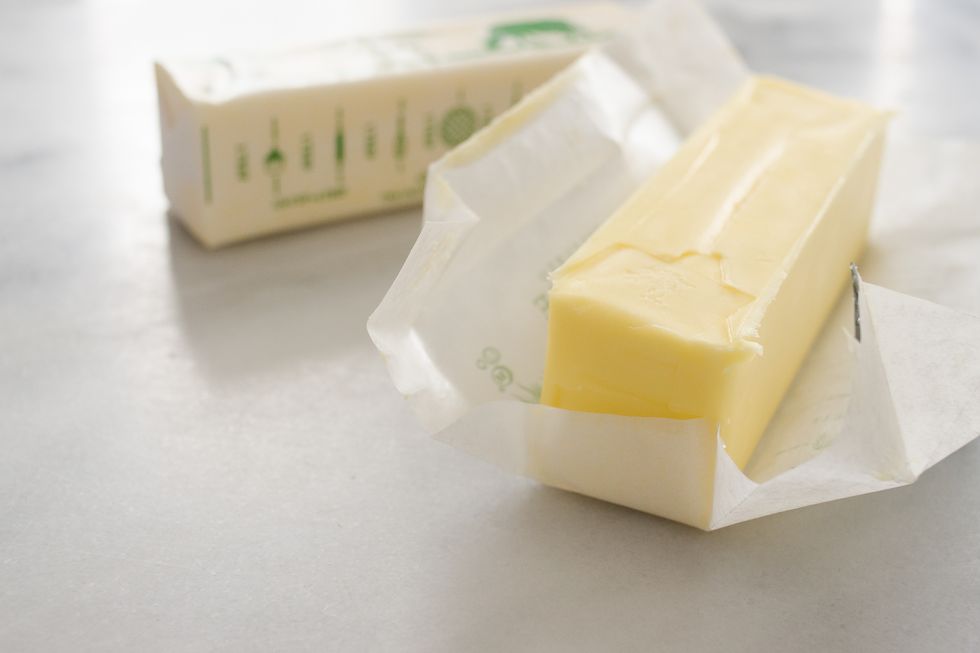
Pay attention to what the recipe says the butter temperature should be. For pie crusts and biscuits, you need your butter icy cold. For creaming together butter and sugar, the butter should be cool to the touch but not rock hard. Check out Bridget’s post for tips on softening butter.
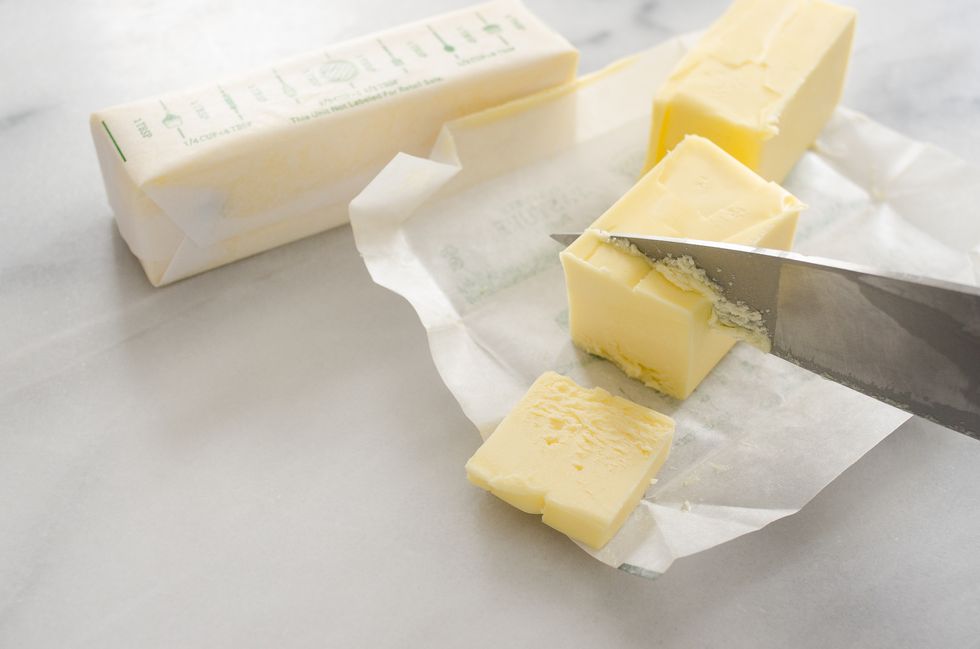
6 - Slice butter into pieces before cutting it into flour
There’s nothing more aggravating than trying to cut huge chunks of butter into flour. Make it easier for yourself by slicing the butter into pieces beforehand.
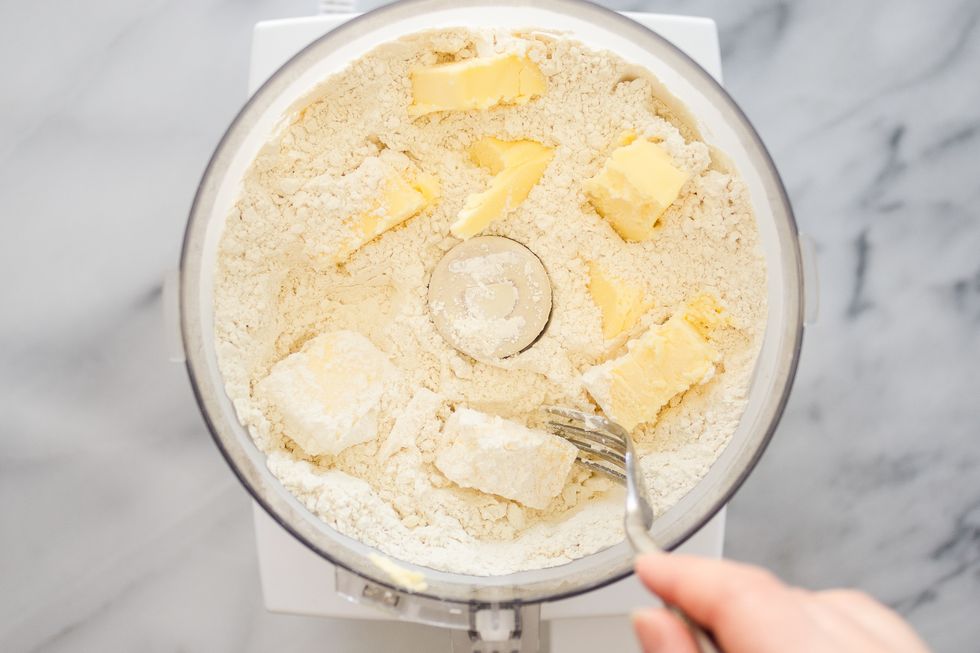
7 - Toss the butter in the flour before cutting
If you quickly coat the butter pieces with flour before you cut them into flour, they’ll mix more evenly and won’t form a huge clump of butter.
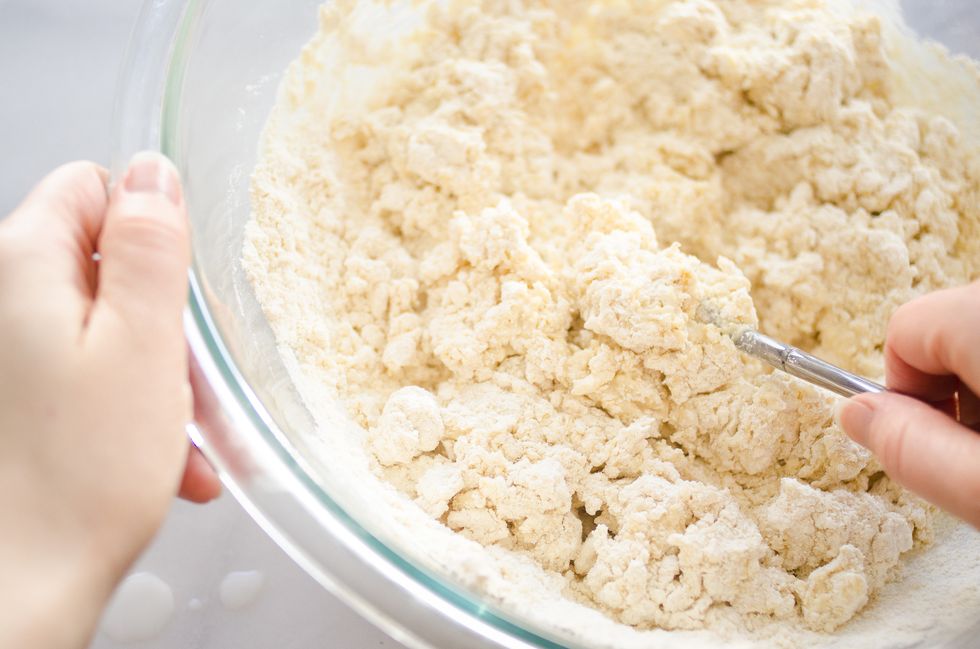
8 - Mix your batter or dough gently (most of the time)
If you do very much baking, you’ll start to see recipes tell you to mix your batter gently, or just until combined. When you use wheat flour (or any flour containing gluten), it gets tough if you over-mix it. The critical part is when you add the liquid—the gluten develops when it gets wet. So once you add milk, buttermilk, water, or any liquid to a batter or dough, go easy.
Pay attention to what your recipe says. Some batters actually require more beating. But if your recipe instructs you to stop when the batter is just combined, for the love of all things good, don’t go crazy mix-happy on it! Stop when there are no more streaks of flour. And for pie and biscuit dough, treat it like a delicate baby.
For things like yeasted doughs, you need to develop the gluten—it’s what gives bread that pleasant, chewy texture. That’s why you mix or knead bread dough so long. And for things like cookies which contain more fat and less liquid, it isn’t as crucial to mix gently, but don’t overdo it.
9 - Quickly bring eggs to room temperature
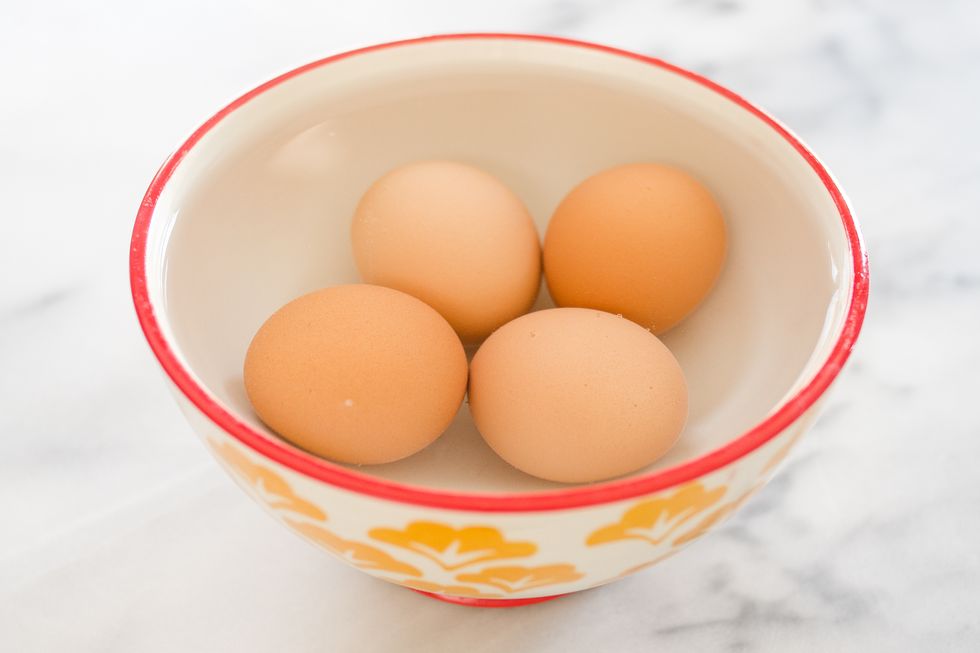
Sometimes recipes call for eggs to be at room temperature, but you don’t realize it until the last minute (see tip #1 to correct this problem in the future).
To quickly bring your eggs to room temperature, place them in a bowl and cover them with very warm (NOT boiling) water. Let them sit for a few minutes while you prep other ingredients.
10 - Scrape down the sides of your mixing bowl
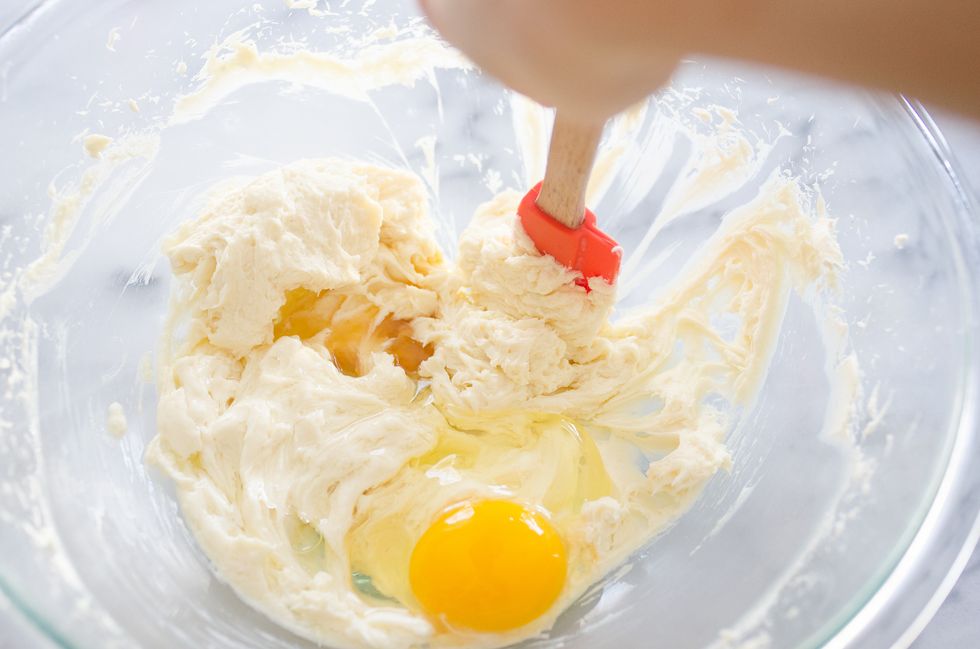
If you use a hand or stand mixer to beat ingredients, it’s best to pause every once in a while to scrape down the sides and bottom of the mixing bowl. This ensures that everything gets mixed evenly and you don’t end up with a bunch of clumpy batter or flour at the bottom of the bowl.
11 - You don't have to buy a special double boiler
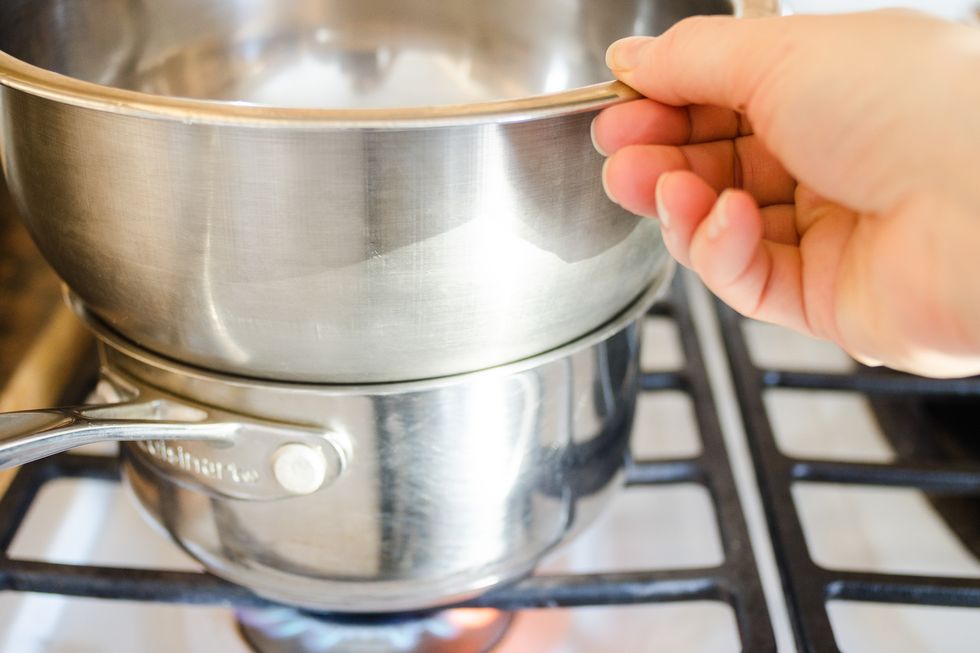
Sometimes a recipe calls for a double boiler to gently melt delicate ingredients such as chocolate. You don’t need to rush out and buy a double boiler if you don’t want to—you can make your own!
Simply place a heat-proof bowl over a pan of gently simmering water. I like to use a stainless steel mixing bowl so there’s no chance of it breaking. Make sure the bottom of the bowl doesn’t touch the water. And you may need to use a hot pad to steady the bowl as you stir—it can get scorching hot!
12 - Fold your biscuit dough
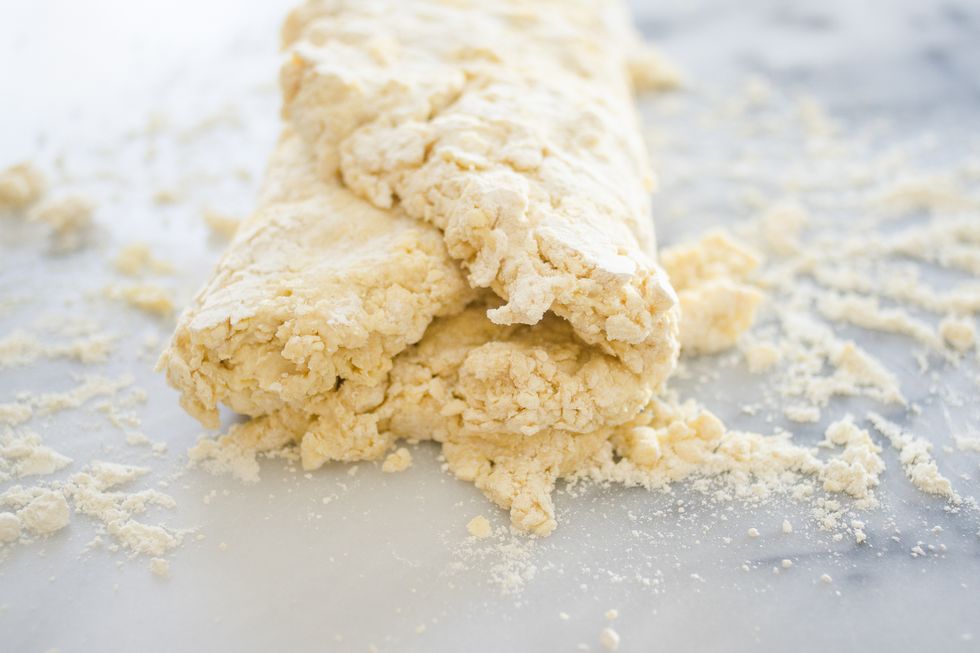
To create layers in your biscuits, fold the dough. Gently roll the dough out into an elongated rectangle. Then fold the dough into thirds. Repeat 1 to 2 more times. Like making puff pastry, this creates layers of butter and dough.
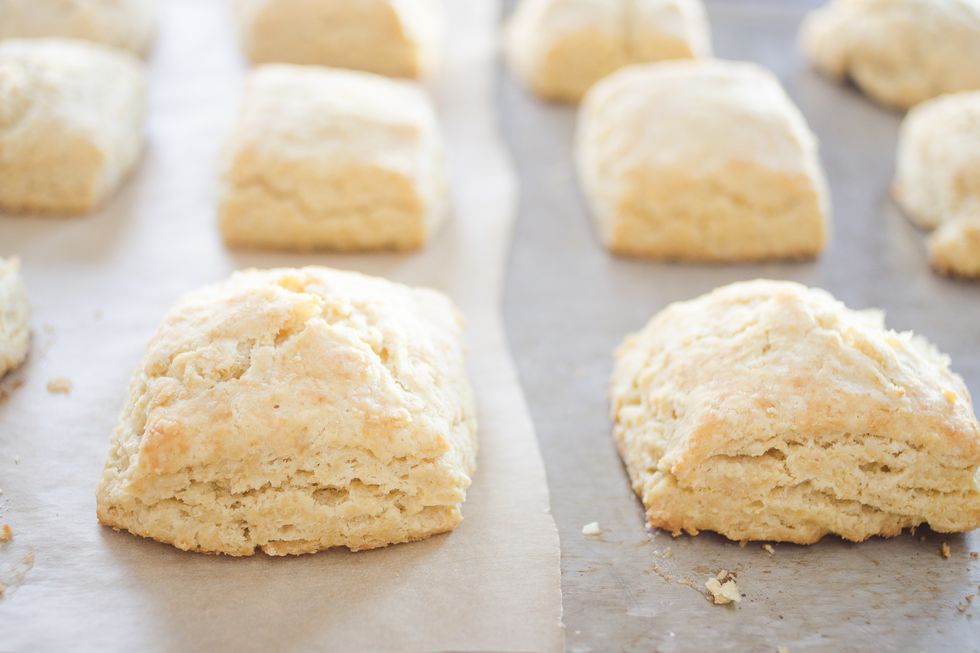
Look at those lovely layers.
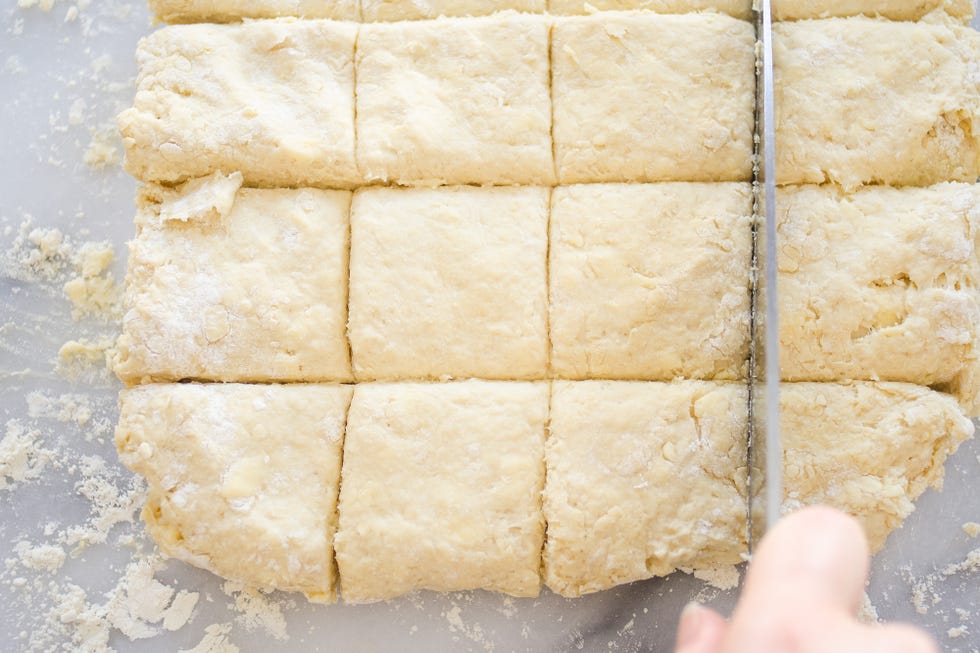
13 - Cut biscuits into squares instead of circles
I first heard of this trick from Amy of She Wears Many Hats. It’s a little bit of brilliance. Instead of using a round biscuit cutter, use a large knife to slice your biscuit dough into squares. That way you don’t have to re-roll your dough and risk making it tough.
14 - Brown your butter
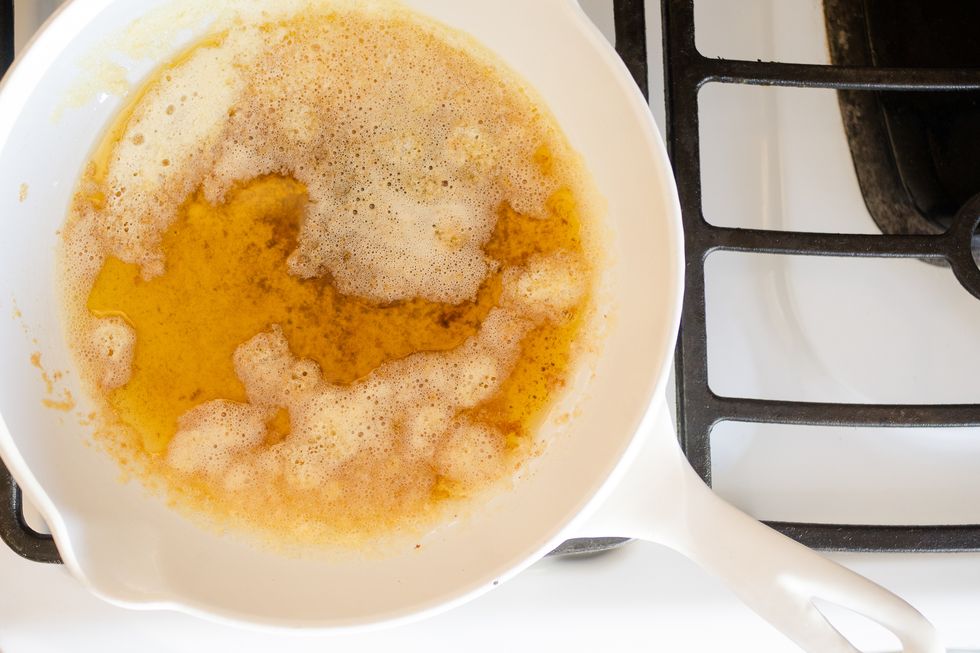
Whenever a recipe calls for melted butter, you can take it a step further and turn it into browned butter. This gives whatever you’re baking a rich, nutty flavor.
To brown butter, melt it over medium heat. Turn the heat down to medium-low, and continue to cook, swirling the pan occasionally, until the butter is fragrant and and turns a deep golden brown color. Remove from heat immediately.
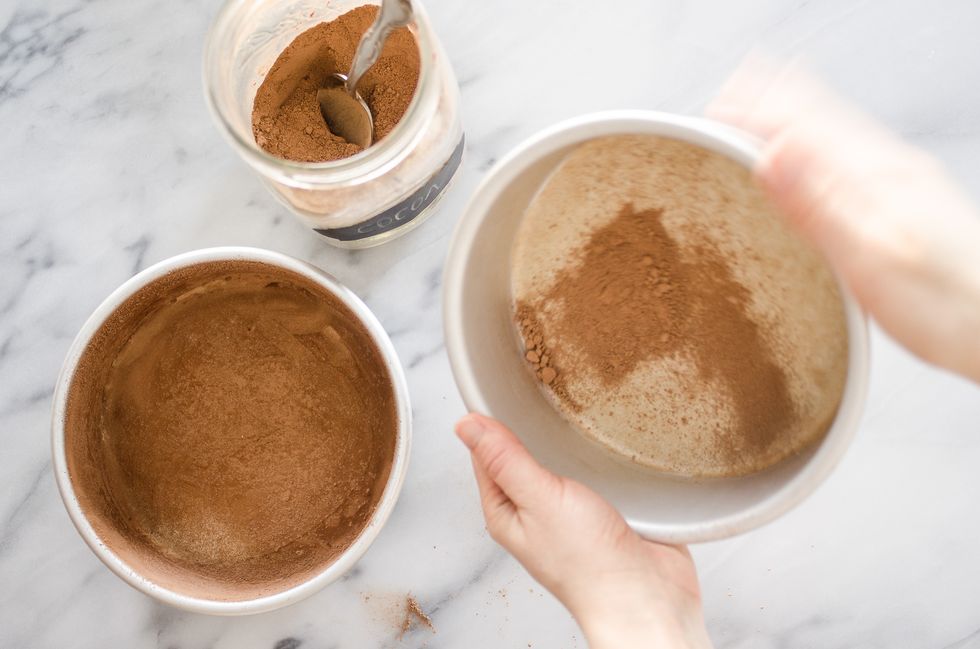
15 - Dust your pan with cocoa powder instead of flour
If you’re baking a chocolate cake that requires you to dust the pan with flour to keep the cake from sticking, you can substitute unsweetened cocoa powder. This will keep the edge of the cake from having a white dusting of flour.
So those are my top 15 baking tips. If you have any tips or tricks of your own, make sure to leave them in the comments. This community is all about learning from each other!
Note: Stay tuned for an upcoming post from Bridget where she shares her favorite tips for baking chocolate chip cookies!
