 |
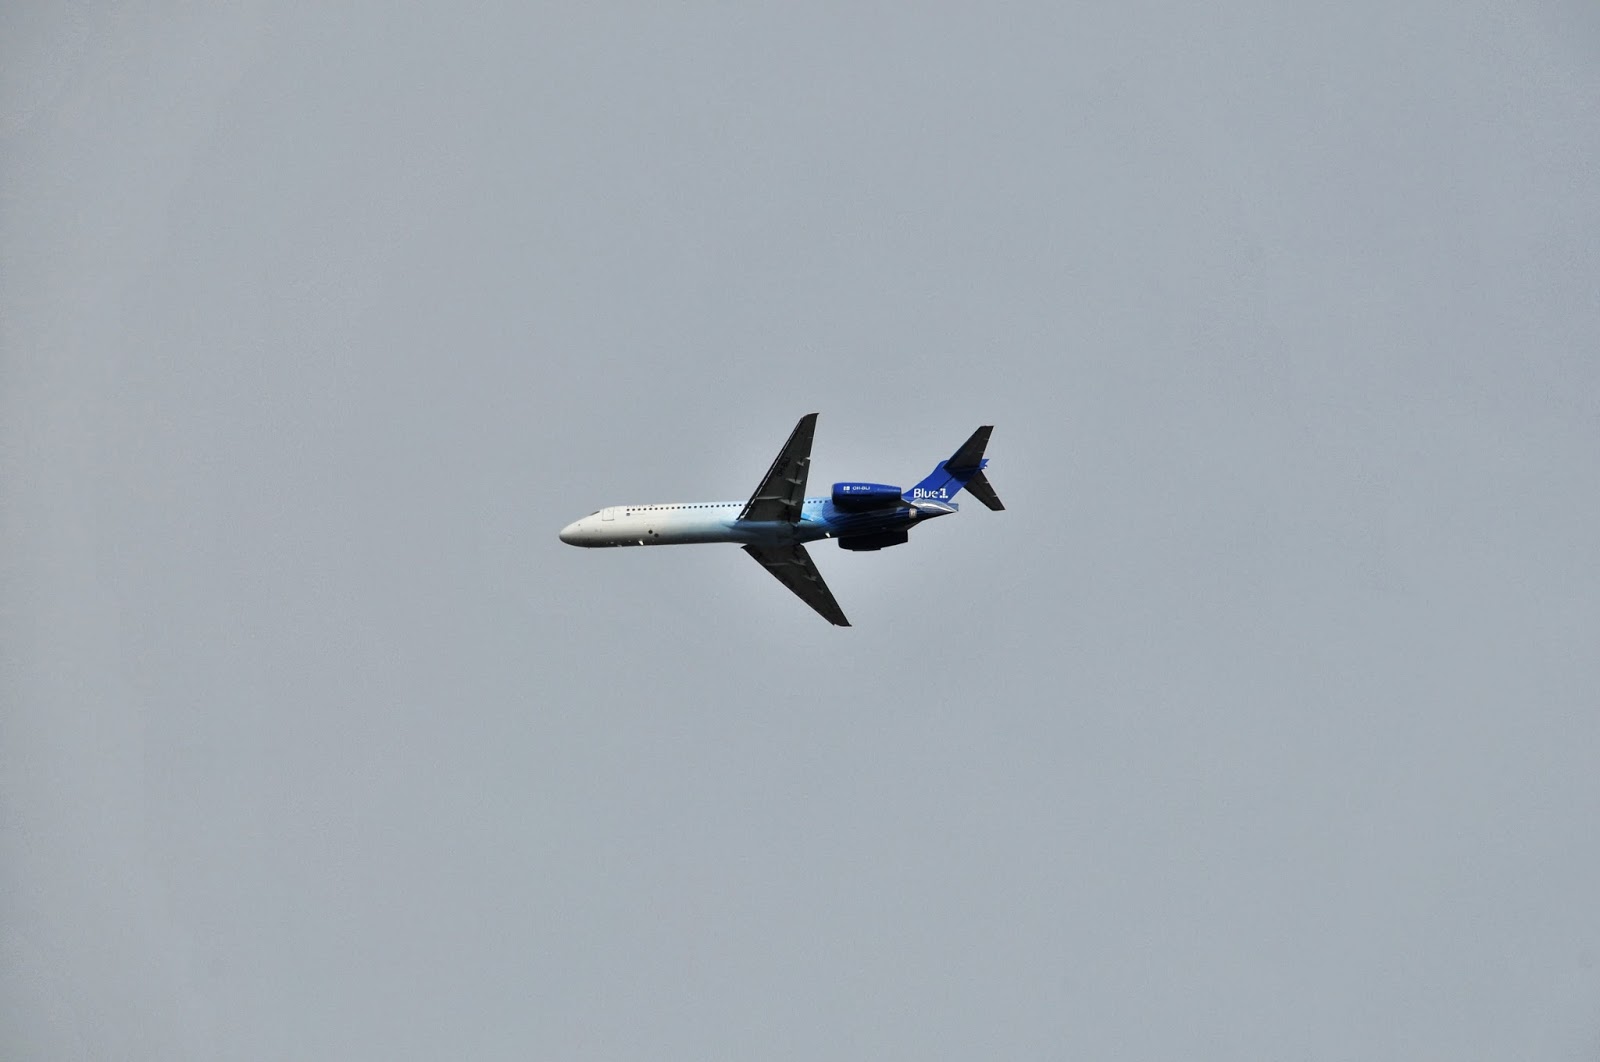
| Sadly, I don't have many photos to show you. I've never been interested in planespotting photography. This one is taken from a parking lot; it's nothing but a snapshot. |
Still, I decided that it's not a good enough reason to keep the theory away from you, so today we'll be talking about planes and photography. And hey, if you have some great planespotting pictures to show, use my Facebook or Twitter account to send them my way, and I could publish them. In the meanwhile, and without further delay, let's take a look at some important tips for planespotting photography.
1. Location
This should be pretty obvious. At the same time, your options are probably limited - in order to be close enough, you need to be close to the runway. There might or might not be suitable areas to setup near the runway threshold of your local airport; it might or might not be allowed; your local airport might or might not receive regular traffic. But, generally speaking, try to be as close to the runway threshold as feasible (without breaking any laws) and to the side.
Remember that unless wind conditions suddenly change, all aircraft use the same direction to depart and land (which means, picking a location ties you to either landing or departing aircraft). Generally, this is the direction against the wind. Let's take as an example a case where winds are from a northerly direction and the airport has a 33/15 runway - which means, a runway in a direction of 330/150 degrees. There is an overwhelming possibility landing and departing happens in the 33 direction. Check the map and then position yourself according to whether you want to photograph landings or departures. In larger airports with multiple runways, or with variable conditions, the active runway might be different. In that case, a gadget like this one can be very, very useful.
Take into consideration any landmarks or other areas of interest (taking a photo of a landing or departing plane is interesting, but even more interesting would be to have something in the background, such as a mountain, an observation tower, an illuminated building, etc. Bonus point for the extra geeky: use a moon calculator and see if and when the moon rises in a way that you can include it in the frame)
2. Time
The last couple of phrases probably made you realize the importance of time, as well. Your options will of course also depend on the schedule of departing or arriving airliners, unless if you're lucky enough to live near an airport with around-the-clock traffic. If that is the case, rules about other kinds of photography apply to planespotting as well: avoid high noon, if at all possible, and place the sun behind you (unless if you're going for a particular backlight shot).
3. Technical
Planespotting photography is a highly demanding kind of photography. I have mentioned exposure before, but a couple of other footnotes need to be addressed when it comes to catching photos of planes. The first one is focal length: You'll need lots of it. Lots and lots of it. Sadly, there is no such thing as a free lunch, which means that you'll be struggling to balance between focal length, image quality, and price. In case you weren't aware of it, planespotting is an expensive kind of photography. I usually advise: "A Nikon D3300 and the Nikkor AF-S 50mm f/1.8 is all you need", but I'm afraid that's not the case here. You can see more details in the last section below, about equipment, but generally speaking you'll need to invest some money in a lens with a long focal length.
The second technical issue (or third, if we count exposure), is shutter speed and support. We're not dealing with fast action, nor with erratically moving subjects. If anything, landing or departing planes are highly predictable in their movements (provided you have a little bit of experience). The problems - particular to planespotting photography - arise from long focal lengths, that tend to magnify any stability/support problems, at the same time requiring fast shutter speeds. Let's get this out of the way as soon as possible:
Planespotting photography, if you're serious about it, is practically impossible without sturdy support.
There, I said it. I hate tripods and monopods, but you can't avoid them when shooting planes with a long lens.
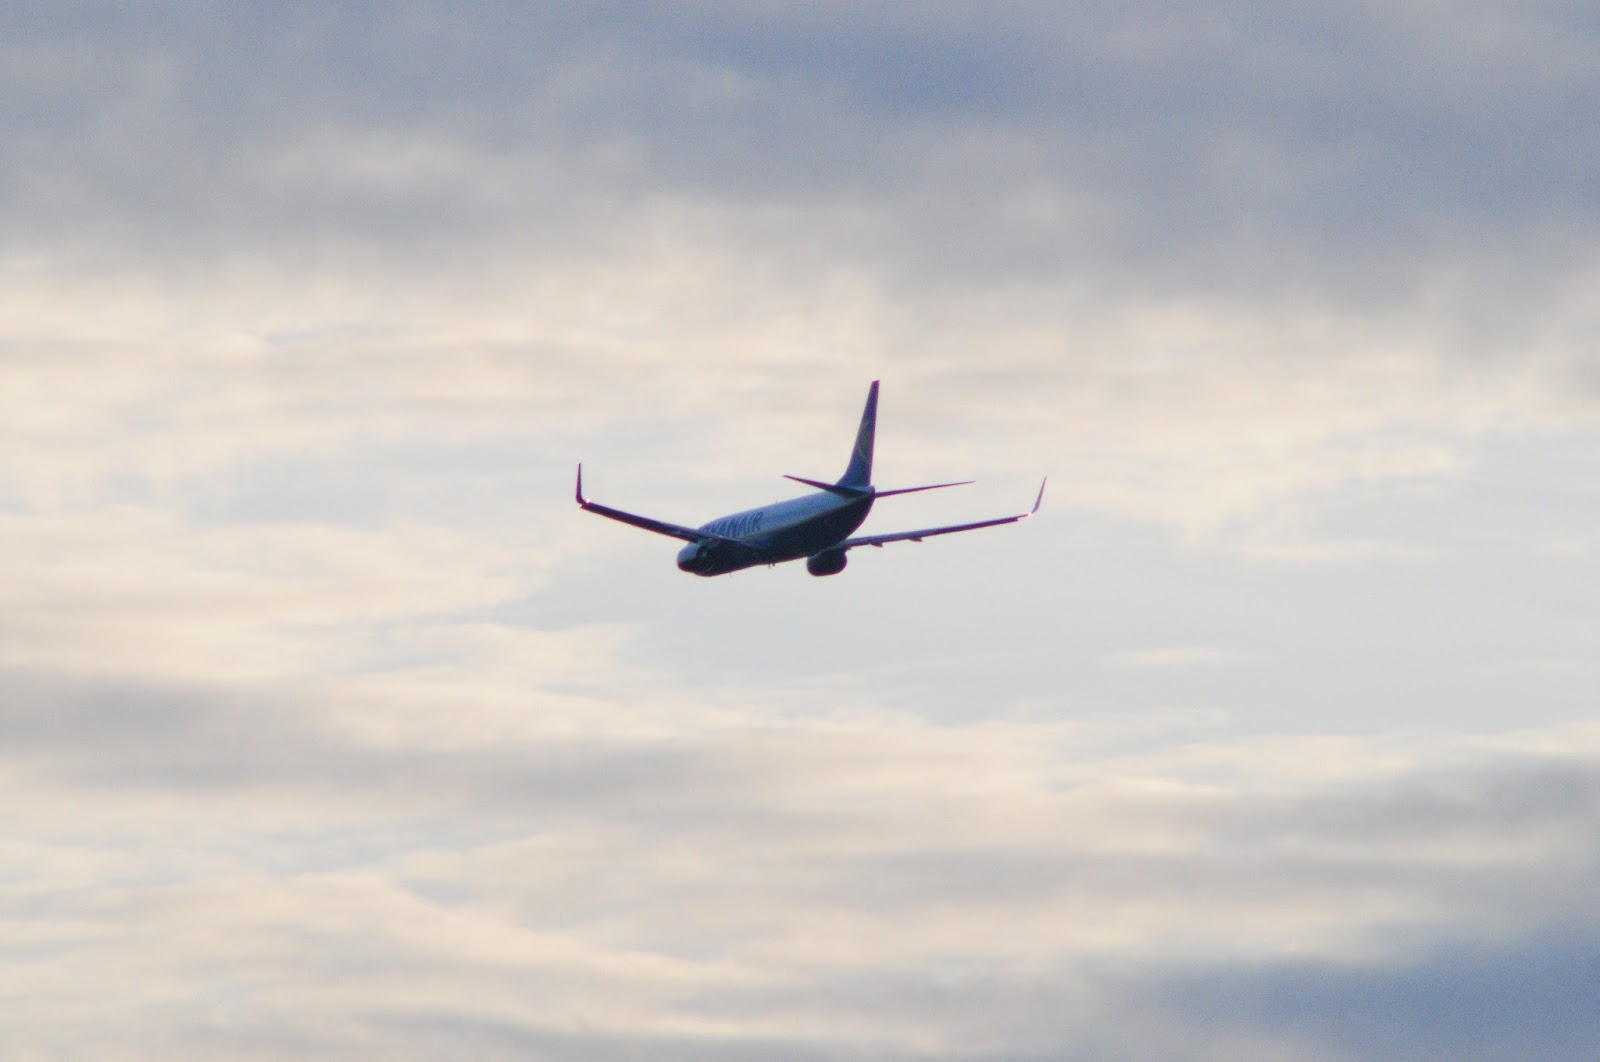 |
| You'll be constantly balancing between focal length, price, and image quality. Long but cheap lenses will have serious aberration, as in this photo. |
4. Procedure
Before giving you a few concrete suggestions for equipment you might want to consider, I thought a methodology example might be useful. Note that this is just my way of doing things, not the way. Feel free to follow your own or someone else's procedure if you feel more comfortable with it.
a) Do your homework: find out about landing/departing airliners, know which is the active runway of the airport, pick a location and time. Be, in every way, certain as to where and when planes will show up
b) Set up your equipment: keeping in mind safety and regulations, set up your tripod, prepare your camera and lenses.
c) Decide on framing: that is, before any planes even appear. This will depend a lot on whether you're photographing landing or departing planes. Generally speaking, it will be far easier to guess the landing path rather than the departing one. Most planes, regardless of size, will aim to touchdown on the first few hundred feet of runway and their glide path should be pretty smooth. Conversely, departing planes will take off far before the runway threshold (the smaller they are, the sooner), and they will climb rapidly. They also move (slightly) faster.
d) Decide on exposure: this means, adjust all exposure parameters (aperture, shutter speed, ISO) to give you the required exposure. Then, wait.
e) Start focus-tracking the aircraft as it is approaching the framing location you have decided beforehand. The moment it reaches it, take the photo. Of course, nothing prevents you from grabbing some pics before or after.
Planespotting photography is not easy, but you can get better at it through experience. See what worked and what didn't, then try to improve on problem areas.
5. Equipment.
Since photographing planes relies on equipment more, compared to other kinds of photography, I decided to give you some suggestions about possibly useful equipment. I do not include cameras, because it's not really that crucial. Would I prefer a D810 compared to a D200? I would. But if a D200 is all you have, don't fret about it. Being a bit tongue-in-cheek (there's no reason not to have a smile on our face), I also include items not directly relevant with cameras or photography, but very much relevant with waiting on your posterior for hours
Note: some readers have mentioned that sometimes they cannot see parts of the page (i.e. they expect to see something but it's not there). If you have Adblock Plus installed on your browser, this can very probably be the reason, as it might block links to Amazon and/or Ebay. If you can't see the products below, consider adding amateurnikon.com to your whitelist - the easiest way is to click on the Adblock icon on your browser, then select "disable on amateurnikon.com"
Lenses:
Tripods:
Other:

No comments:
Post a Comment