Editor’s note: This is a guest post by Charles Ouellet, the Co-Founder & Lead Engineer of SnipCart. Here he demonstrates how to easily create an online ASCII poster store using Filestack and Snipcart.
When we launched Snipcart, our shopping cart platform, we decided to build something we, as developers, would love to use. Something that would make our jobs easier, and more fun. Recently, I discovered the same geek passion behind Filestack’s awesome developer-first product. So I just had to try it, you know?
It’s true indeed that managing files is often a pain for developers. So I poked my nose in their docs a bit, to understand how exactly they solved their users’ problems. I was also looking to find a way I could get our e-commerce solution to play with their files management platform. And I found one!
The idea
Skimming through the Filestack documentation, I stumbled upon a feature that made my geek heart jump: converting any images into ASCII art on the fly.
Right then and there, I knew I had to build an ASCII online store with Snipcart & Filestack. A site where users could upload their images, convert them to ASCII through Filestack, and buy them directly through our shopping cart. So I built the store.
And in this demo, I’m going to show you how exactly I did it. Let’s do this!
Integrating Filestack & Snipcart on an e-commerce site
Note: you’ll need to have a Filestack account (signup here) and a Snipcart account (signup here). Both services are free at first. Snipcart is free in Test mode, and Filestack offers a free plan.
Since I’m no designer, I started by downloading a free theme on Start Bootstrap (shoutout to them by the way!). I decided to use the Freelancer theme. All I had to do next was upload the files on GitHub Pages, for free. And there was my beautiful, static demo site.
Then, I turned to Filestack to explore the product.
I must admit that it was my first time using their “files API for the web”. I was amazed at how easy it was to use. Plus, it gave me the possibility to add file uploading to a static website, where this dynamic feature would not be possible without a service like theirs. Similarly, Snipcart allows developers to keep a lean workflow and run full e-commerce on static sites.
So I decided to use their JavaScript API, because it was a more natural fit with Snipcart. And since Snipcart requires jQuery, I decided to use it also.
Adding Filestack & Snipcart assets to the site
To use Filestack and Snipcart, I first needed to include our assets from our respective CDNs on your site. I added the scripts and stylesheets in the <head> tag.
<<span class="pl-ent">script</span> <span class="pl-e">src</span>=<span class="pl-s"><span class="pl-pds">"</span>https://ajax.googleapis.com/ajax/libs/jquery/2.2.2/jquery.min.js<span class="pl-pds">"</span></span>></<span class="pl-ent">script</span>>
<<span class="pl-ent">script</span> <span class="pl-e">src</span>=<span class="pl-s"><span class="pl-pds">"</span>//api.filestack.com/v2/filepicker.js<span class="pl-pds">"</span></span>></<span class="pl-ent">script</span>>
<<span class="pl-ent">script</span> <span class="pl-e">src</span>=<span class="pl-s"><span class="pl-pds">"</span>https://cdn.snipcart.com/scripts/2.0/snipcart.js<span class="pl-pds">"</span></span> <span class="pl-e">id</span>=<span class="pl-s"><span class="pl-pds">"</span>snipcart<span class="pl-pds">"</span></span> <span class="pl-e">data-api-key</span>=<span class="pl-s"><span class="pl-pds">"</span>YjdiNWIyOTUtZTIyMy00MWMwLTkwNDUtMzI1M2M2NTgxYjE0<span class="pl-pds">"</span></span>></<span class="pl-ent">script</span>>
<<span class="pl-ent">script</span> <span class="pl-e">src</span>=<span class="pl-s"><span class="pl-pds">"</span>scripts/app.js<span class="pl-pds">"</span></span>></<span class="pl-ent">script</span>>
<<span class="pl-ent">link</span> <span class="pl-e">href</span>=<span class="pl-s"><span class="pl-pds">"</span>https://cdn.snipcart.com/themes/2.0/base/snipcart.min.css<span class="pl-pds">"</span></span> <span class="pl-e">type</span>=<span class="pl-s"><span class="pl-pds">"</span>text/css<span class="pl-pds">"</span></span> <span class="pl-e">rel</span>=<span class="pl-s"><span class="pl-pds">"</span>stylesheet<span class="pl-pds">"</span></span> />After including the required assets, the first thing I did was to edit the Bootstrap template a little. I removed some parts I didn’t need, and added two buttons:
- Button one to upload the file and generate the preview.
- Button two, hidden by default, to add the item to the cart once the image has been uploaded.
My buttons markup looks like this:
<a id="add-file" href="#" class="btn btn-lg btn-outline">
    <i class="fa fa-download"></i> Upload image and generate preview
</a>
<a id="add-to-cart" href="#" class="btn btn-lg btn-outline" style="display: none">
    <i class="fa fa-shopping-cart"></i> Add to cart
</a>
For Snipcart’s verification crawl to pass, we need to include a hidden element. This element will define basic product information, such as price, ID and URL. It’s used when Snipcart validates order integrity (by calling back the page specified in the url attribute I’ll set later).
For my demo, a poster will cost 30$. I added a <span> tag to my site that will remain hidden:
<span class="snipcart-add-item" style="display: none" data-item-id="FilestackImage" data-item-name="Poster" data-item-price="30">
    Hidden span for Snipcart crawler.
</span>
Using Filestack’s JS API to convert files
The next thing I did was to add a JavaScript file to the site called app.js that will contain most of the code for this demo.
To use Filestack’s JS API, I first set our API key.
filepicker.setKey('AnHcmQdOGT1yzcIx00fmfz');Then, I listened to the click event on the <a /> tag.
$(function() {
    $('.add-file').click(function() {
    });
});
And on the callback, I called Filestack’s API to show the file picker.
$(function() {
    $('.add-file').click(function() {
        filepicker.pick({
            mimetype: 'image/*',
            services: ['COMPUTER']
        }, function (blob) {
        });
    });
});
I configured the picker to only accept images and use COMPUTER as a service. It means people will only be able to upload an image file from their computer. But you can also enable Filestack to use image providers such as Facebook, Instagram, Google Drive, and more.
In the pick method callback, I generated an item that will be added to Snipcart. But first, I had to generate the ASCII image from the uploaded picture.
Using the ascii Filestack endpoint, I was able to generate a text file that containing the image converted to ASCII.
In the pick method callback, I now receive a blob object containing the image URL. I used this URL for the asciiendpoint.
var url = "https://process.filestackapi.com/AnHcmQdOGT1yzcIx00fmfz/ascii/" + blob.url;Next, I had to convert this into an image, because the ascii endpoint returns plain text. I used the urlscreenshotendpoints to take a screenshot of the page.
var baseUrl = "https://process.filestackapi.com/AnHcmQdOGT1yzcIx00fmfz";
var asciiUrl = baseUrl + "/ascii/" + blob.url;
var imageUrl = baseUrl + "/urlscreenshot/" + asciiUrl;
It requested the following Filestack endpoints:
https://process.filestackapi.com/AnHcmQdOGT1yzcIx00fmfz/urlscreenshot/https://process.filestackapi.com/AnHcmQdOGT1yzcIx00fmfz/ascii/blob_url
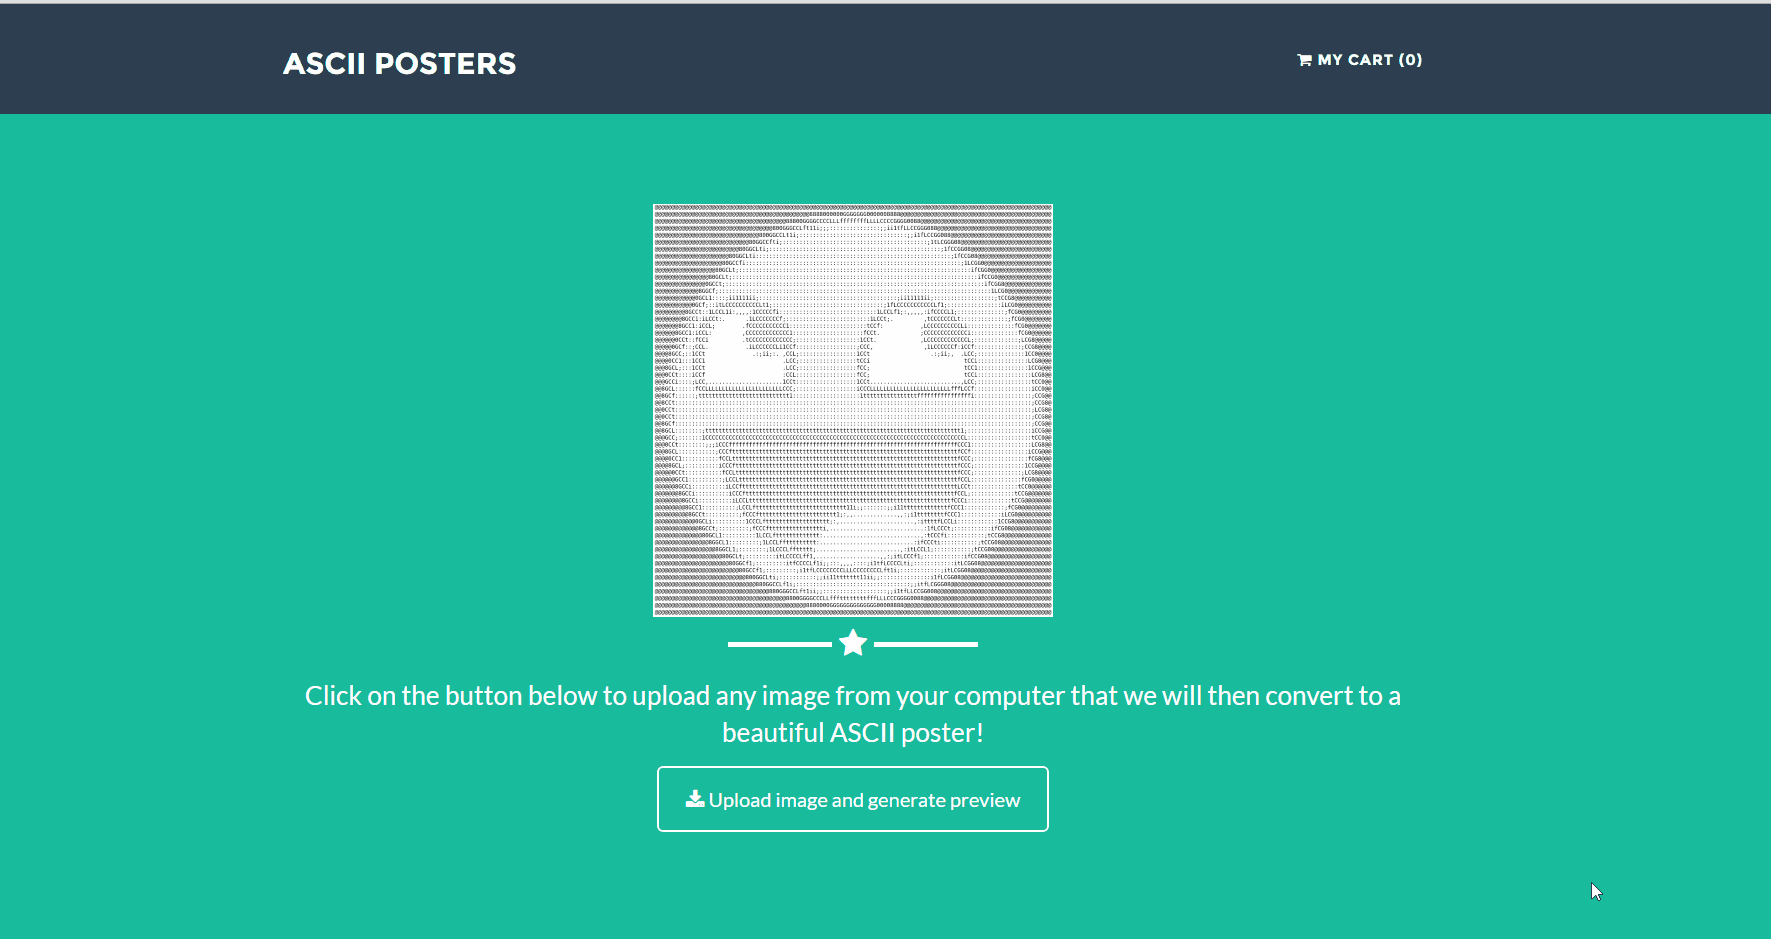
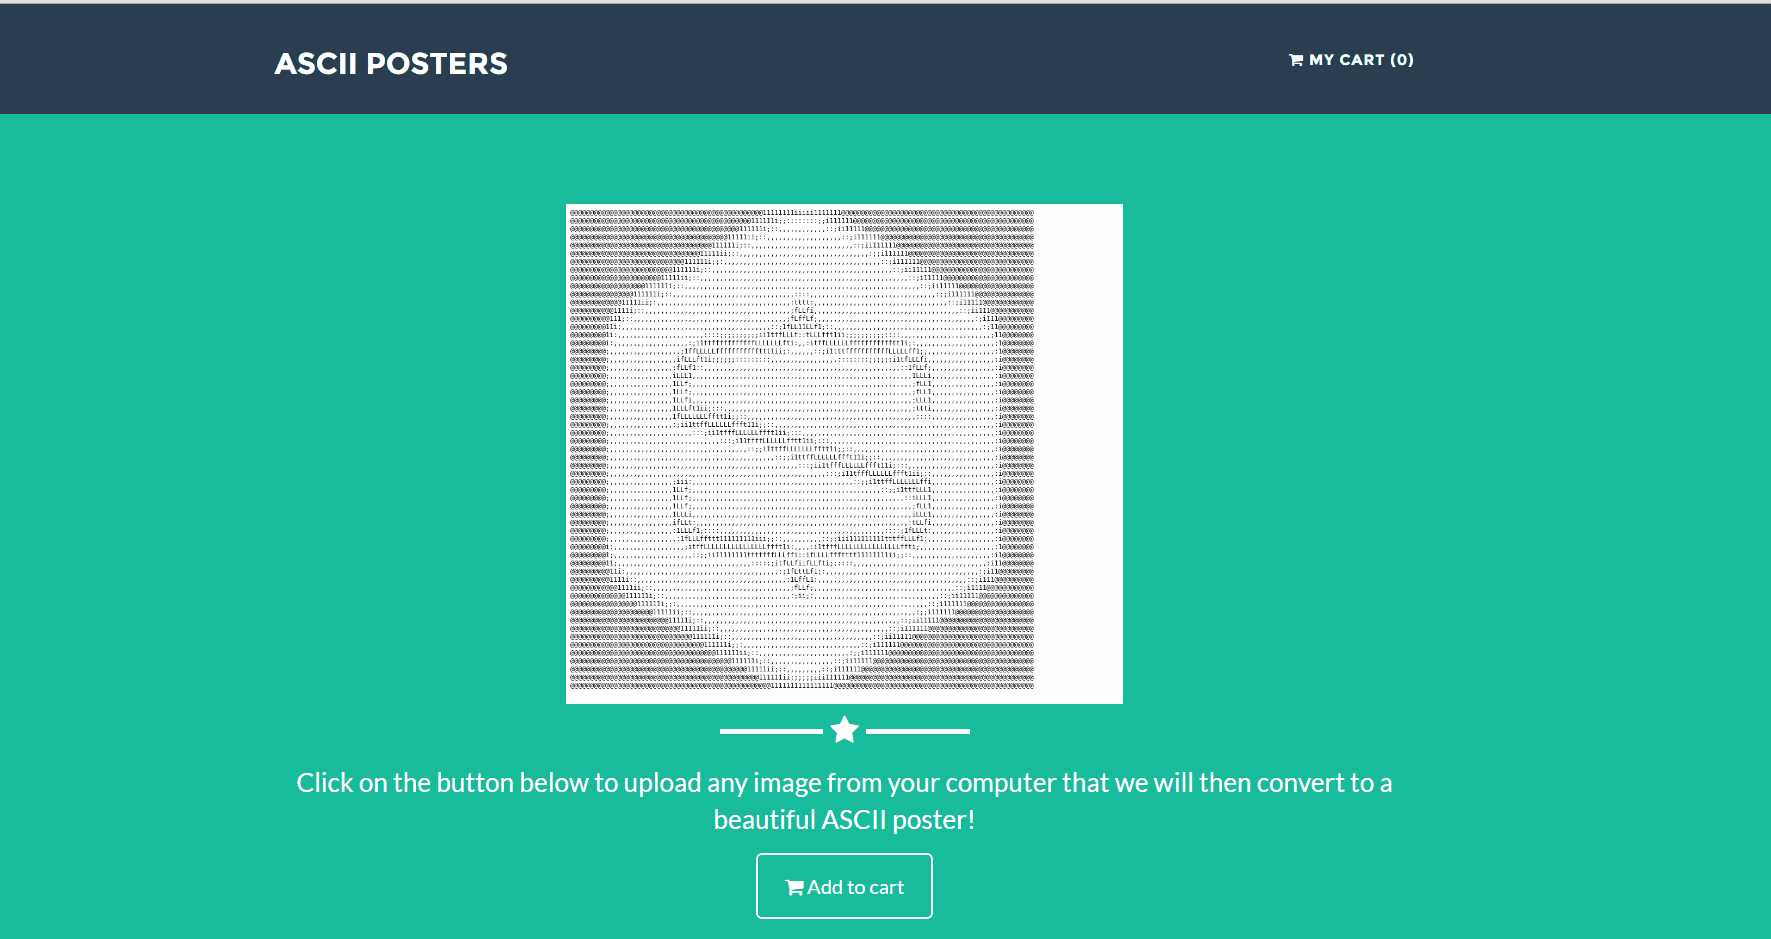
I also wanted to update the preview on site and show the add to cart button. To do so, I added some code in the pick callback.
$('#preview').attr('src', imageUrl);
$('#add-file').hide();
$('#add-to-cart').show();
And I was left with this behavior:
The complete pick callback should look like this:
function (blob) {
    var baseUrl = "https://process.filestackapi.com/AnHcmQdOGT1yzcIx00fmfz";
    var asciiUrl = baseUrl + "/ascii/" + blob.url;
    imageUrl = baseUrl + "/urlscreenshot/" + asciiUrl;

    $('#preview').attr('src', imageUrl);
    $('#add-file').hide();
    $('#add-to-cart').show();
}
Adding converted images as posters in the cart
With the steps above, I had enough information to add my items to Snipcart. To do so, I used the api.items.add method.
I hooked on the click event on the #add-to-cart link and then called Snipcart’s API.
$('#add-to-cart').click (function() {
    Snipcart.api.items.add({
       id: "FilestackImage",
       name: 'Custom ASCII poster',
       url: "/snipcart-filestack-demo",
       image: imageUrl,
       price: 30,
       customFields: [{
           type: 'hidden',
           name: 'Image URL',
           value: imageUrlurl
       }]
    });
});
As you can see, I added a hidden custom field to the item. This custom field contains the generated image URL, so I can retrieve it through Snipcart’s merchant dashboard.
Then, Snipcart just popped up when I clicked on the Add to cart button! See for yourself:
You can see the whole code for this demo on this GitHub repo, and a live demo site here. Go ahead and make some awesome ASCII posters! 🙂
Conclusion
So, it took me less than 4 hours to get this little bad boy of a demo up & running. While it’s a simple use case, there’s a lot more to do with Filestack (and Snipcart, as a matter of fact). Any website that deals with media and file uploading could highly benefit from plugging in Filestack. And I’d love to integrate it on an image-heavy e-commerce site one day, especially a static one.
In my opinion, Filestack, much like Snipcart, allows developers to pick the right tool for the right job. It fosters a modular, integrated approach to modern web development. And with the explosion of techs, apps & SaaS, we can’t help but support such a strategic workflow!
If you found this post valuable and/or entertaining in any way, or if you have questions regarding the post itself, Snipcart or Filestack, please take a second to send a tweet our way. We’d love to know your thoughts! 🙂
Filestack is a dynamic team dedicated to revolutionizing file uploads and management for web and mobile applications. Our user-friendly API seamlessly integrates with major cloud services, offering developers a reliable and efficient file handling experience.
Read More →