How To Get Cheaper Transcriptions
Want to pay less for your transcripts? If you use the following tips and tricks you can improve your audio and pay up to 4x less than what you would pay with bad audio — that could save you hundreds of dollars!
Seems simple, huh? It is… but many people often don’t realize they are recording bad audio. Here are a few quick and easy tips for getting the best quality audio with the least amount of effort.
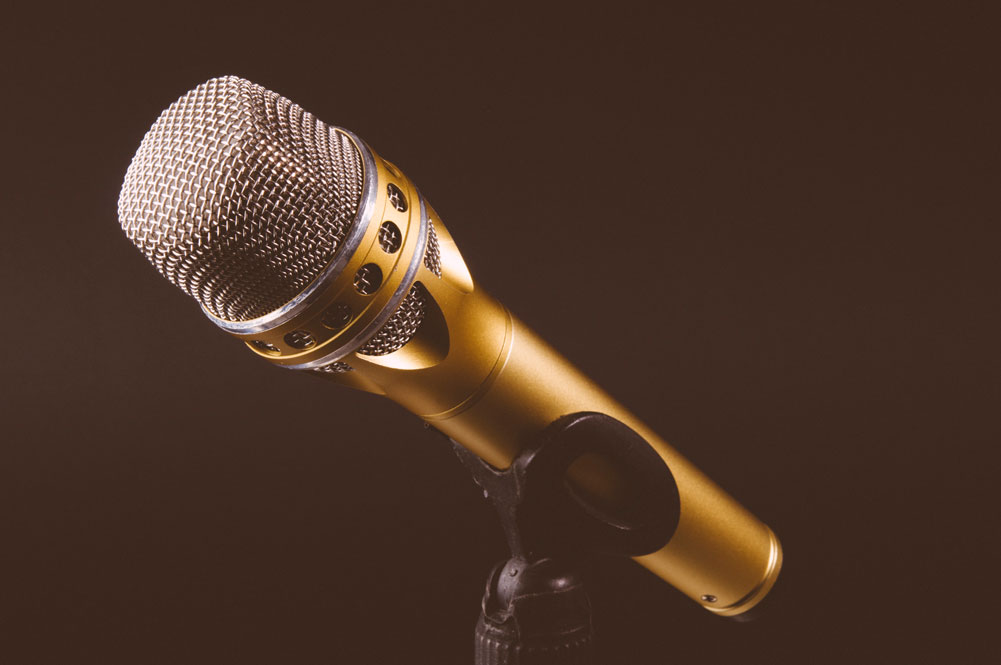
1. Microphone & Recording Device
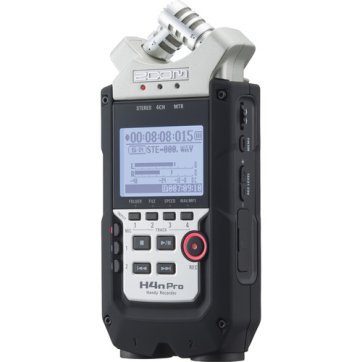
First off, determine what type of microphone pattern best suits what situation you need to record. If you’re recording a one-on-one interview, you’ll want a mic that has a narrow pickup pattern (unidirectional). If you’re recording a group of people (board meeting, focus group, etc.) you’ll want an omnidirectional mic as it has a larger pickup pattern and will capture all of the speakers. While you always want to be in a quiet environment with any mic, it’s important to note that omnidirectional mics are more susceptible to unwanted background noise so make sure you have a nice and quiet room. Here are a few microphones and recorders we recommend at Scribie:
- Zoom H4n – Awesome recorder with many recording options $219.99
- Tascam DR 05 – Best bang for the buck recorder $99.99
- Shure VP64A – Nice mic low-priced and durable $78.75
- Sennheiser MD 46 Great unidirectional mic for high noise environment $199.95
- MXL AC-404 Portable USB Conferencing Microphone – Perfect omnidirectional mic for recording groups – $83.99
2. Recording Environment
Ideally, you will need to be in a quiet location free of any ambient noise. This is crucial to capturing excellent audio because background noises such as a coffee shop, bar, or your neighbors’ car door slamming party can make it difficult for transcribers to hear your speakers’ voices. And even though our transcribers are awesome, transcribing audio with a noisy background is no easy feat and can take 3x to 4x longer to ensure our 98% accuracy.

Picture from reddit user kidbopper
3. Microphone Positioning
Have the recorder on a stand or at least some type of buffer between it and whatever platform you use. This helps by separating the mic from any vibrations that may cause unwanted sound. If you are using a unidirectional microphone, try and position the mic 6″-12″ inches in front of the subject, with the mic aimed directly at their mouth. If you are using an omnidirectional mic, position the mic in the middle of the group on a stand. Always do a sound check before you begin recording by plugging in a headset and having people talk at normal voice levels.
4. Recording Settings
Recording settings are important, so make sure your recorder is set to record at a proper setting. We recommend setting it to record WAV files at 48kHz 28bit. This setting makes sure you are able to capture the human voice at an optimal level.
Don’t have a mic or recording interviews on your iPhone?
No problem, you can still produce great audio. Fstoppers shows how they use the iPhone to grab audio for video interviews and you can use the same methods for your audio interviews as well.
- Get the mic as close as possible to the subject.
- Use the stock iPhone recording app or download iTalk by Griffin.
- Export audio.