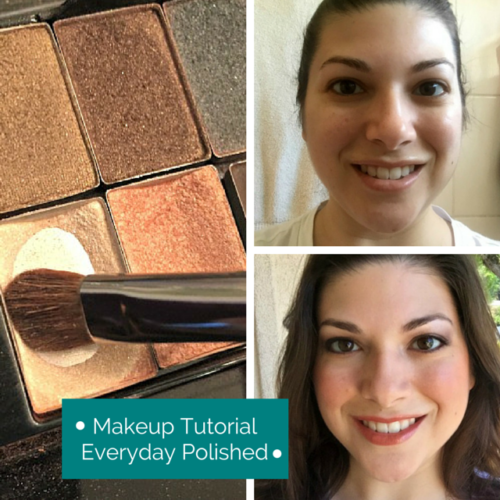
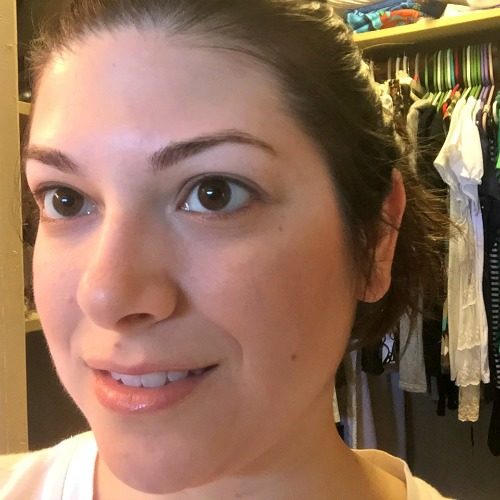
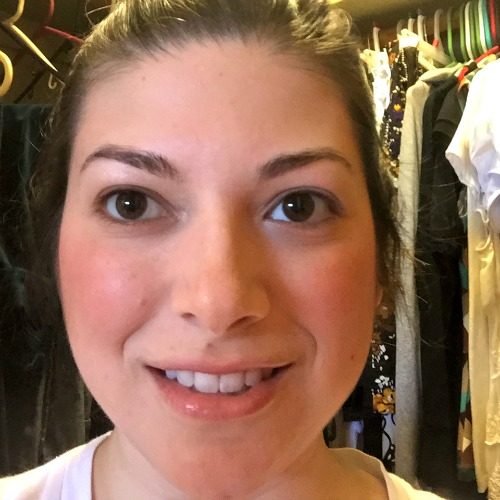
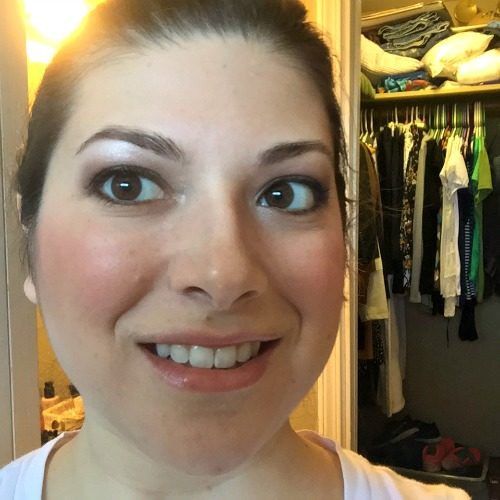
 Yes, I actually posted a picture of myself with no makeup on. I’m not sure what I was thinking, but I’m pretty sure it had something to do with making this makeup tutorial look more complete.
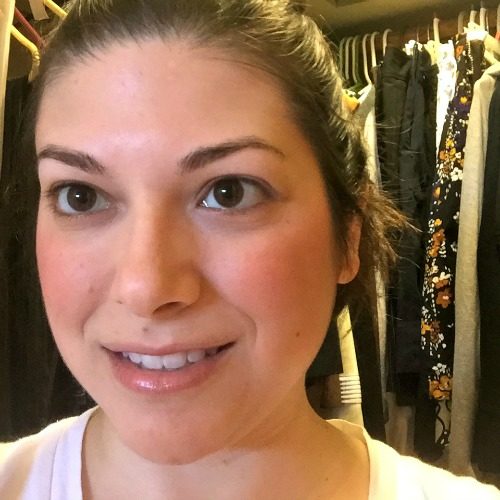
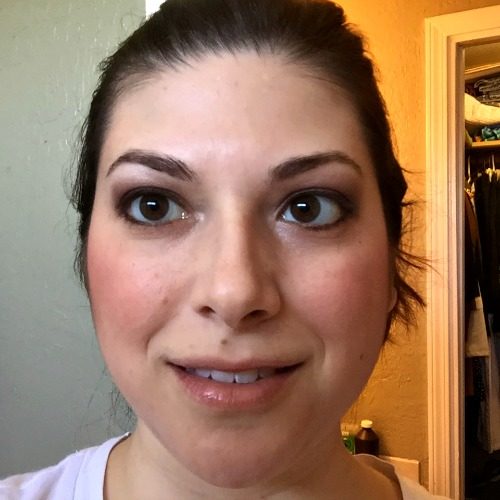
This is my basic, everyday polished look. (The picture to the right, that is.) And it takes me about 10 minutes to achieve it. (Plus or minus for distractions like taking selfies of the process.)
First of all, you want to start off with a clean, moisturized face. Your skin is basically your canvas and you want it to be as easy to work with as possible.
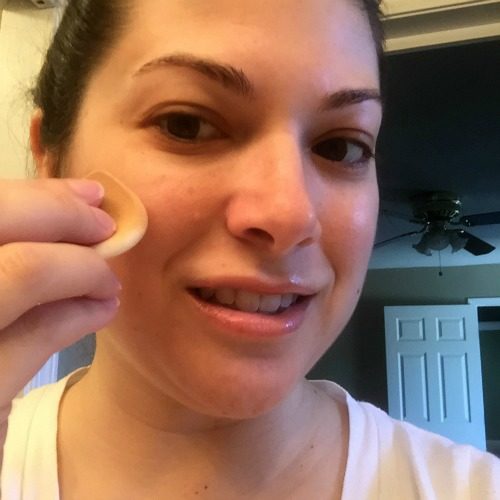
You want to use a foundation that’s suitable to your skin type and make sure it’s the right shade! I usually use a medium coverage liquid foundation that has a matte finish. The easiest way to apply for smooth, even coverage is to dab a small amount on the side of your hand to use as a palette and then use a foundation sponge to apply.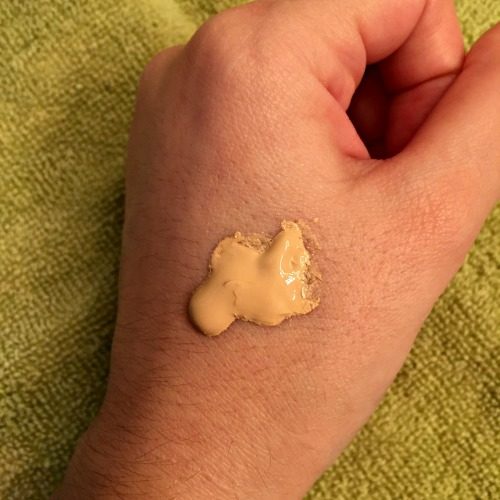
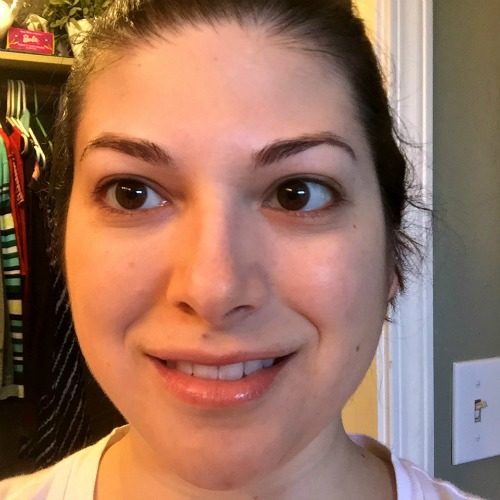
And that’s step 1. See? Just a little bit better already.
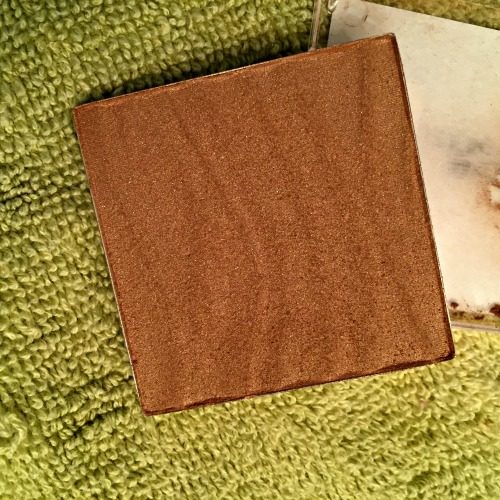
Next, I take a bronzing powder and apply it as a contour below my cheek bones. Something where I make a silly face like this:
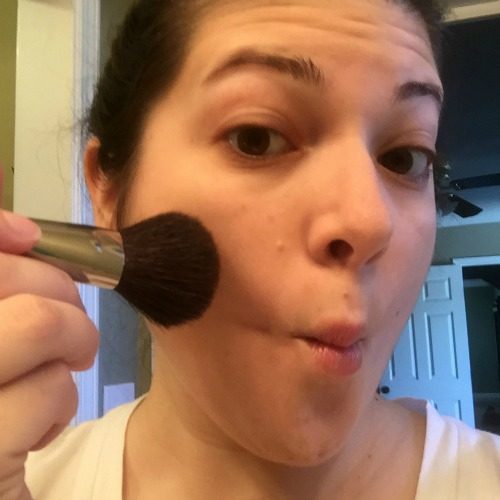
Here you can see where the bronzer is applied (and a little hint of my closet).
After the bronzer, I apply cheek color.
To get the best benefit from your cheek color, apply it to the apples of your cheeks and brush upwards for a natural, healthy glow.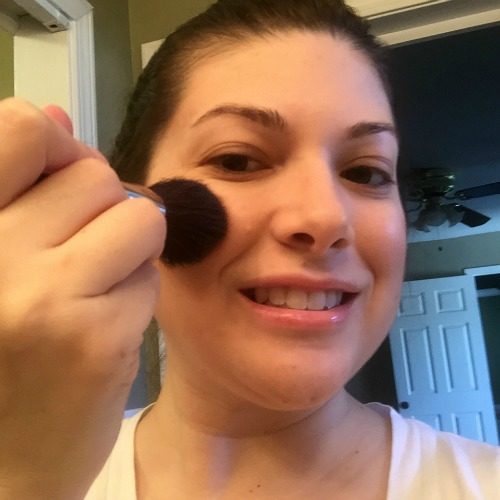
And that’s already step 3! See how the cheek color and bronzer work together?
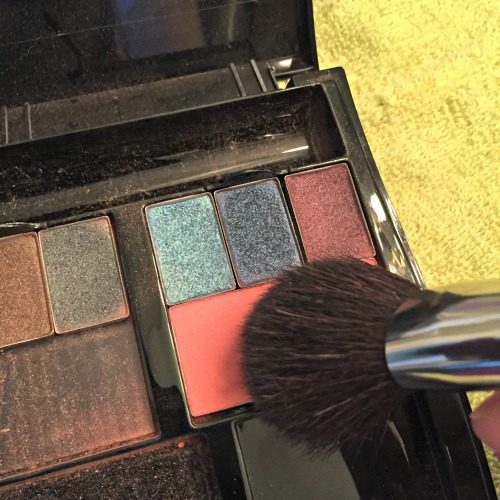
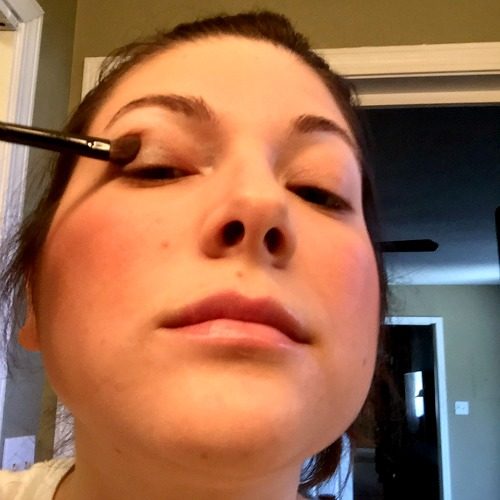
Now we get into the eye colors. First, I apply the highlighter color.
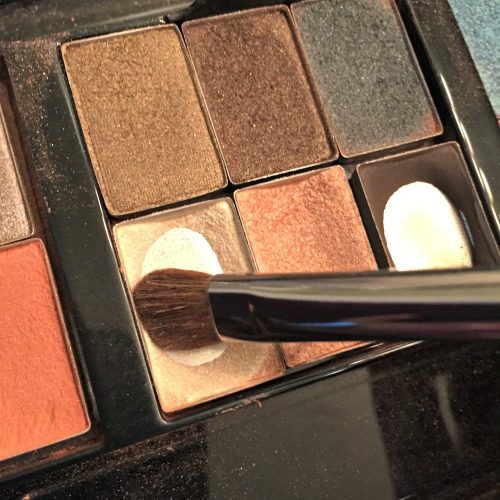
This shade is the lightest of the three eye colors I’ll use here and it’s applied to the brow bones and inner corner of the eyes for brightening.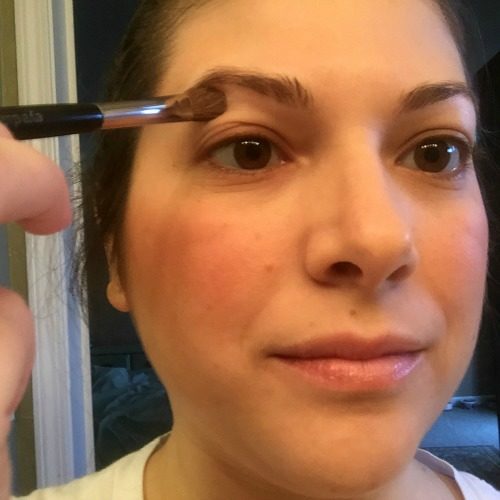
 Highlighter complete and another glimpse at my closet.
Next we’ll apply the mid-tone eye color. The color I’m using here is a shimmery warm gray tone.
 This medium shade, not too dark and not too light, goes on the entire eyelid, blending up to where the highlight shade is.
 Make sure to blend well but don’t cover the lighter shade which highlights the brow bone.
 Now the eyes are starting to take shape.
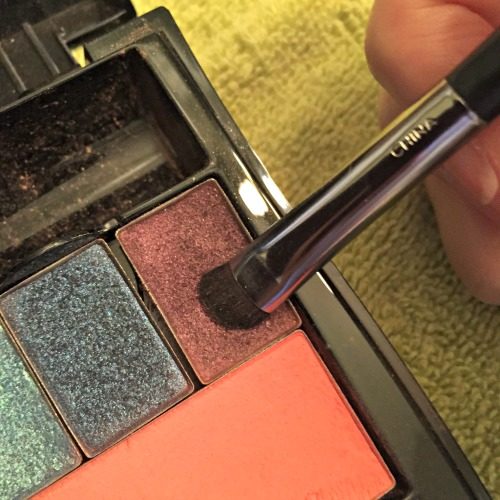
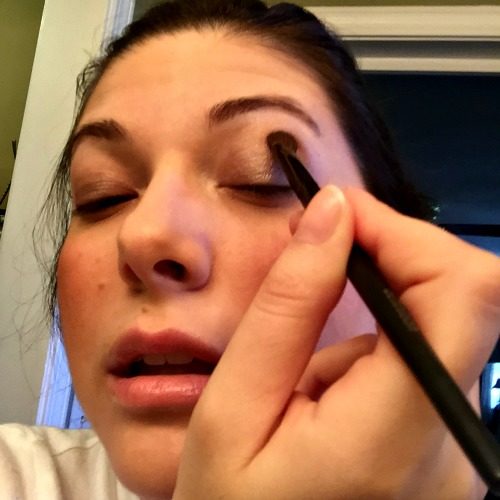
The third eye color is an accent shade. Here I’m using a plum shade.
The accent shade is applied in a sideways V shape at the outer corners of the eyes and blended into the crease for definition.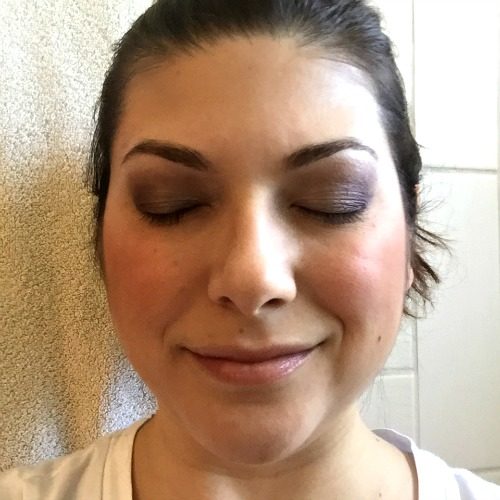
Now you can see what the completed eye shadow looks like.
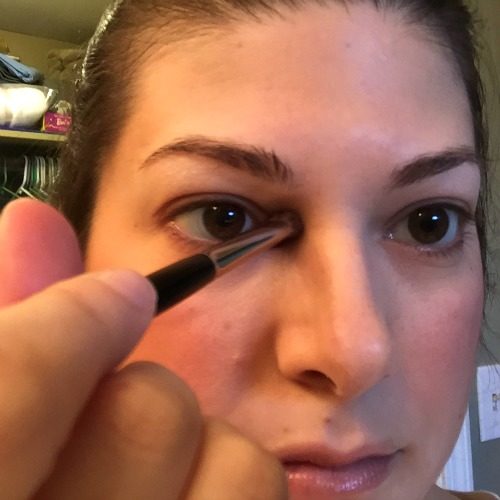
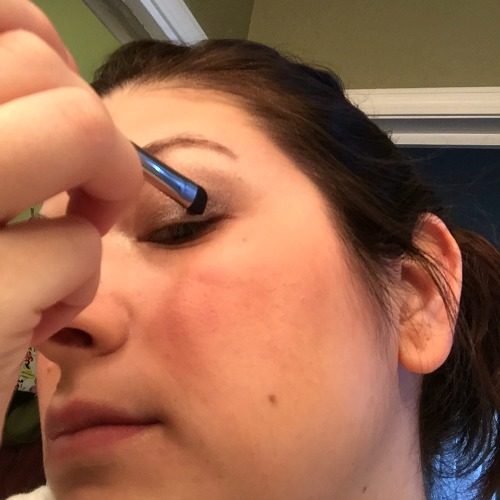
But we’re not finished yet! Next, I apply eyeliner to the bottom lash line,
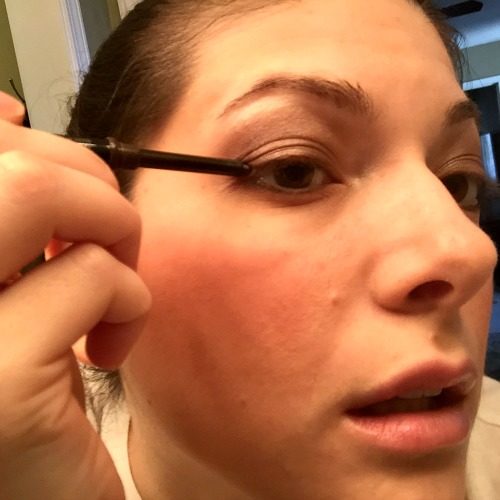
and the top.
 Defined eyes are the best.
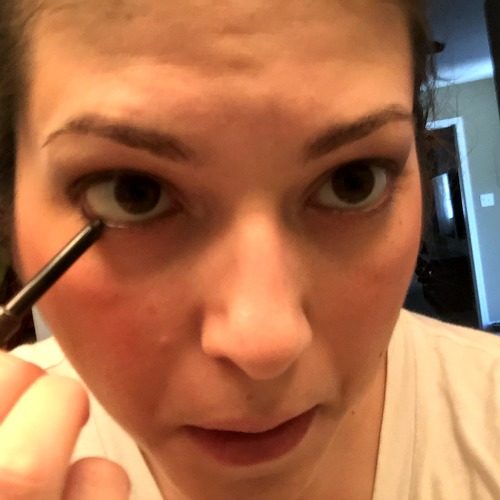
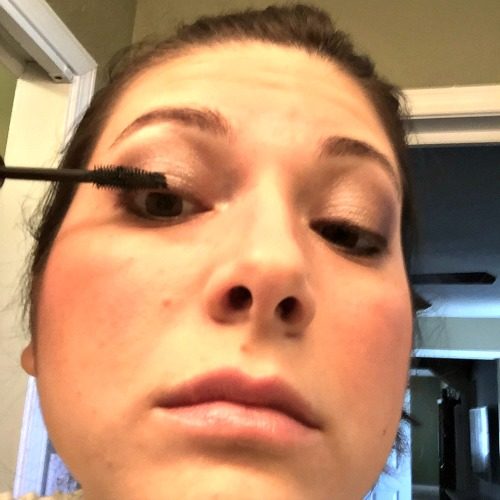 But the final touch to the eyes is mascara.
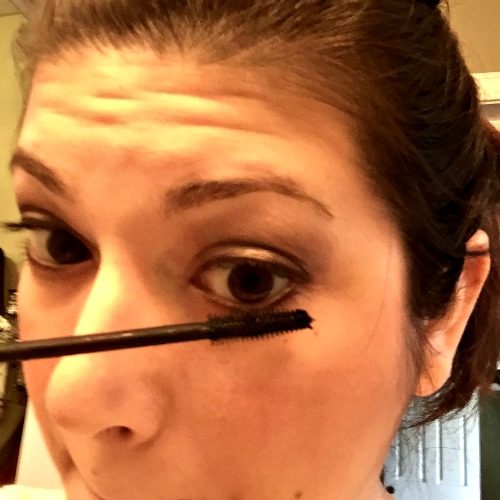
Apply to the top and bottom lashes.
 Eyes are complete! I promise it takes a lot less time when you’re not stopping to take a picture after each step.
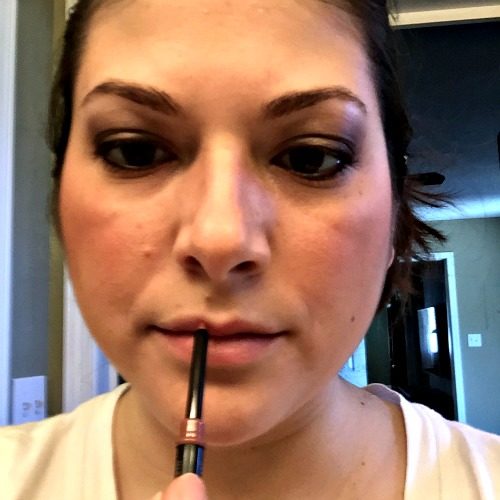 Next, I apply lip liner. It’s easiest if you begin by making a small v outlining the top lip and then go from there.
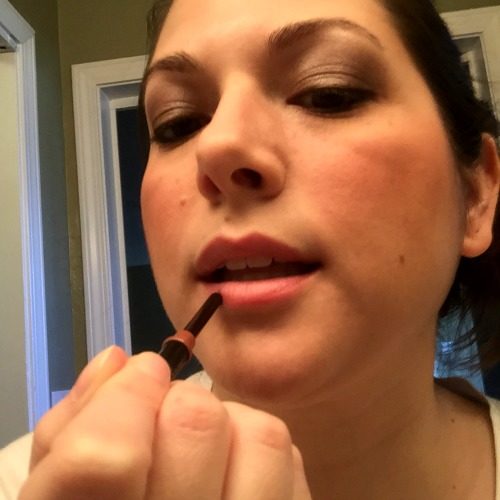 Then outline the lower lip and fill in both top and bottom to make lip color last longer and stay where it’s supposed to.
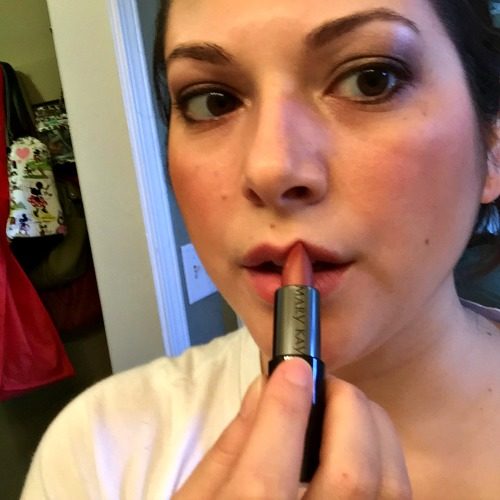 After the lip liner, apply lipstick to entire top and bottom lips.
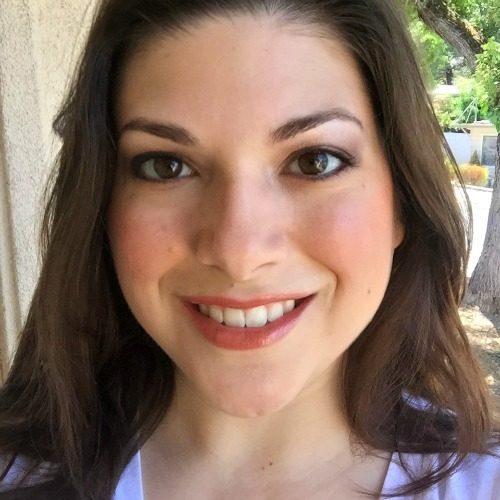
And now we’re ready for anything the day may bring! Just brush out your hair and put on your jewelry and you’re all set. All this only takes me about 15 minutes to do. I’m not one of those people who spends hours applying makeup, even my wedding day makeup only took about 20 minutes.