Setting up a development environment with Docker Compose
Last updated on 06 Sep 2023, 13:10:54.
Category:
Cloud servers
This article explains how you can use Docker to set up your own development environment for example for developing a web application with easy deployment on our cloud server infrastructure.
With the yml file we created, launching the environment on the Kinamo cloud server platform with the aid of Docker Engine becomes a breeze.
If you want more information on installing Docker Engine on a Kinamo cloud server, please read our article on CentOS 7 and Docker containers!
Container? Or virtual machine?
Docker uses "images" to start creating containers. An image contains a minimal linux environment and usually executes one specific function: a web server, database server...
With the aid of Docker Engine you can run Docker "Containers".
A docker container is in many ways comparable with a "ready to run" virtual machine: you can create, remove and modify files. There is one big difference - and quite important one: as soon as you stop a docker container, all changes are lost.
With a virtual machine, after a "power off" you can just restart with the last "state" of your machine.
Where for the installation of a virtual server you use an ISO image, install cd, ... you can simply use a docker image for the starting point of your docker container.
Docker images can be seen as some sort of template that gets you up and running quickly. With these images you can create a docker environment.
To ensure the data in your database or you webserver configuration remains available, you will have to link local volumes on your docker containers from within the host.
For most software, frameworks or development languages a variety of official docker images are available. The only thing that remains is add your own code or data and you are set to go.
When you will be using multiple containers within a project it is not always simple to get the docker driven environment up and running in a quicky. Configuring each container, linking volumes, setting it up becomes a labor intensive task.
To solve this problem, we have Docker Compose.
With Docker Compose you can define a multi-container application. With one single command you can launch the entire environment!
In this article we'll take a look at the basic usage of Docker Compose to set up a classic development environment.
Starting with Docker Compose
We will be using Docker Compose to set up an environment with two docker containers: a webserver with Apache and PHP and a database server with MySQL. This is a frequent recurring scenario and opens the door for experimenting with Wordpress, PHP frameworks, ... For our installation we will be using the official images from the Docker Hub.
The project below can be tested on Windows, Mac or Linux. The installation guide on how to get Docker Engine up and running on Linux can be read here.
If you prefer using Windows or Mac, Docker toolbox can be a solution.
The webserver container
We will start by setting up a container for the webserver. As an image for the webserver we will be using one of the official PHP images "php:5.6-apache".
This is a handy image since Apache is already embedded in the image.
Unfortunately not all extensions are available out of the box for the PHP binary. This can often be the case with "starter" images. In order to create a connection with the database we will need to add the mysqli extension. This can be done by building our own image, based on the Docker Hub image. In other words, we will be using the image from the Docker Hub as a starting point for our own image.
As a first step we will be creating a folder where we will place all files for the webserver. We will name the folder "php" since we are working with a php image.
In this folder we will create a new file with the name "Dockerfile".
A "Dockerfile" is a text file containing the commands to build a Docker image. The docker file for our php image contains:
FROM php:5.6-apache

RUN docker-php-ext-install mysqli
With FROM we point which image we will be using as a base.
With RUN we will execute a command so the mysqli extension will be installed. This command is a feature of the php base image, which makes it possible to activate multiple extensions in an easy manner. Always read the documentation of the image you will be using, often the images have specific commands to extend the base image.
For this test we will be using a PHP info page. In the 'php' folder, create a new folder 'www'. In this folder we will be placing all files being offered by the webserver.
Create a new file with the name index.php and add the following code:
<?php
phpinfo();
?>
As a final step we will create our new image and execute the container. For this, we will be using Docker Compose.
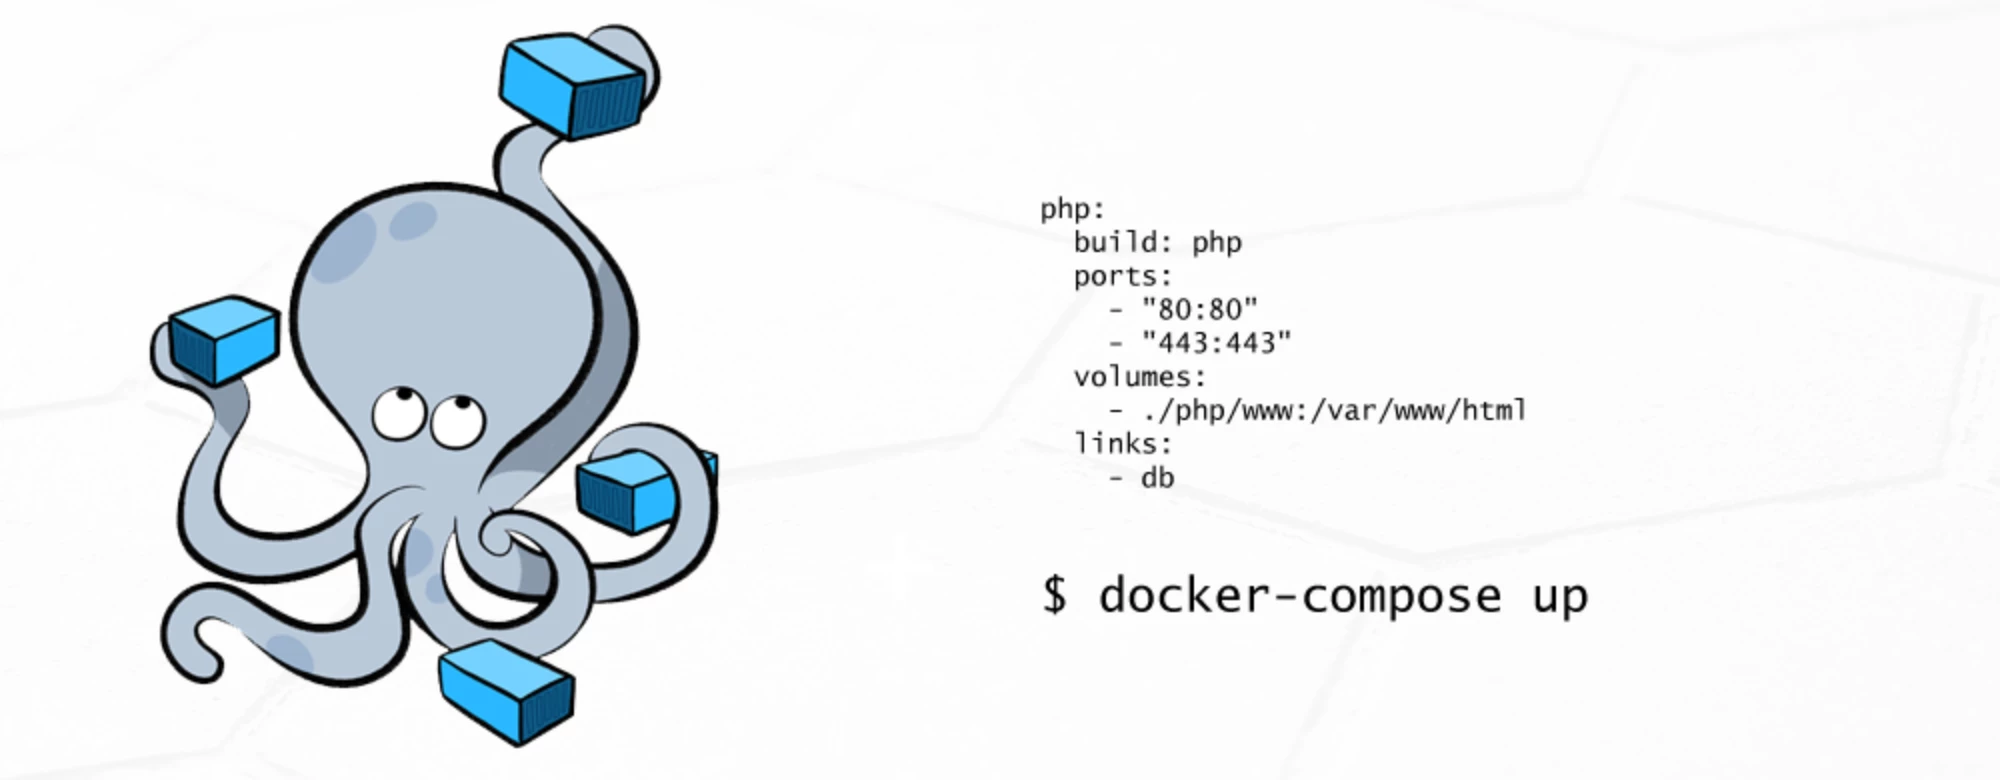
In the top folder of our project, we create a file named docker-compose.yml. This may contain the following:
version: '2'

services:
 php:
 build: php
 ports:
 - "80:80"
 - "443:443"
 volumes:
 - ./php/www:/var/www/html
On the first rule we will write the name of our container, 'php'.
At 'build' we will write the name of the image we will be using. We wish to use a new image based on the Dockerfile we just created.
We will write 'php'. This is the folder where the Dockerfile is located that will be used for the image.
In 'ports' we will define the mapping of the ports. For our webserver we wish to make ports 80 and 443 available. We will link the ports of the container to those of the host, for example "host port:container port".
An example: if the firewall allows traffic on port 80 for the cloud server, then the host port will be "80" and you can map this to your container port 80.
As a final step - but an important one - we will be mapping a volume to the container.
The line './php/www:/var/www/html' means we will link the "/php/www" folder on the host to the folder "/var/www/html" in our container. Without this, ALL your data will be lost of the docker container would restart, since for the docker container there would be no location defined outside the container and no means to save the data physically outside the container, on the host. Thus this is CRUCIAL!
If we now run the docker-compose up command the image will be built and executed. If we then use a web browser to surf to the IP of the Kinamo cloud server with the docker engine we will see the phpinfo page.
The database container
The MySQL base image we will use from the Docker Hub needs no extra configuration. We do not need to create a new image.
It is sufficiant to add the following parameters to docker-compose.yml.
Add the following rules after the definition of the php container.
 db:
 image: mysql:5.7
 volumes:
 - /var/lib/mysql
 environment:
 - MYSQL_ROOT_PASSWORD=hunter2
 - MYSQL_DATABASE=database
For the MySQL container we also link a volume for the MySQL data. Instead of linking a folder to the container, we will now use a Docker volume. The performance is better and thus well suited for databases.
In order to create a Docker volume we only need to give the folder of the container for which we will need to create the volume.
In human language: the folder "/var/lib/mysql" in the container will be linked to a default folder that docker will define on the host.
With the docker inspect command we can locate the volume on the host.
The parameters added in the "environment" section are image dependant, in this case there are some variables that will define which value is passed to the docker container, for example the root password for the database, and the database name.
Bringing it all together
To ensure the PHP container and MySQL container can "talk" to each other, we will have to create a link.
This can be done with a small change in docker-compose.yml.
version: '2'

services:
 php:
 build: php
 ports:
 - "80:80"
 - "443:443"
 volumes:
 - ./php/www:/var/www/html
 links:
 - db

 db:
 image: mysql:5.7
 volumes:
 - /var/lib/mysql
 environment:
 - MYSQL_ROOT_PASSWORD=hunter2
 - MYSQL_DATABASE=database
In the PHP container we will add the section 'links'.
This says there must be a connection to the MySQL container.
To test the connection we will modify our index.php file.
<?php

mysqli_connect("db", "root", "hunter2") or die(mysqli_error());
echo "Connected to MySQL
";

?>
If we now run docker-compose up both containers will be launched and linked. When we surf to the webserver we will get the message 'Connected to MySQL'.
If you want the environment to stay up and running in the background, execute docker-compose up -d.
Ready for the real thing!
Now you're set to go with your development environment.
You can develop your application by adding code to the 'www' folder. The volume mapping will ensure your data will be stored safely in the host folder "/php/www".
Thanks to Docker Compose your working environment can be easily deployed on other machines and eventually in a production environment... And since the environment is built from isolated containers, there are no problems with software versions in your configuration or application!