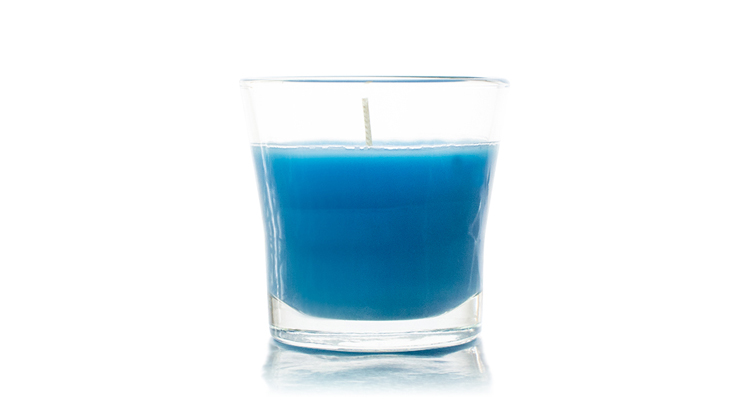
A great way to make your products pop is to add a reflection to your product photos.
Working with reflections can be very tricky and is usually best accomplished with professional equipment. However, for you risk-takers and DIY-ers, the following tutorial will guide you through a quick and easy setup for enhancing your product photography with reflections.
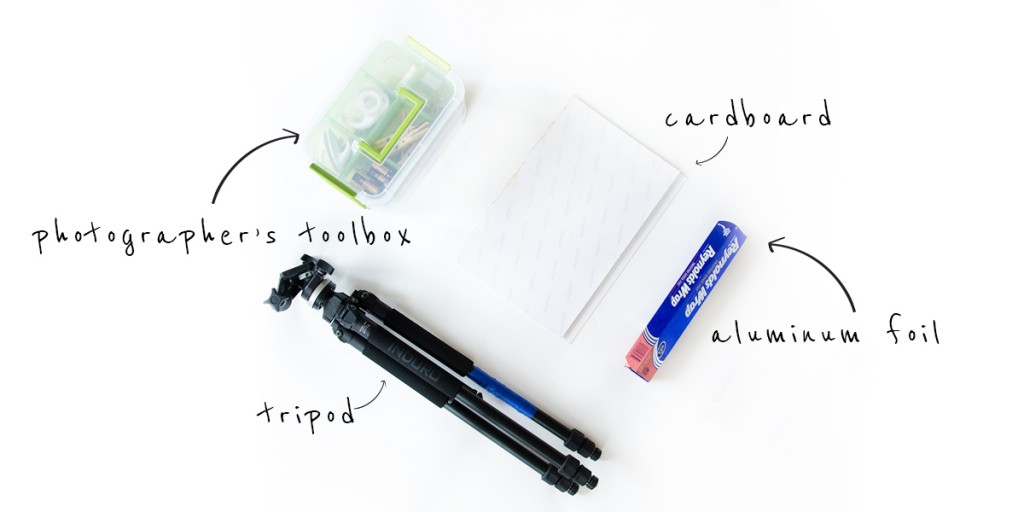
You will need:
- A tabletop setup with a white backdrop
- A small reflector (or piece of cardboard less than half the size of your table)
- A tripod (or steady surface to put your camera on)
- Your ‘Photographer’s Toolbox’ (for clamps and tape)
- Aluminum foil
Step 1: The setup
As demonstrated in our other tutorials, we have created a small tabletop setup, or sweep, out of an old table, two pieces of scrap wood, two clamps and a white roll of paper. The difference with this shoot is instead of setting up directly next to our light source (a window), we have placed the window behind our backdrop.
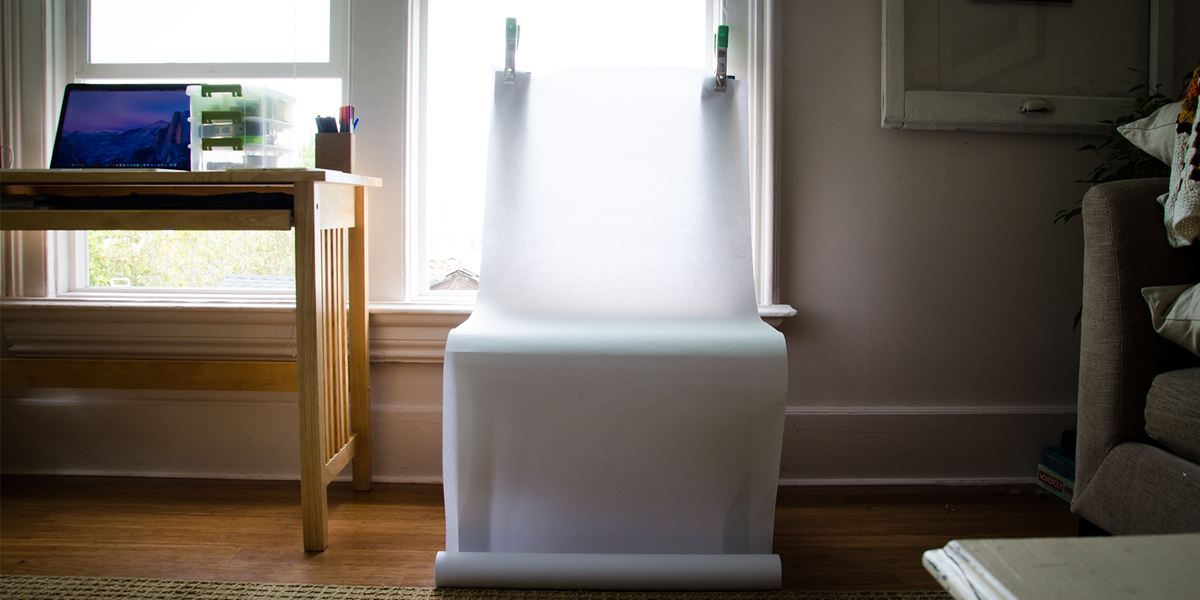
With this setup, you’ll get the whitest backdrop possible and diffuse the light on the aluminum foil (which, in the following steps, will create your reflection).
Step 2: Make a stronger reflector
In other tutorials we have used a white piece of cardboard as a reflector. However, with the light coming in from behind our product, we’ll need to use material that reflects even more light than a white board.
You can find small reflectors that work perfectly for tabletop photography or create your own with materials you’ll also need in this tutorial. Simply wrap your piece of cardboard in aluminum foil and you’re good to go. Because the foil prevents the cardboard from bending, we’ve used a clamp from our Photographer’s Toolbox as a stand for the board.
Move your reflector around to see how the light is reflected on your product. Prop it up in a spot you think is best — for now — and proceed to step 3.
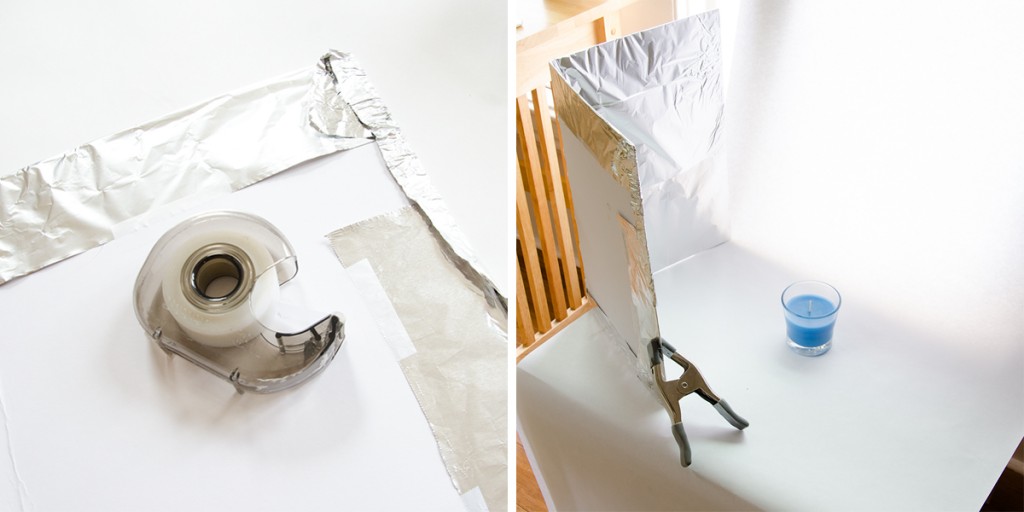
Step 3: Cover your tabletop setup in aluminum foil — carefully!
Next you’ll want to cover the base of your tabletop setup in aluminum foil without creasing the foil too much. The foil here will create your reflection, so if you have too many wrinkles it will be distorted, looking sloppy and unprofessional. As you pull the foil out, use a flat surface and make sure your window is closed to prevent wind from taking the foil away.
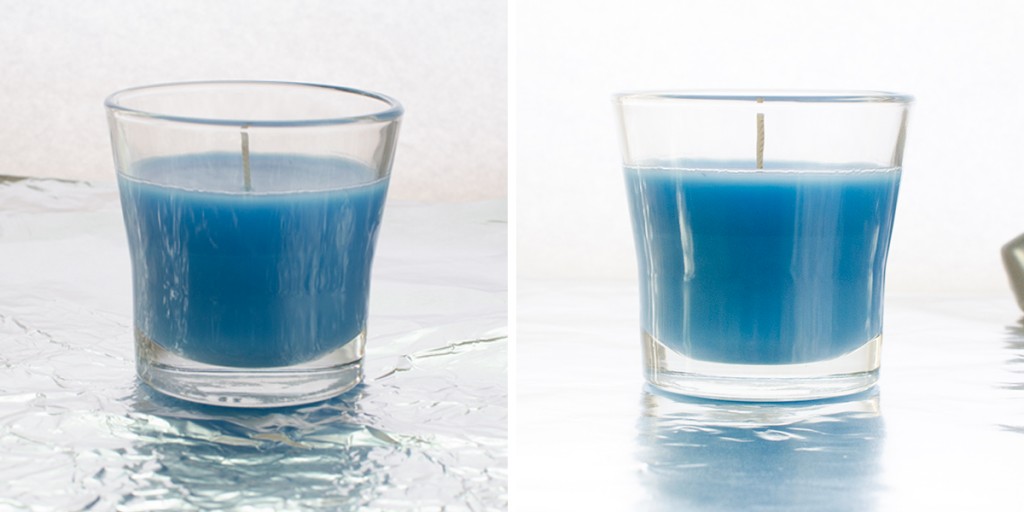
Notice how much better the reflection on the right looks as opposed to the shot on the left with damaged foil.
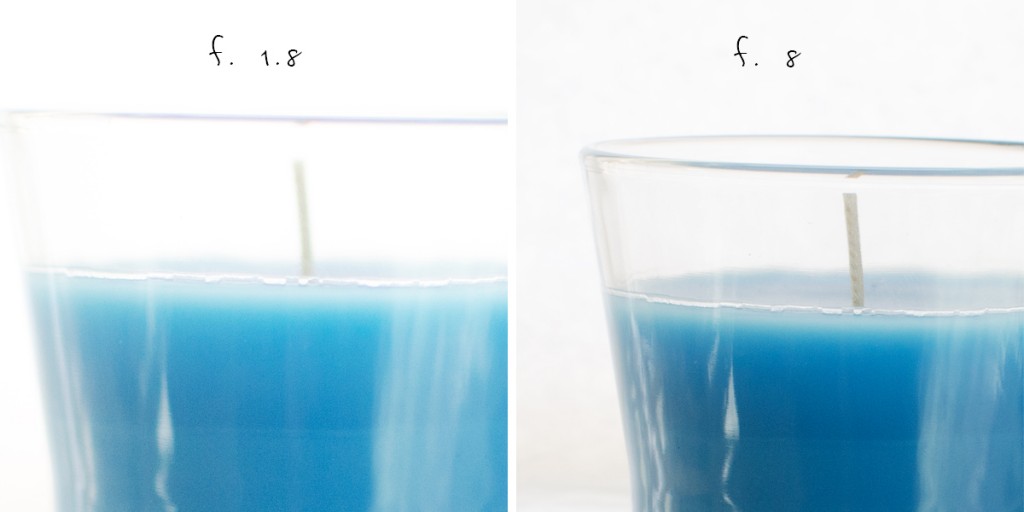
Step 4: Use a small aperture
Using a small aperture is mandatory in product photography. When you’re selling a product, your customer will want to see the entire product, including all the details. I’ve zoomed in on two examples below to help demonstrate the ways in which a wide aperture (f/1.8) can ruin a product photo.
Step 5: Try multiple angles
Shooting from multiple angles is important for many reasons. For one, when you’re selling your product online your customer will want to see a few different views of the product to get a good grip on how the product looks in real life.
Another reason you’ll want to shoot from multiple angles is to save yourself the stress of reshooting. With certain products, shooting at an angle can distort the shape of the product and give your customer an altered perspective of what the product really looks like.
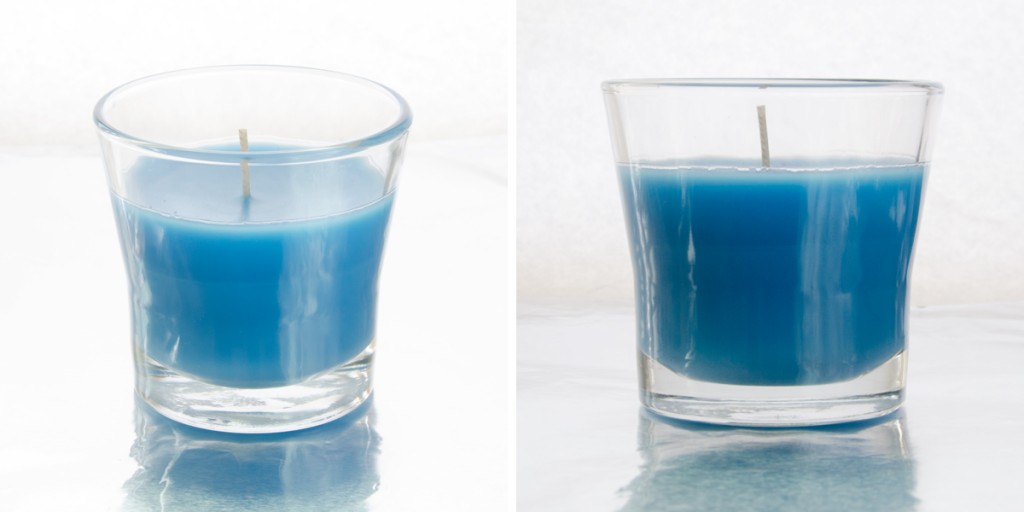
Candles, like many other products, are best shot head-on. Conduct research on your product to find the best angle, and to be safe just shoot from multiple perspectives.
Step 6: Adjust your setup
When shooting with reflections, it’s incredibly important to take your time and keep your eyes wide open. The slightest movement of the background, the reflector or the product itself can make for a worse or better photo. Below, the left photo is the setup I started with, whereas the right photo is the setup I ended with.
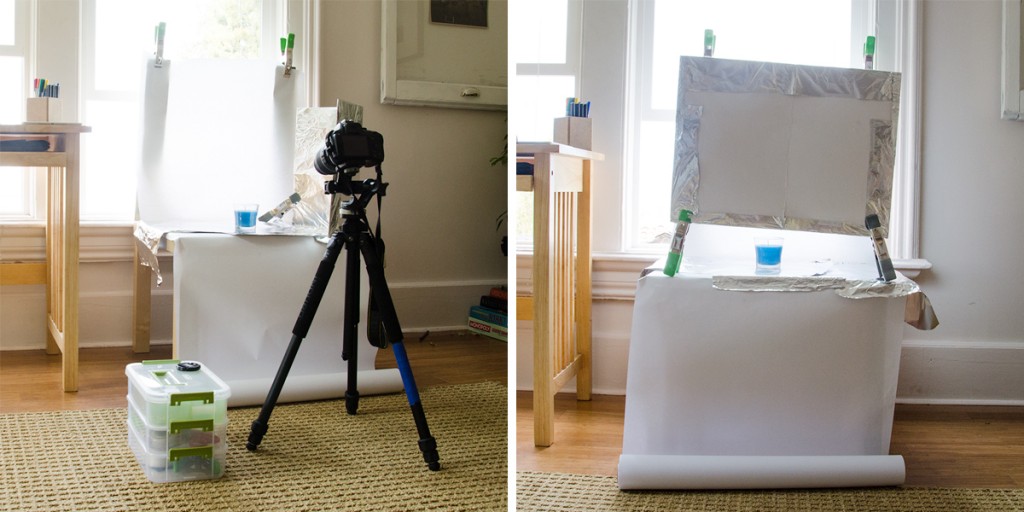
I noticed I was getting more pleasant light on my product by having light reflect straight onto my product, as opposed to reflecting in from the side. You’ll see in step 7 how changing the angle and position of my reflector a few times ultimately resulted in a much better image.
Step 7: Remove your background and add a reflection to your product photo
Doing a little post-editing in Photoshop can take your reflection shot to the next level. I recommend removing the background from your photo and fading the reflection out a little.

As I mentioned at the beginning of this tutorial, working with reflections can certainly be tricky. If you’re not getting the results you want, even after trying different angles and positions of your reflector, consider shooting on a plain backdrop. You can always add a reflection to your product image in Adobe Photoshop.
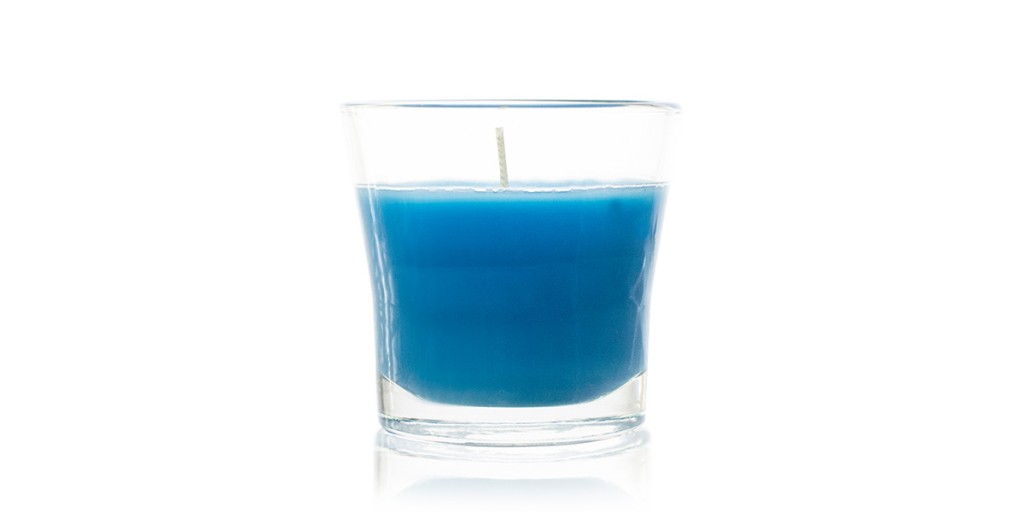
Try something new and add a reflection to your product photos!
I hope this tutorial helped you try a different look for your product photos. If you have any questions, feel free to leave a comment below!
Pixc can save you time and increase your sales — let us remove the backgrounds from your product photos! See what we can do for you with a free photo edit today.
Share on social: