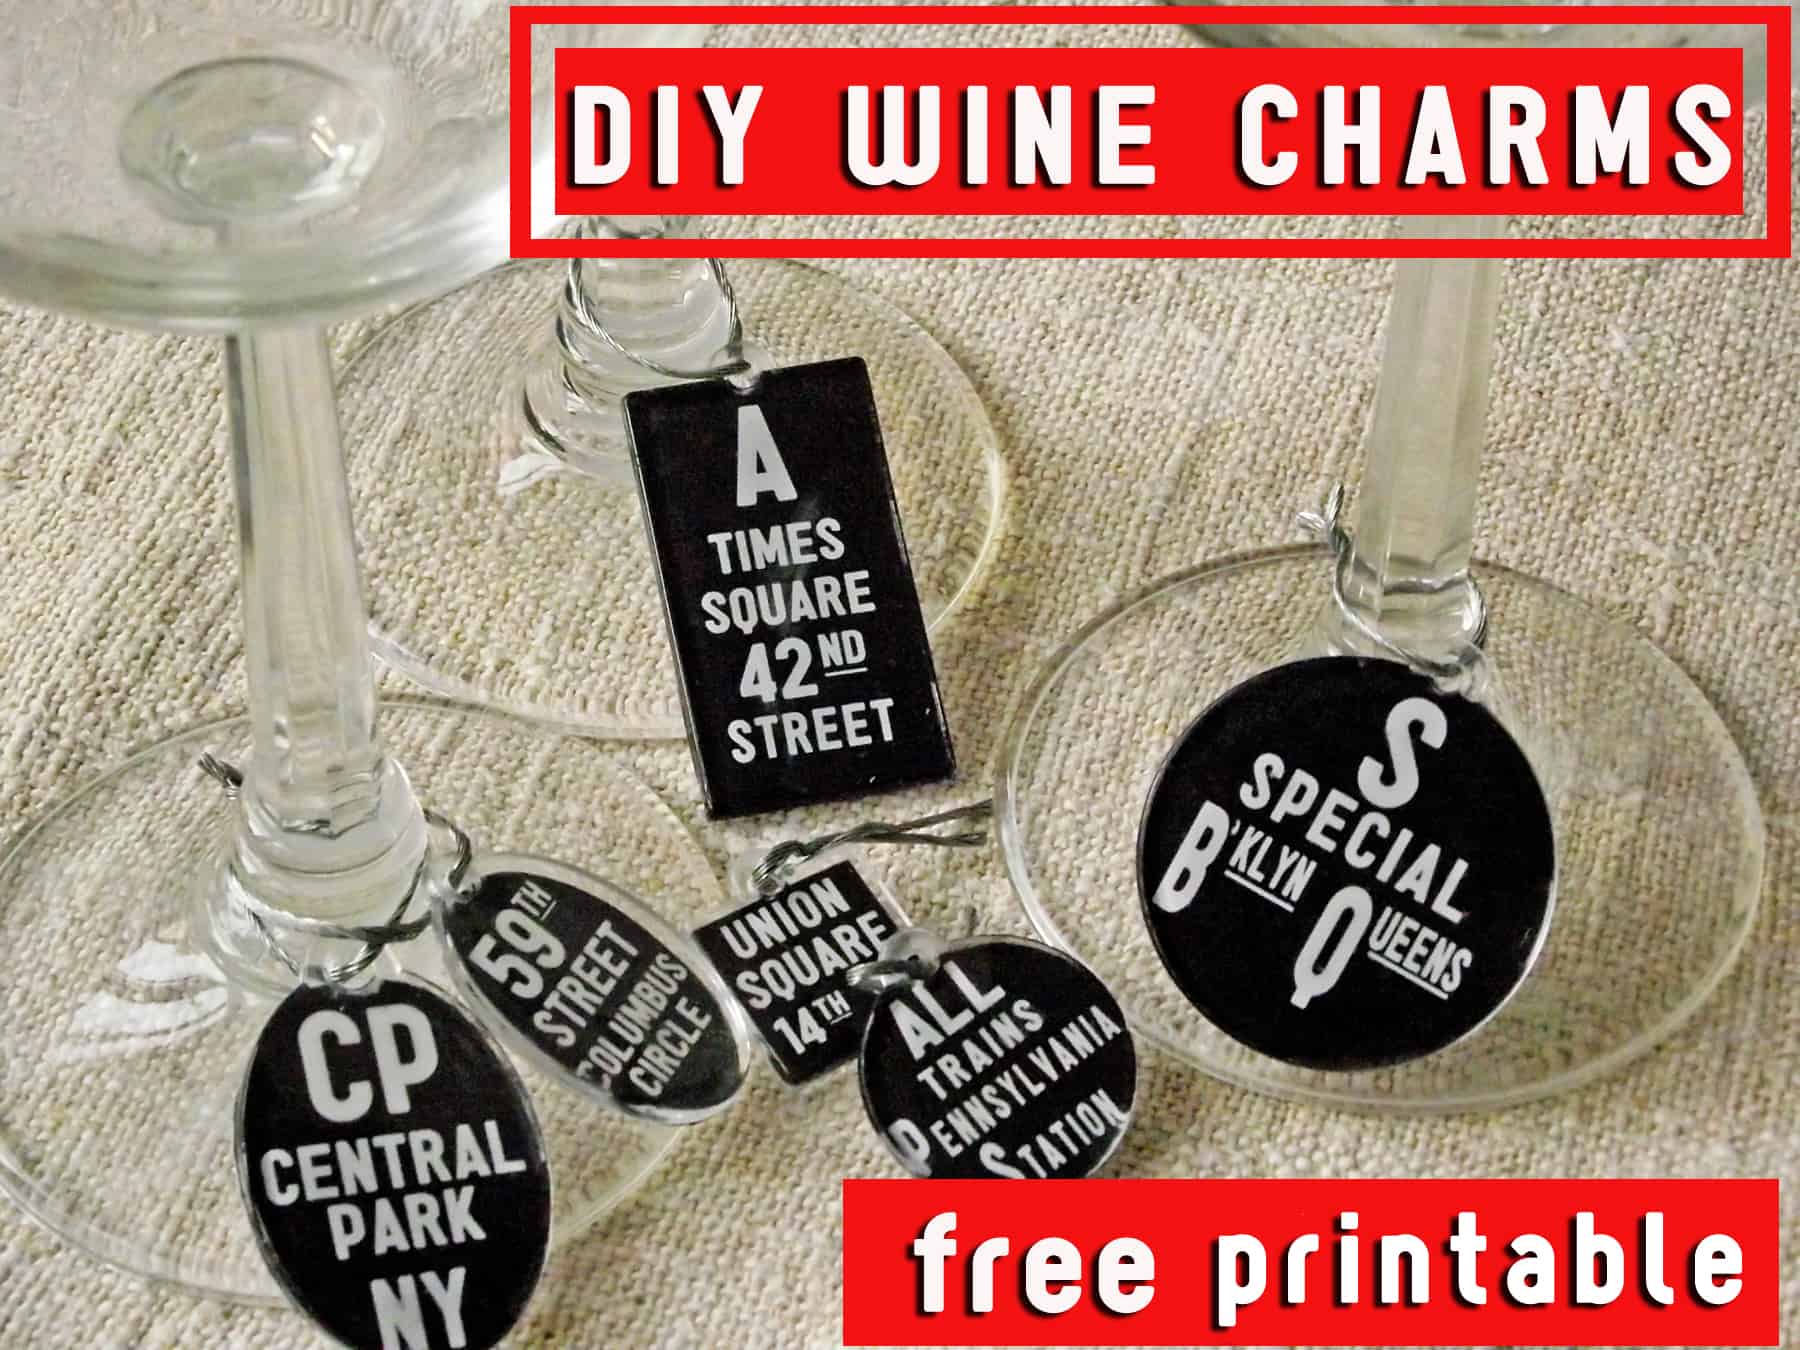
Never lose that glass at a party again! Make these DIY wine charms using Podgeable shapes, a free printable, and decoupage medium.
Skills Required: Beginner. You’ll be applying small bits of paper to small charms with Mod Podge. The chances of wrinkles are minimal; this is actually perfect if you’ve never used Mod Podge before.

Hi! It’s Man Podger David from Cheltenham Road and I have a confession (and a tutorial).
I’m one of those people at parties who loses track of my wine glass. I set it down to talk and then . . . .who knows what happens. . . .
So, as a gift for some friends of mine (and so they’ll keep inviting me over despite my absent-mindedness) I wanted to make some DIY wine charms. I realized that I could make them from acrylic shapes and bingo: a plan was born.
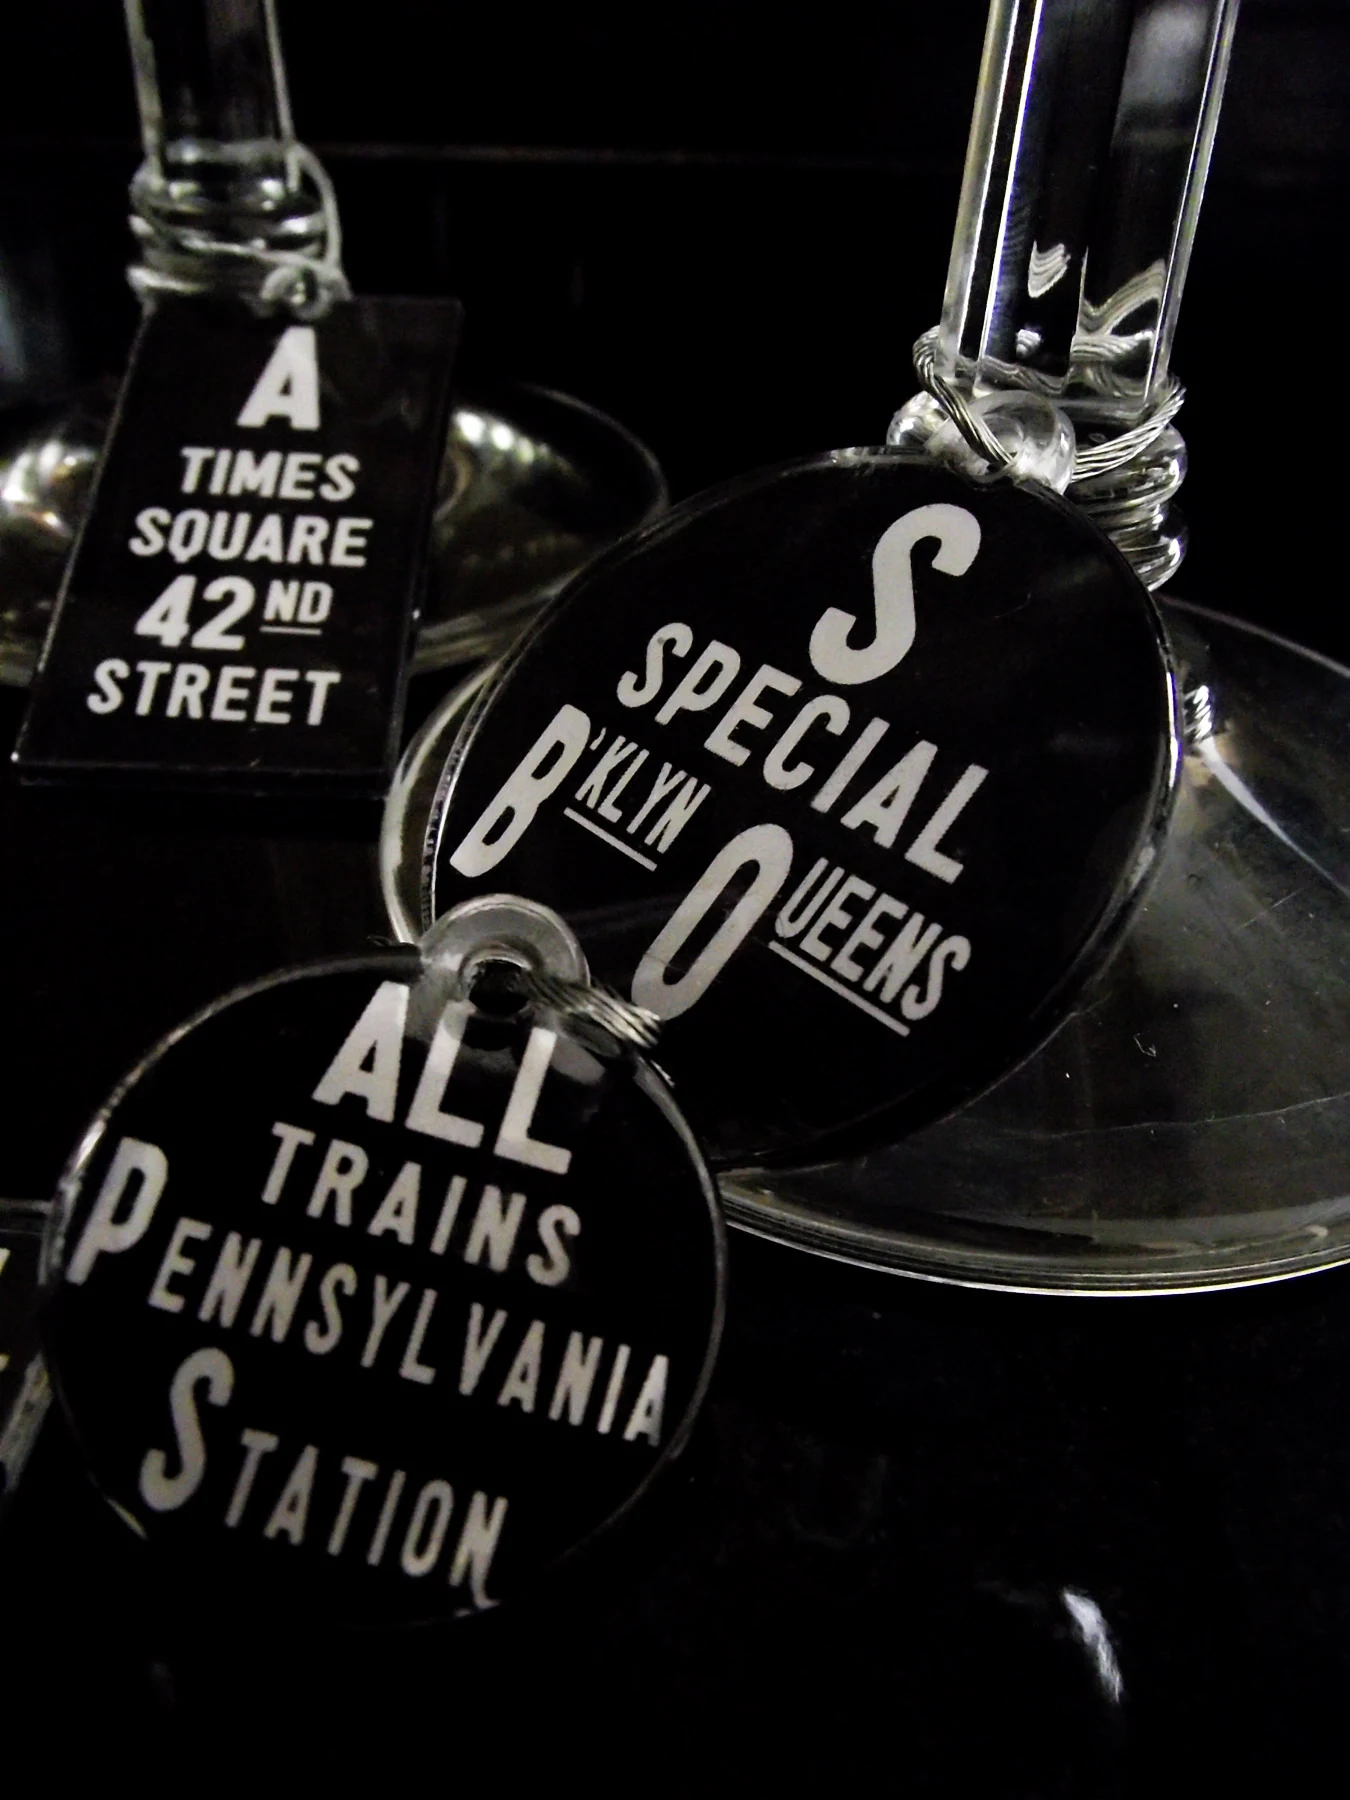
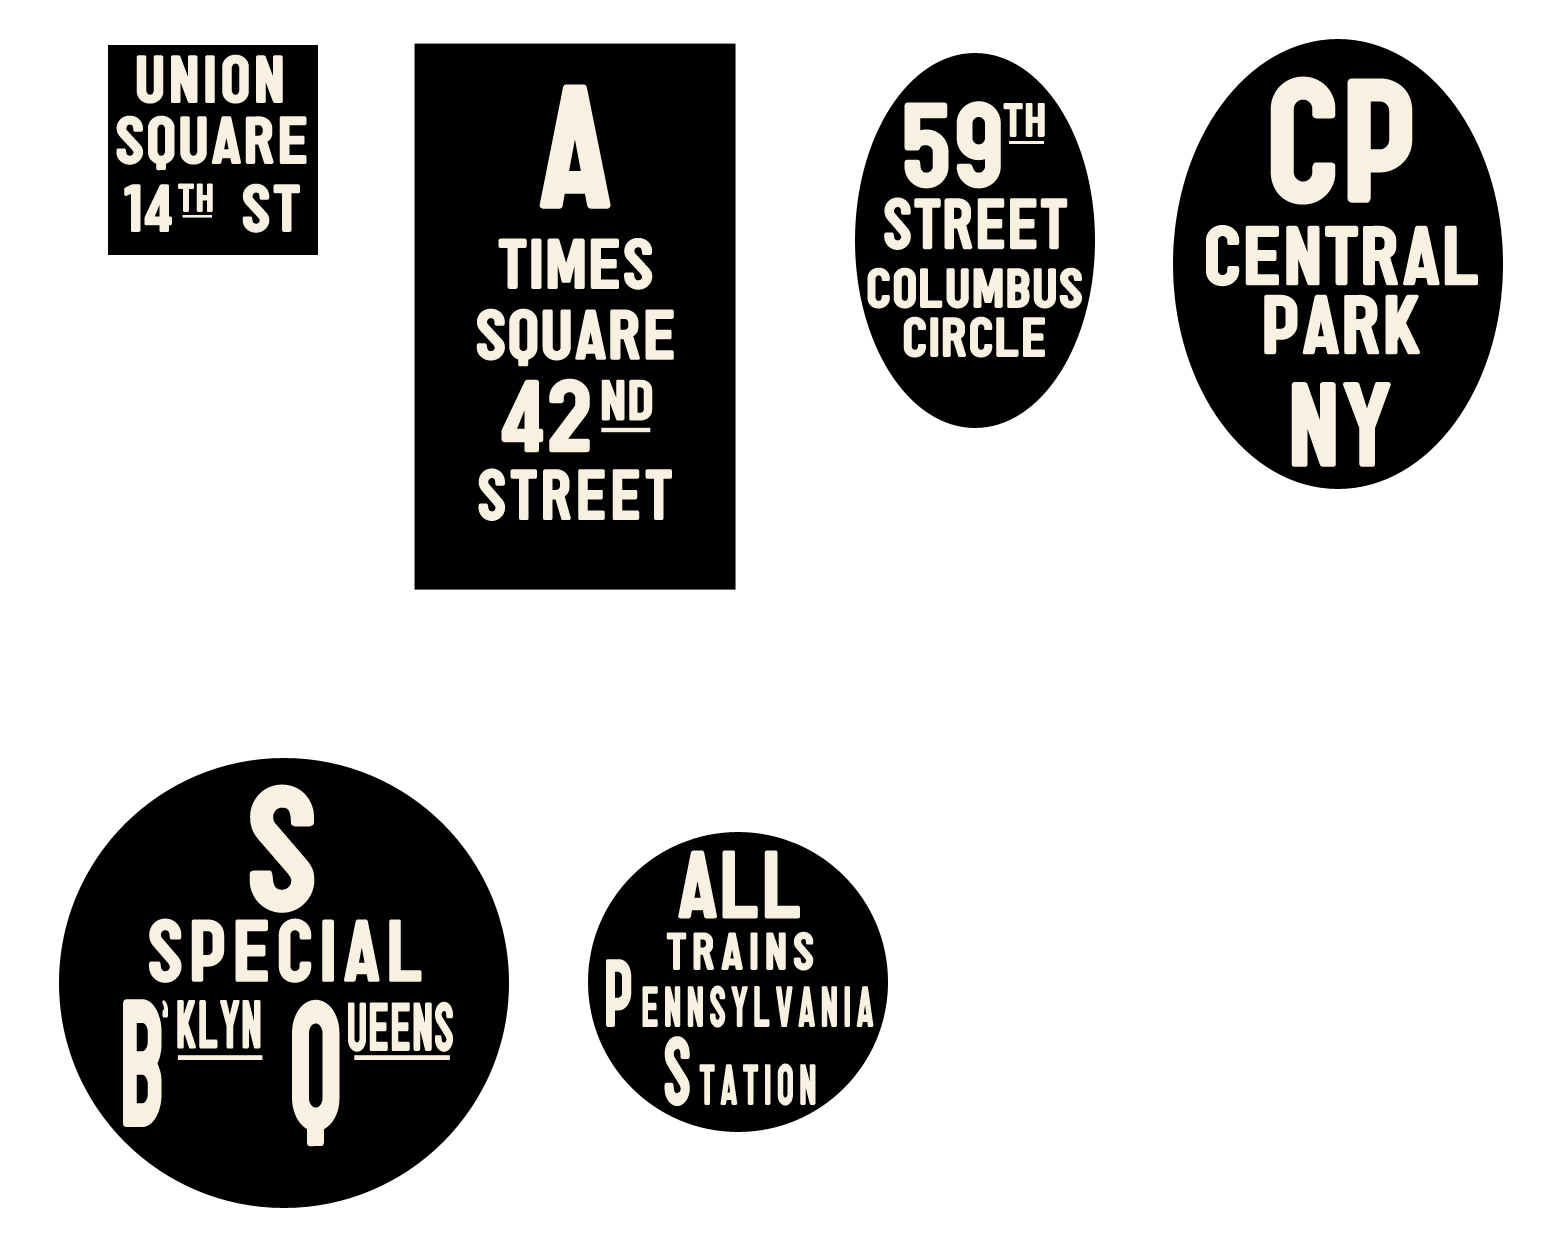
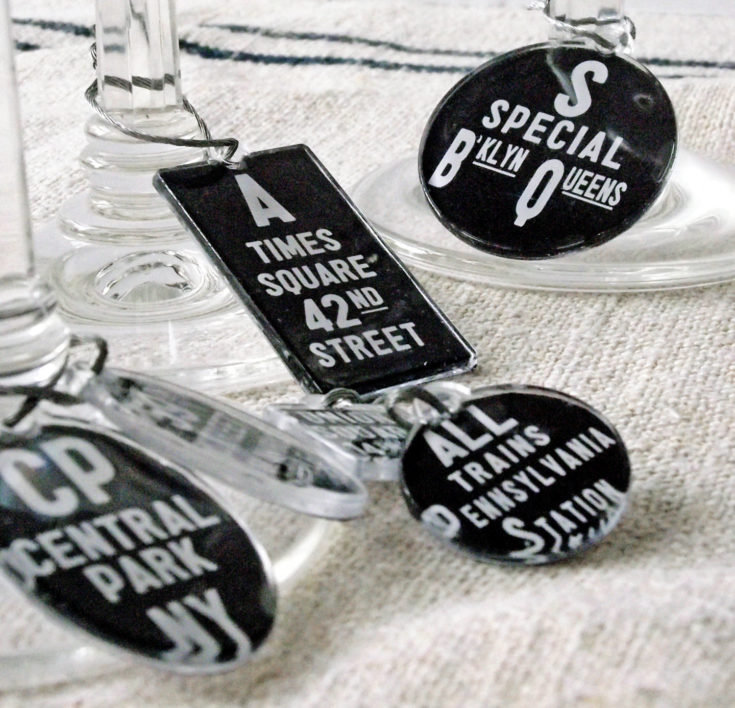
Since my group of friends are all ex-pat New Yorkers, I thought I’d go with some fun NYC subway art graphics for this project. I created the designs – sized to fit the acrylic shapes and included them here for a free download.
DIY Wine Charms
For this project I used the following stuff.
You may not be able to find the exact shapes I used, in which case you can use wood or acrylic pendants found in the jewelry section of the craft store. You can also create your own graphics using your computer!

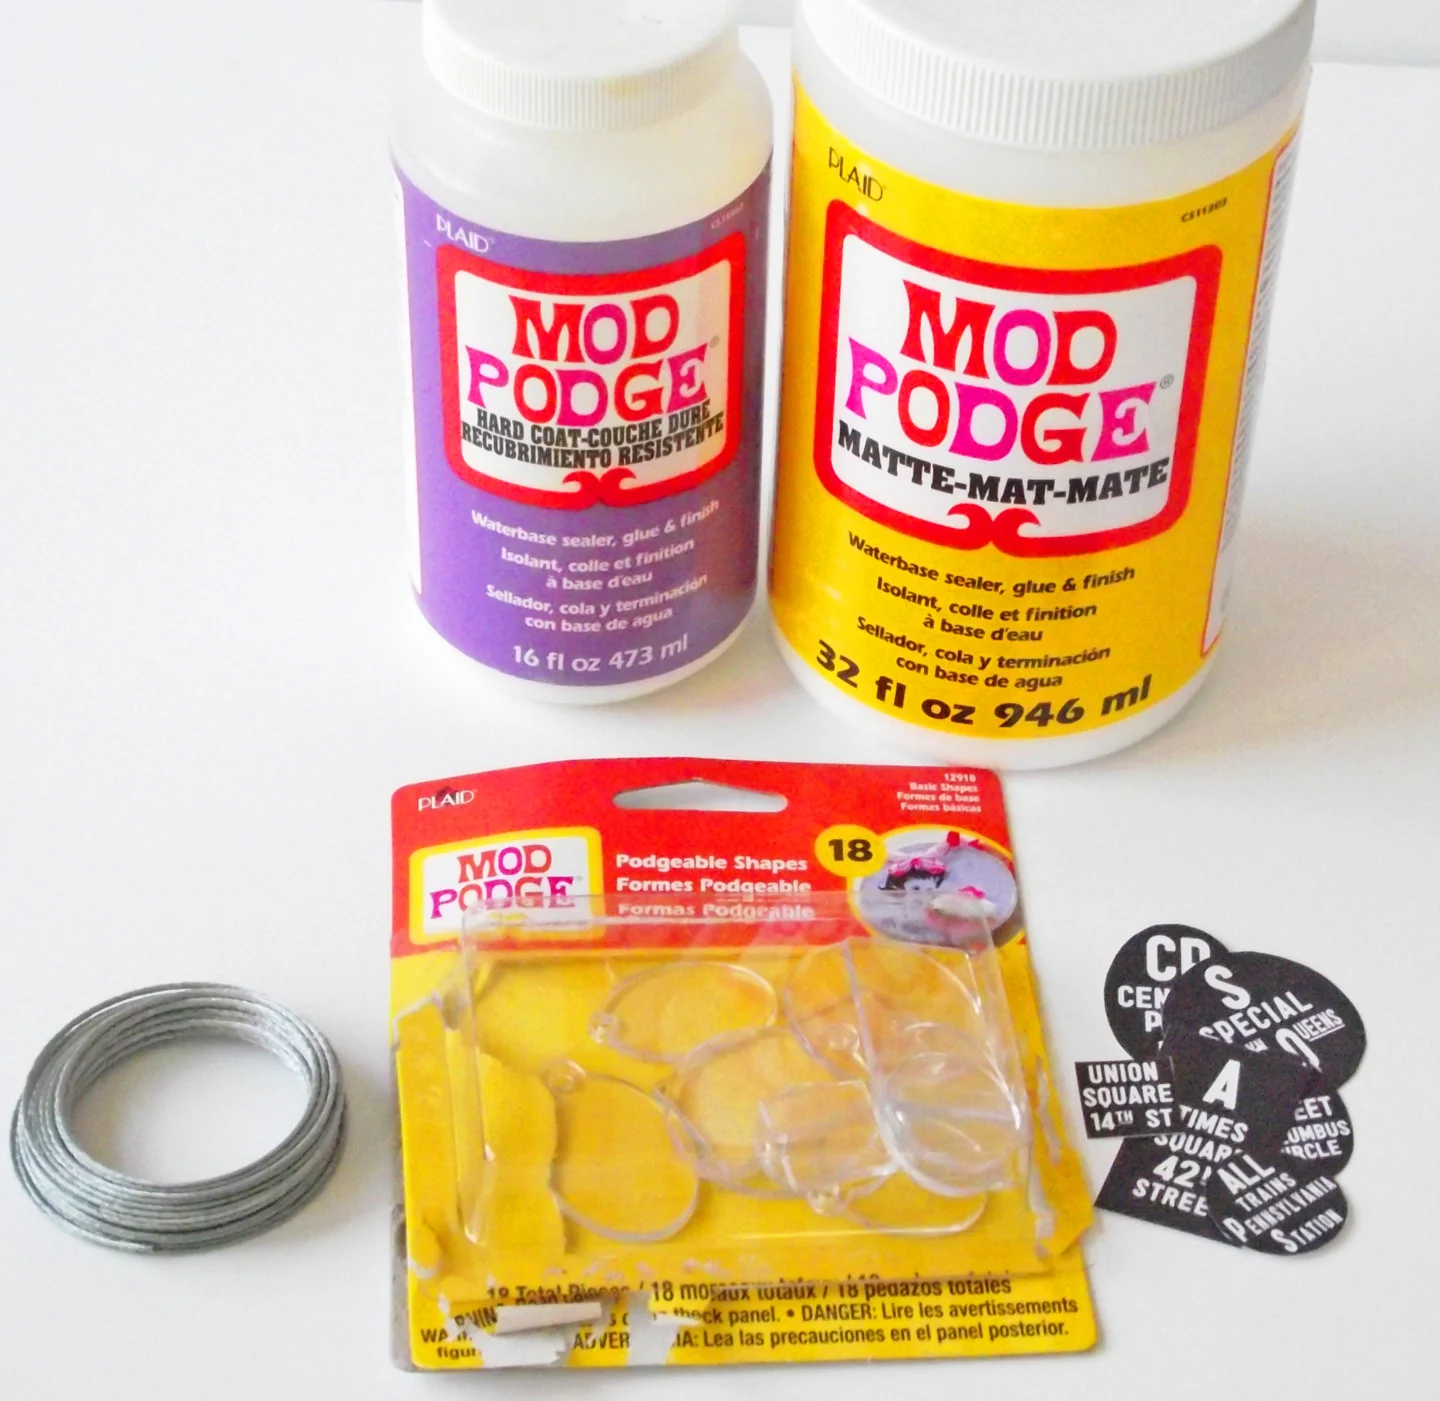
- Acrylic shapes or wood pendants
- Matte Mod Podge
- Hard Coat Mod Podge
- Wire
- Printed subway art graphics (download here)
- Foam brush
- Sharp craft knife
- Scissors
- Wire cutters
NOTE: You might find shapes without holes. You can, using an electric drill and a small bit, drill down through them to create a hole for attaching the wire. I tried it and it worked just fine.
My advice is to put a little piece of painter’s tape where you want the hole to go, and drill through that. This prevents cracking.
Also make sure you hold the shape down with your hand or a clamp. If you don’t it will just spin around at the end of the drill.
Super easy is really the only way to describe this. I printed out the designs with a laser printer and cut them out with scissors.
Next, I spread a thin layer of Mod Podge on the back of the acrylic shape, and a another thin layer on the front of the graphic.
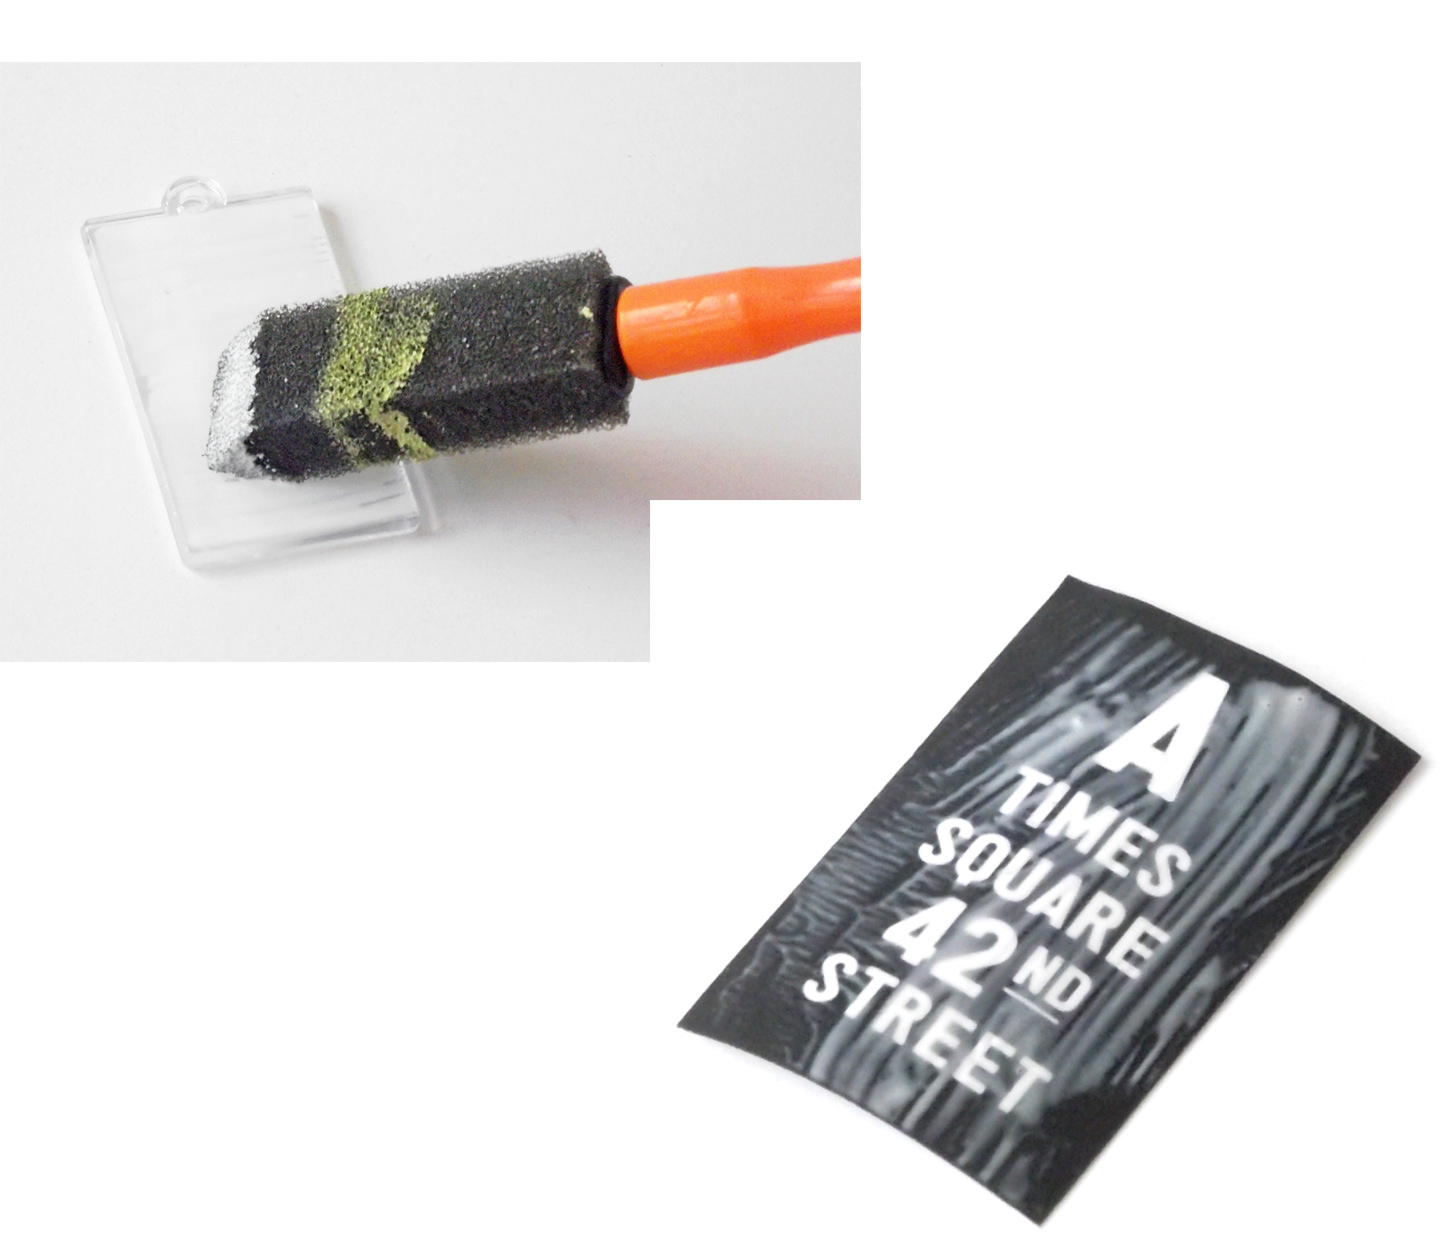

I applied the paper to the shape and used my fingers to squeeze out any air bubbles. The paper slipped around a bit but it’s easy to move it back into place before setting it aside to dry.
Your DIY wine charms will look a bit spotty or hazy until they dry thoroughly.
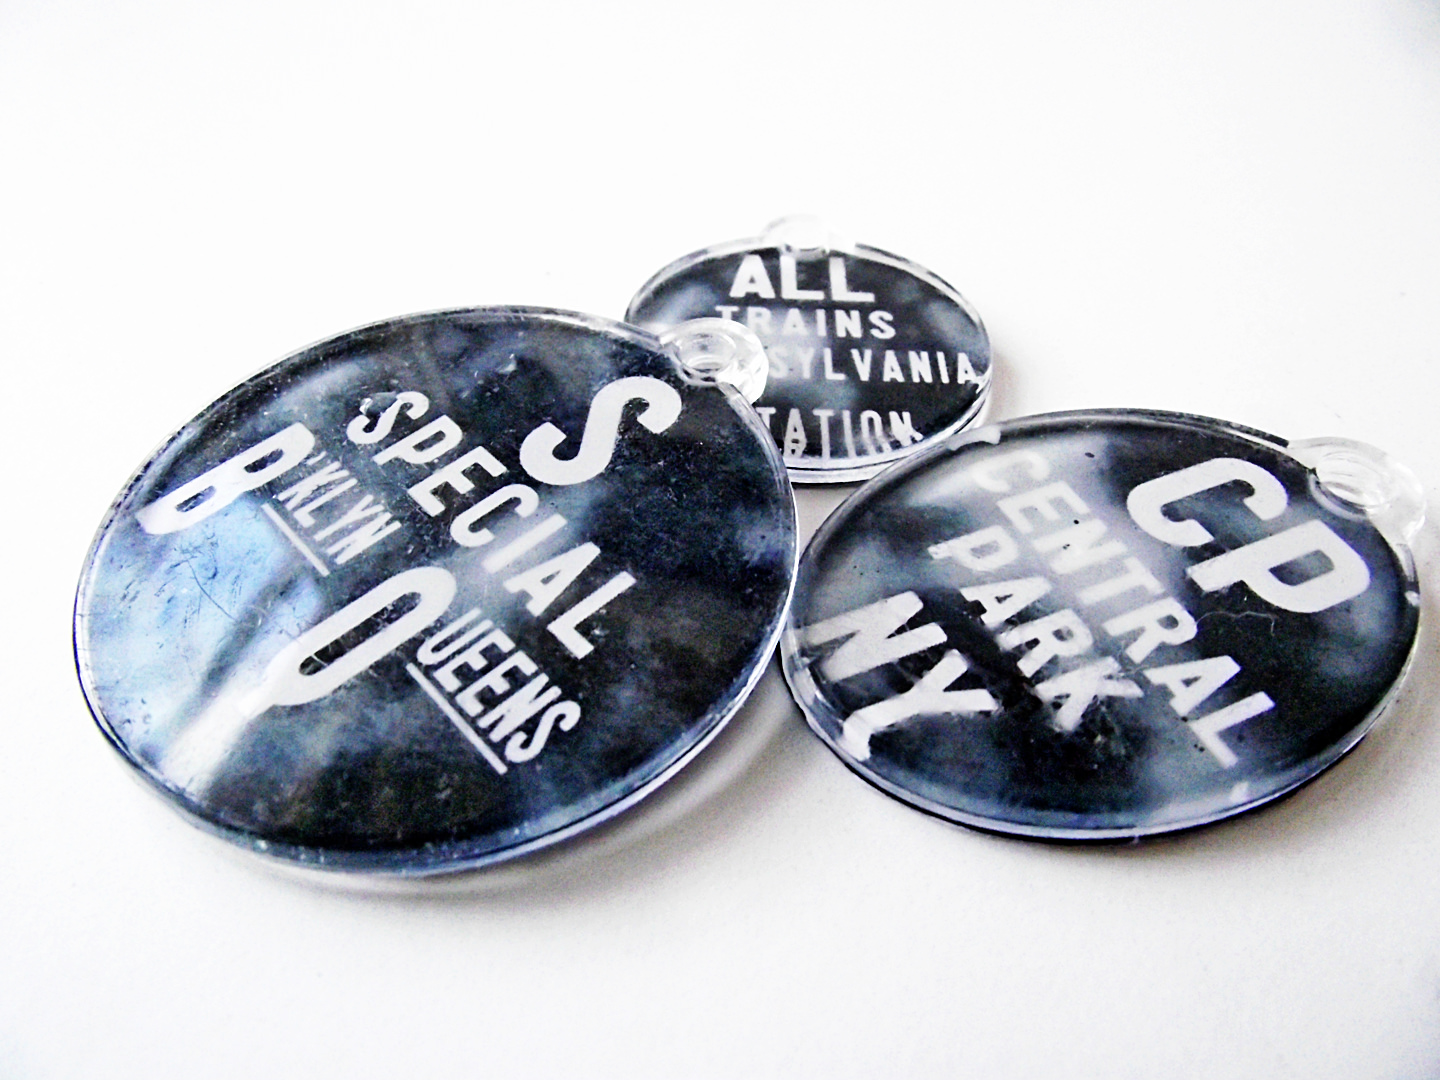

Once they are dry, trim off any excess paper with my craft knife. To add a little extra moisture protection, coat the back of the paper with Hard Coat Mod Podge.
Use picture wire to attach the wine charms to your glasses. Or if you are so inclined, a trip to the jewelry section of a craft store would yield a more elegant solution.


These wine charms should help me with my problem (if I’m invited over again).

As I mentioned, I’ve made a couple of downloadable sheets that you could use if you wanted to do this project.
Download the wine charm printables here. Open them as images and print actual size.
Here’s the black version shown in the pics.
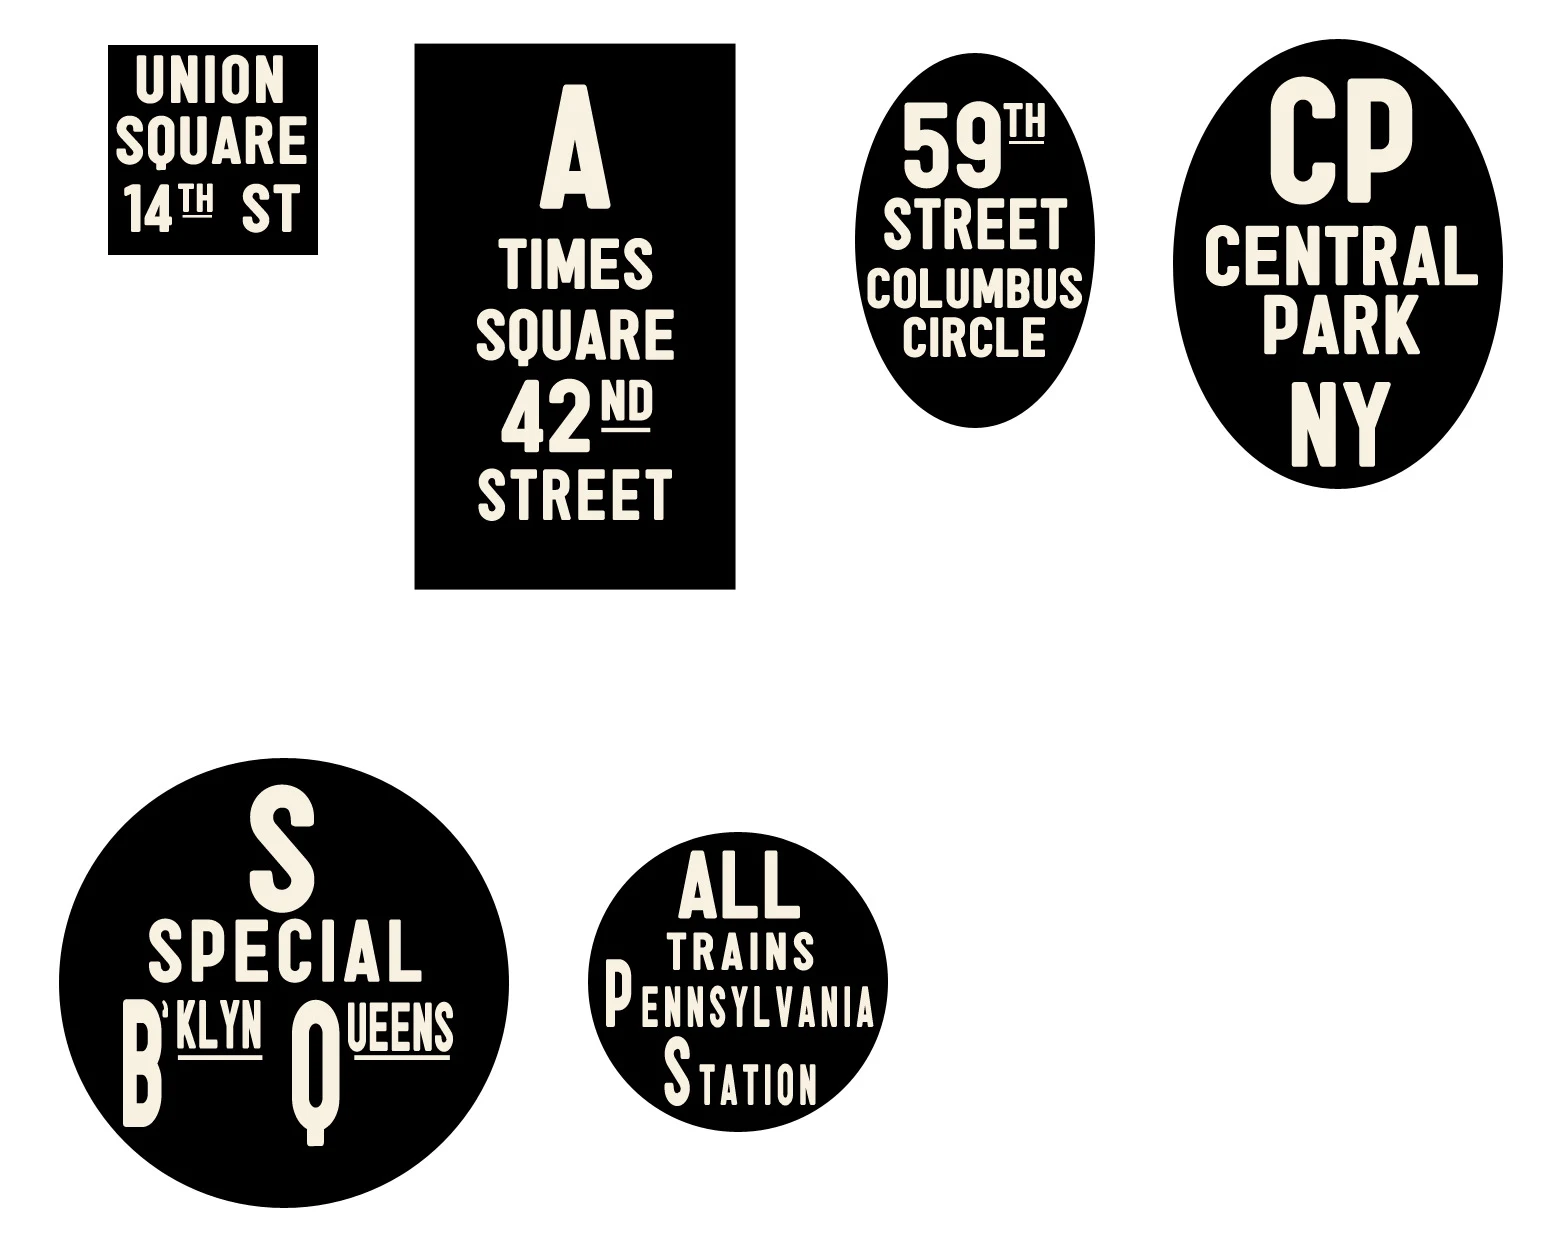
I thought maybe a reversed version might appeal so here is a black on white approach:
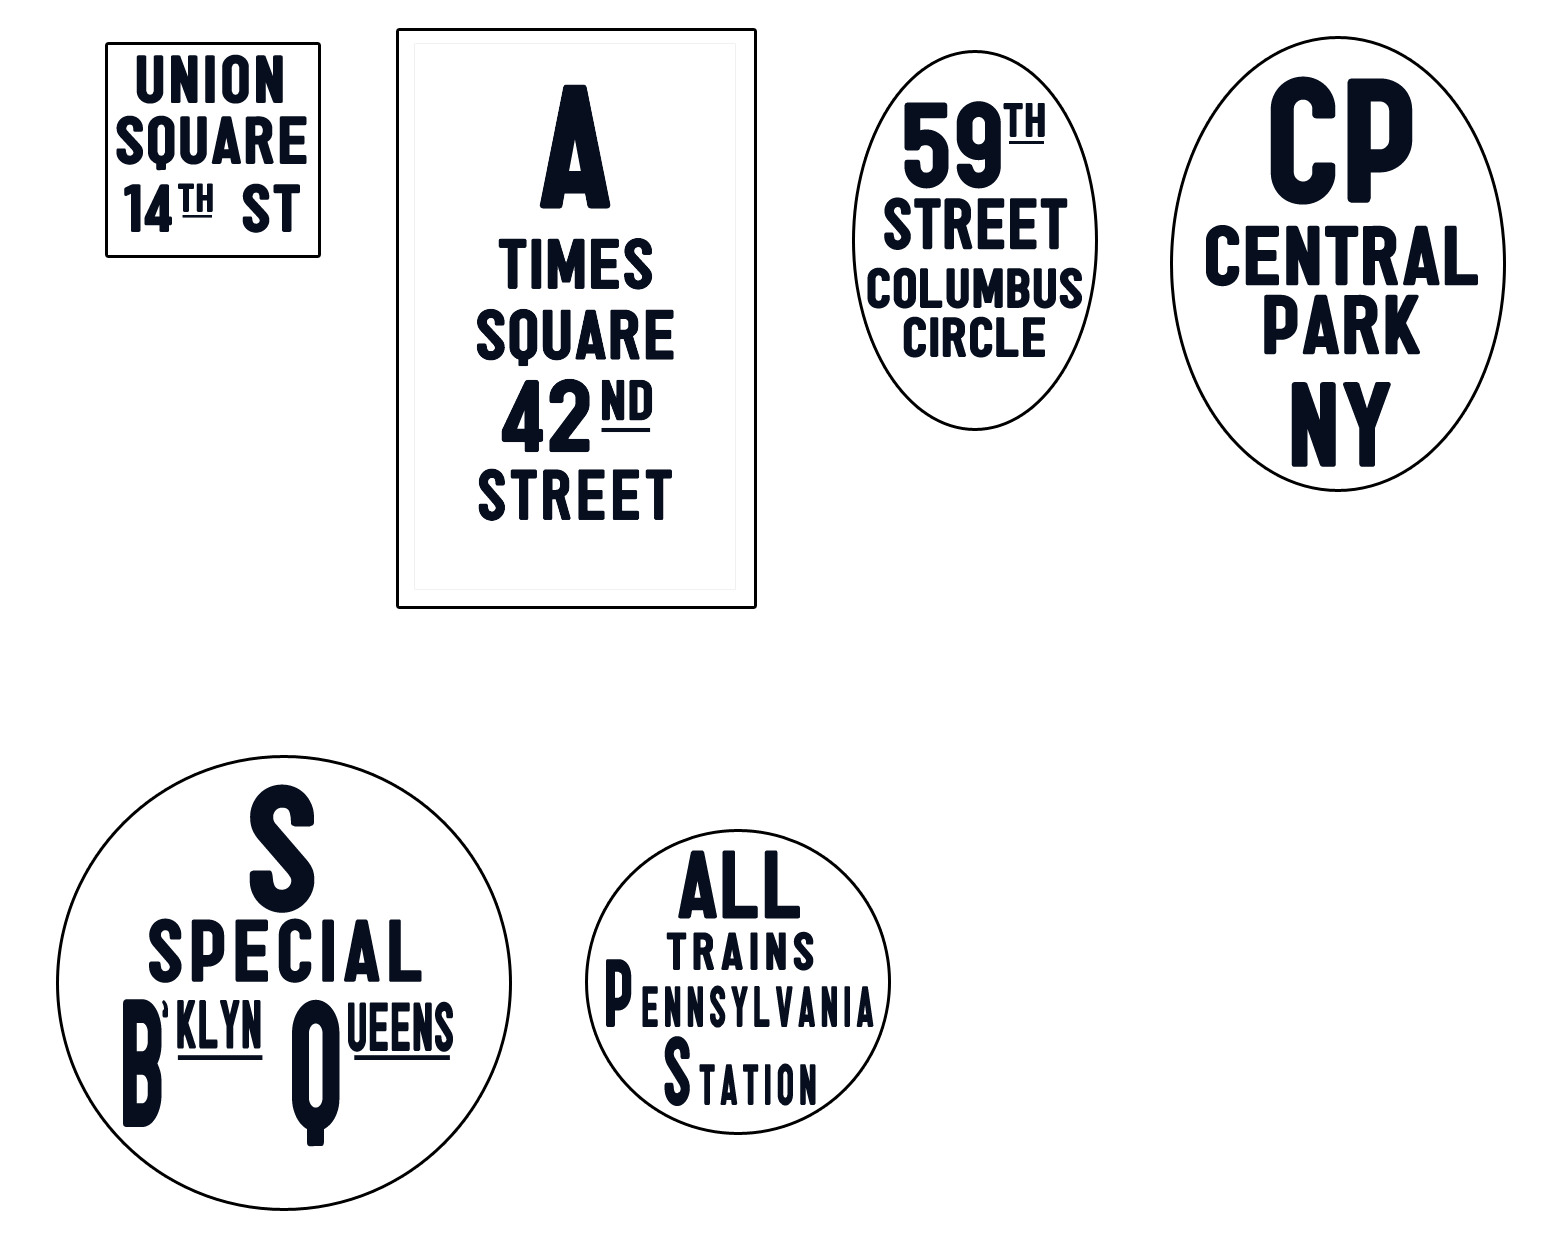

In case the New York subway isn’t your thing, I included some black ones as well. Fill in your own text if you like (the font I used is called “Sugo” and it’s available for free at www.dafont.com).

Let the party begin!
DIY Wine Charms

Learn how to make wine charms using acrylic shapes and Mod Podge! These are easy and perfect for parties.
Materials
- Acrylic shapes
- Printable art (or scrapbook paper)
- Mod Podge
- Wire
Tools
- Paintbrush
- Scissors
- Wire cutters
Instructions
- Print out the subway art and let dry overnight (spray both sides of the page with hairspray or clear acrylic spray to prevent bleeding).
- Spread a thin layer of Mod Podge on the back of the acrylic shape and then on the front of the graphic.
- Apply the paper to the back of the shape, smoothing with your fingers. Let dry completely.
- Trim off any excess paper. Repeat with additional charms.
- Cut a piece of wire. Insert into the charm and wrap, then wrap around the glass.
- These will stay on for the night and you can remove when the party's over!
And if you enjoyed these DIY wine charms, please do consider checking out my photo transfer centerpiece, DIY photo stands, cake display, or cool luminaries. All of them are also suitable for parties.
denise
Tuesday 3rd of February 2015
love it, David!