Flat design is the most popular web design trend today. Recently, I’ve seen the video tutorial and thought that process could be simplified with the help of additional tools.
So, in this article I would like to show you some lessons on how to create a WordPress theme design for your website using the flat design style.
I’m not a fan of video tutorials, so I’ll use the animated illustrations to show the main actions.
Tutorial Details for Creating WordPress Theme
For this lesson, I’ve used the next additional tools:
- Flat UI (free) – PSD template with all needed elements for this tutorial
- Divine Elemente (trial) – photoshop plugin that contains the necessary tools for this tutorial
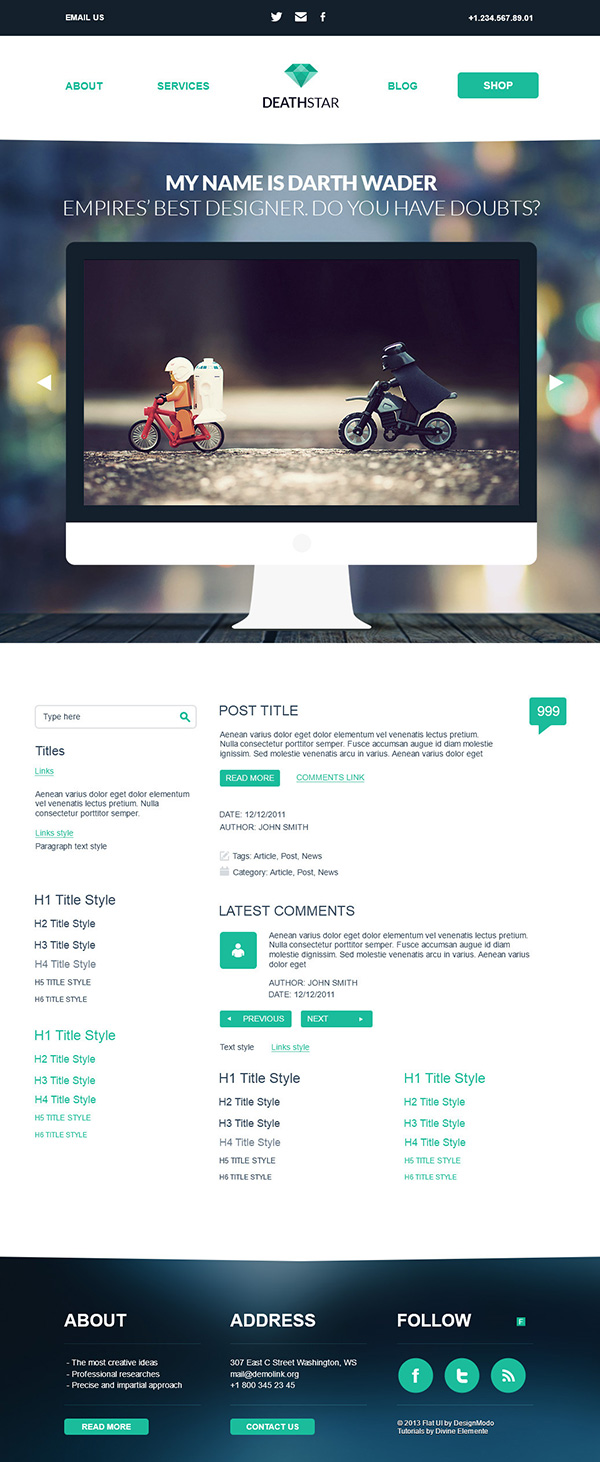
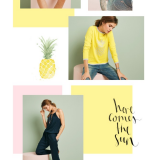
Final Product: Flat UI WordPress PSD Theme
Download Sources
The Workflow
Here are the main actions to make a WordPress theme design:
- Open a wireframe PSD template;
- Design PSD elements;
- Create WordPress theme for the preview.
Open a Wireframe PSD Template
In the tutorial, that I’ve mentioned above, the template was created from a blank page. I would like to skip this step and open a ready wireframe PSD template, that provided with the Divine Elemente plugin.
I have a few reasons to do that:
- The WordPress blog structure is almost the same at all templates (Header / Footer / Post area / Sidebar);
- When creating from a blank page you able to miss some WordPress page elements;
- There is no need to create a structure of layers and groups, it’s already done.
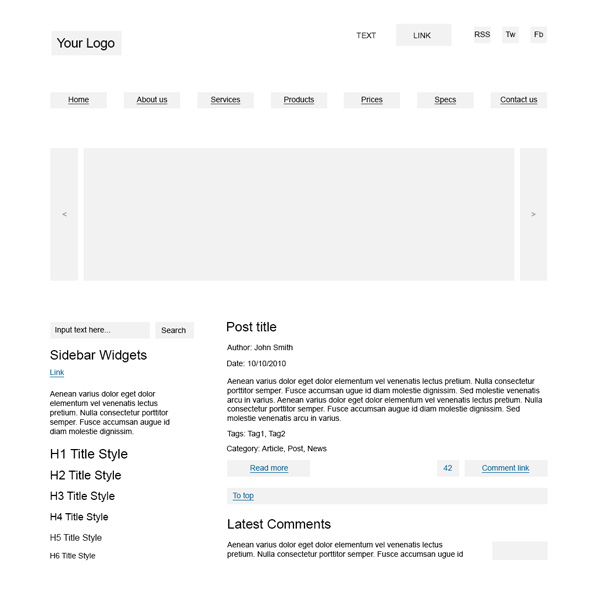
That’s all. We have a blueprint PSD for the future WordPress template.
Design PSD Elements
At the previous section, we’ve prepared a wireframe PSD template with all WordPress blog elements. So, all we need to do at this section – design these elements.
Ready to start? Ok, let’s go …
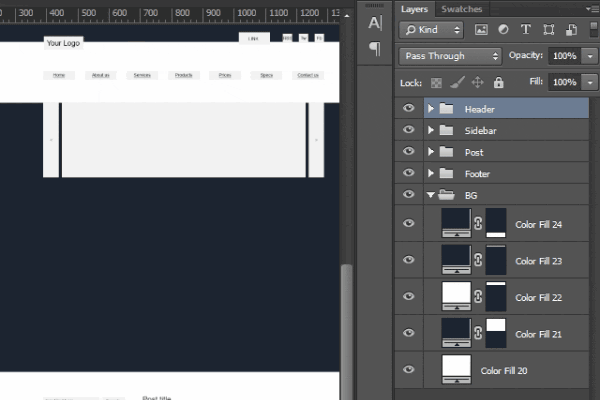
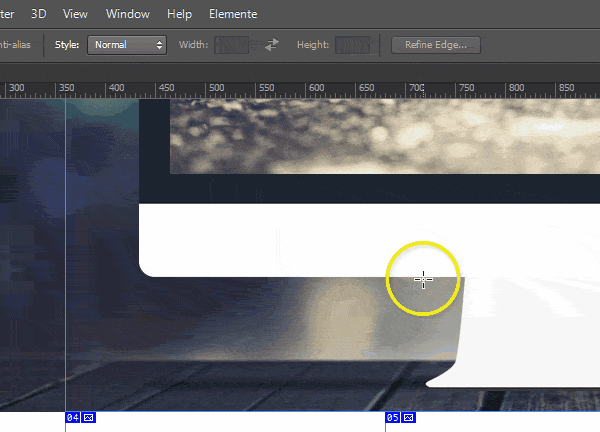
Set The Background Of The Template
At the first step, we’ll make a design of the background (since it is lower than the other layers in the structure).

Here are the actions:
- Open “BG” group
- Click on “Rectangular Marquee Tool (M)“
- Draw rectangle area of header
- Add new Solid Color layer (Layer > New Fill Layer > Solid Color)
- Open background images in separate tabs
- Copy and paste background images into the template
Note: I’m adding “Solid Color” layers for two reasons: it is easy, and it is convenient to change the background color in the future.
Design Elements Of The Header
Header area is the first what visitors will see at your website, so here should be a main and informative elements of your website:
- Contact information (Phone, email, social links)
- Website logo
- Navigation menu
- Information blocks (or slides)
- Site description
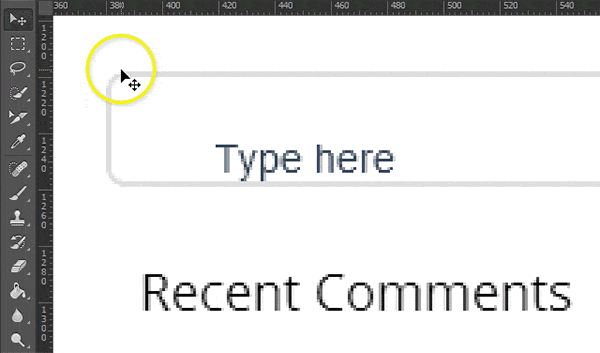
Step 1. Position Elements On Their Places
Place the draft header elements where they should be in the template, and later we will style them.
Here are the actions:
- Select the “Header” group at the Layers panel
- Use the “Move Tool (V)“, to move all Header items down
- Select elements group (e.g. “Logo“)
- Use the “Move Tool (V)“, to move this item on it’s place
- Repeat these actions with other groups
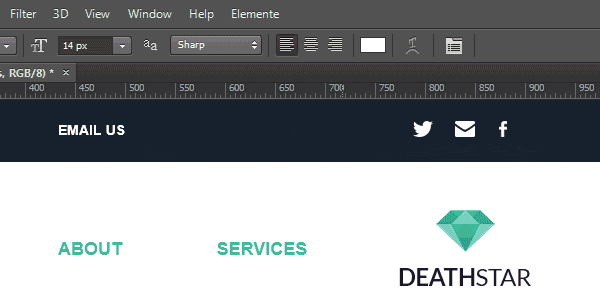
Step 2. Design The Contact Information And Social Buttons
Recently we have placed contact icons and information text at separate top line, so lets style them now.
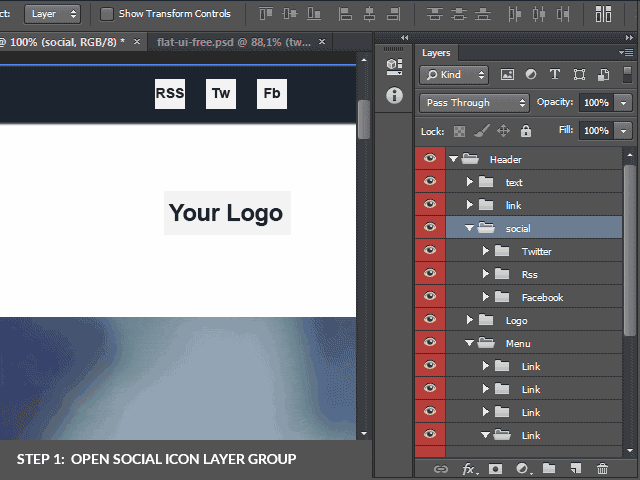
Here are the actions:
- Open “Twitter” group at the layers panel
- Select a text layer and click “Delete layer” at the bottom of this panel
- Select image layer and click “Delete layer” at the bottom of this panel
- Open flat-ui-free.psd at the second tab
- Find and select “twitter-icon” layer
- Click the right mouse button on it and select “Duplicate layer” option
- Set destination document as your PSD template name and click “Ok“
- Return to your template and move icon on its place
- Repeat these actions with other social buttons
The texts are staying at the same places, just set the white color for them and enter the informational text.
Step 3. Design The Website Logo
I’m a fan of “Star Wars”, so with your permission I’ll take a “DeathStar” name for the logo company as an example.
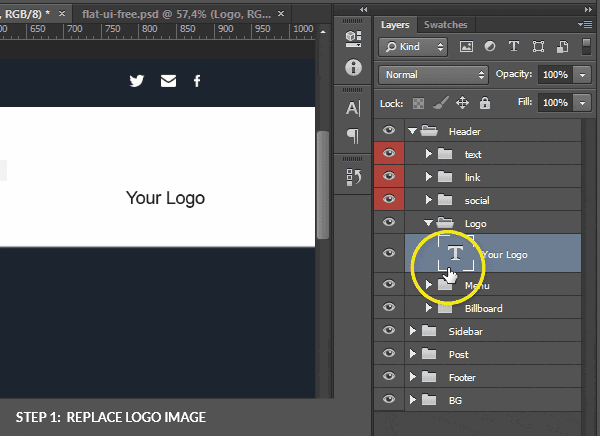
Follow these actions to replace the logo image:
- Open “Logo” group at the layers panel
- Select image layer and click on “Delete layer” icon at the bottom of this panel
- Open flat-ui-free.psd at the second tab
- Find and select the “logo” group
- Click the right mouse button on it and select “Duplicate layer” option
- Set destination document as your PSD template name and click “Ok“
- Return to your template and select newly copied group “logo“
- Click the right mouse button on it and select “Convert to Smart Object” option
- Click “Ctrl + T” and adjust image size and position, then click “Ctrl + Enter“
Next, update the text layer:
- Select text layer at the “Logo” group
- Use the “Horizontal Type Tool (T)” to edit text of the logo (enter “DeathStar”)
- Open the “Character” window (“Window > Character” menu)
- Turn on the “All Caps” option and set the font weight as “Bold“
- Highlight the “Star” part of the logo text
- At the “Character” window set the font weight as “Regular“
Step 4. Design The Navigation Menu
The menu items are set at their places, so let’s add the clean flat style to them.
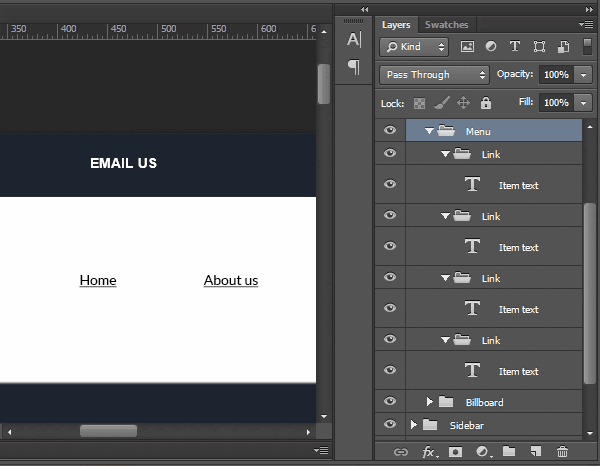
- Open “Menu” group at the layers panel
- Open “Link” groups
- Holding Ctrl select all text layers at the each “Link” groups
- Open the “Character” window (“Window > Character” menu)
- Set the font weight as “Bold“
- Set the font size as “18px“
- Turn off the “Underline” option
- Turn on the “All Caps” option
- Place the modified menu items on their places at the template
Step 5. Design The Slideshow Area
Slideshow is a hot trend for last few years (and even now) as this is more than a convenient way to show main information of the site above the fold.
Elements of slideshow are already existing at the wireframe PSD template (“Billboard” layers group). All we need to do is to add a background and style for these elements.
Adding the background of the slideshow:

- Open “Billboard” group at the layers panel
- Open flat-ui-free.psd at the second tab
- Find and select the “iMac” group
- Click the right mouse button on it and select “Duplicate layer” option
- Set destination document as your PSD template name and click “Ok“
- Return to your template and select newly copied group “iMac“
- Click the right mouse button on it and select “Convert to Smart Object” option
- Click “Ctrl + T” and adjust image size and position, then click “Ctrl + Enter“
Adding slides and styles to the elements of the slideshow:
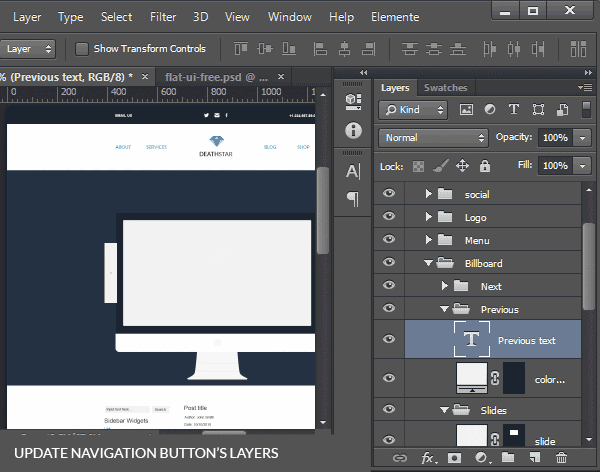
- Open “Billboard > Next” group at the layers panel
- Remove all layers from this group
- Open flat-ui-free.psd at the second tab
- Find and select the “Icon” layer at the “Navigation > Selector” group
- Click the right mouse button on it and select “Duplicate layer” option
- Set destination document as your PSD template name and click “Ok“
- Repeat these actions with the “Billboard > Previous” group
- Add images to the “Slides” group
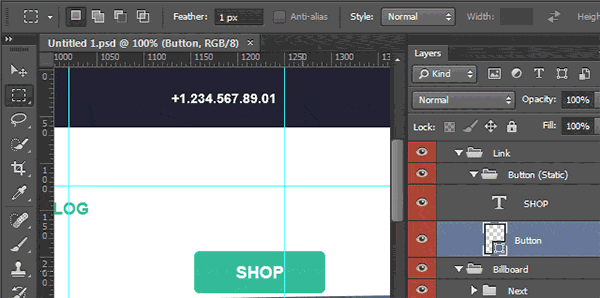
Design Other Elements
This section should contain the steps on how to design each elements of other areas, but instead of boring tons of Gif images, I’ll show you some tips on how to speed up the development and increase the quality of your PSD template.
Quick Tip For Beginners
Each element has own layers group, so if you want to move the element, follow the next steps:
- Click on the “Move Tool (V)“
- Turn off the “Auto-Select” option at the top panel
- Select the element layer group in the layers panel
- Move element
Quick Tip For Advanced Users
Use the equal spacing from borders to the elements.
The best way to do that:
- Click on “Rectangular Marquee Tool (M)“
- Holding Shift draw the square rectangle
The size of the rectangle should be multiple of five (15, 20, 25, etc.) - Place selection into the left angle of block area
- Click “Ctrl + R” to show rulers
- Place the guides to the borders of the current selection (Drag them from the rulers)
- Place selection into the right angle of the current block area
- Add another guides to the borders of the selection
- Now you can position the elements using these guides
Quick Tip For Professional Users
Use the 960 grid for placing the elements.
The best way to do that:
- Install the Divine Elemente plugin (if it isn’t installed yet)
- At the Photoshop top menu click on “Elemente > 960 Grid Tool“
- Enter parameter for the grid: content width, number of grid columns, column width, gutter width
- Click on “Create” button
- Now you can use this grid to arrange web page elements
Read more about 960 grid usage
Quick Tip For Photoshop CC Users
Check out how to modify all text layers at once
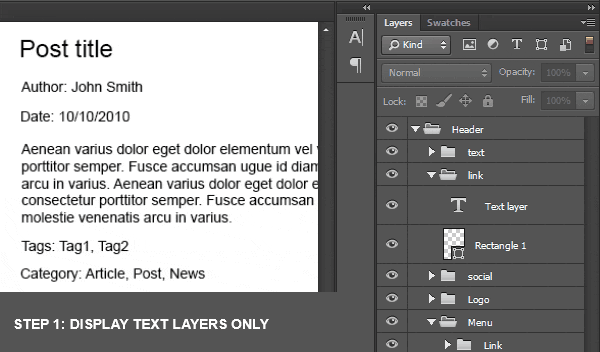
Here are the actions:
- At the top of layers panel set search filter as “Kind“
- Turn on the “Filter for type layers“
- Select any text layer and click “Ctrl + Alt + A“
- Open the “Character” window (“Window > Character” menu)
- Set the font options
- Turn off the “Filter for type layers“
Create a WordPress Theme For The Preview
I hope you enjoyed the tips above. Here is the last tip for this article.
After all the actions, there are only few clicks to create a WordPress theme.
Here are the actions:
- At the top Photoshop menu open the “Elemente > Publish and Upload” (Divine Elemente should be installed)
- After Elemente is launched click on “Theme Live Preview” button
- Once the conversion is complete, open the browser (if it is closed)
- (If the page isn’t opened) Enter the URL in the address bar “localhost:7000/wordpress/“
Afterwords
In this tutorial I showed you a few tips on how to design a simple WordPress theme using the Divine Elemente and Flat UI kit.
If you need more details, you may left a message in the comments at the page with the source of this PSD template, and I’ll add more animated gifs on your issue.


 6 Must-Follow SEO Tips For Every WordPress Photoblogger
  All Websites Should Feature Videos and Here’s Why
  Top 16 Free WooCommerce Themes
  Top 25 Free WordPress themes from 2020
  Black Friday 2019, Best Deals for Web Designers and Developers
Luke Oct 28, 2013, 9:55 pm
The plugin you are using doesnt work on OSX. is there a similar one which does?
wayne lambright Oct 29, 2013, 5:43 pm
Were you going to allow us to download that theme you created for our own use? Thanks in advance.